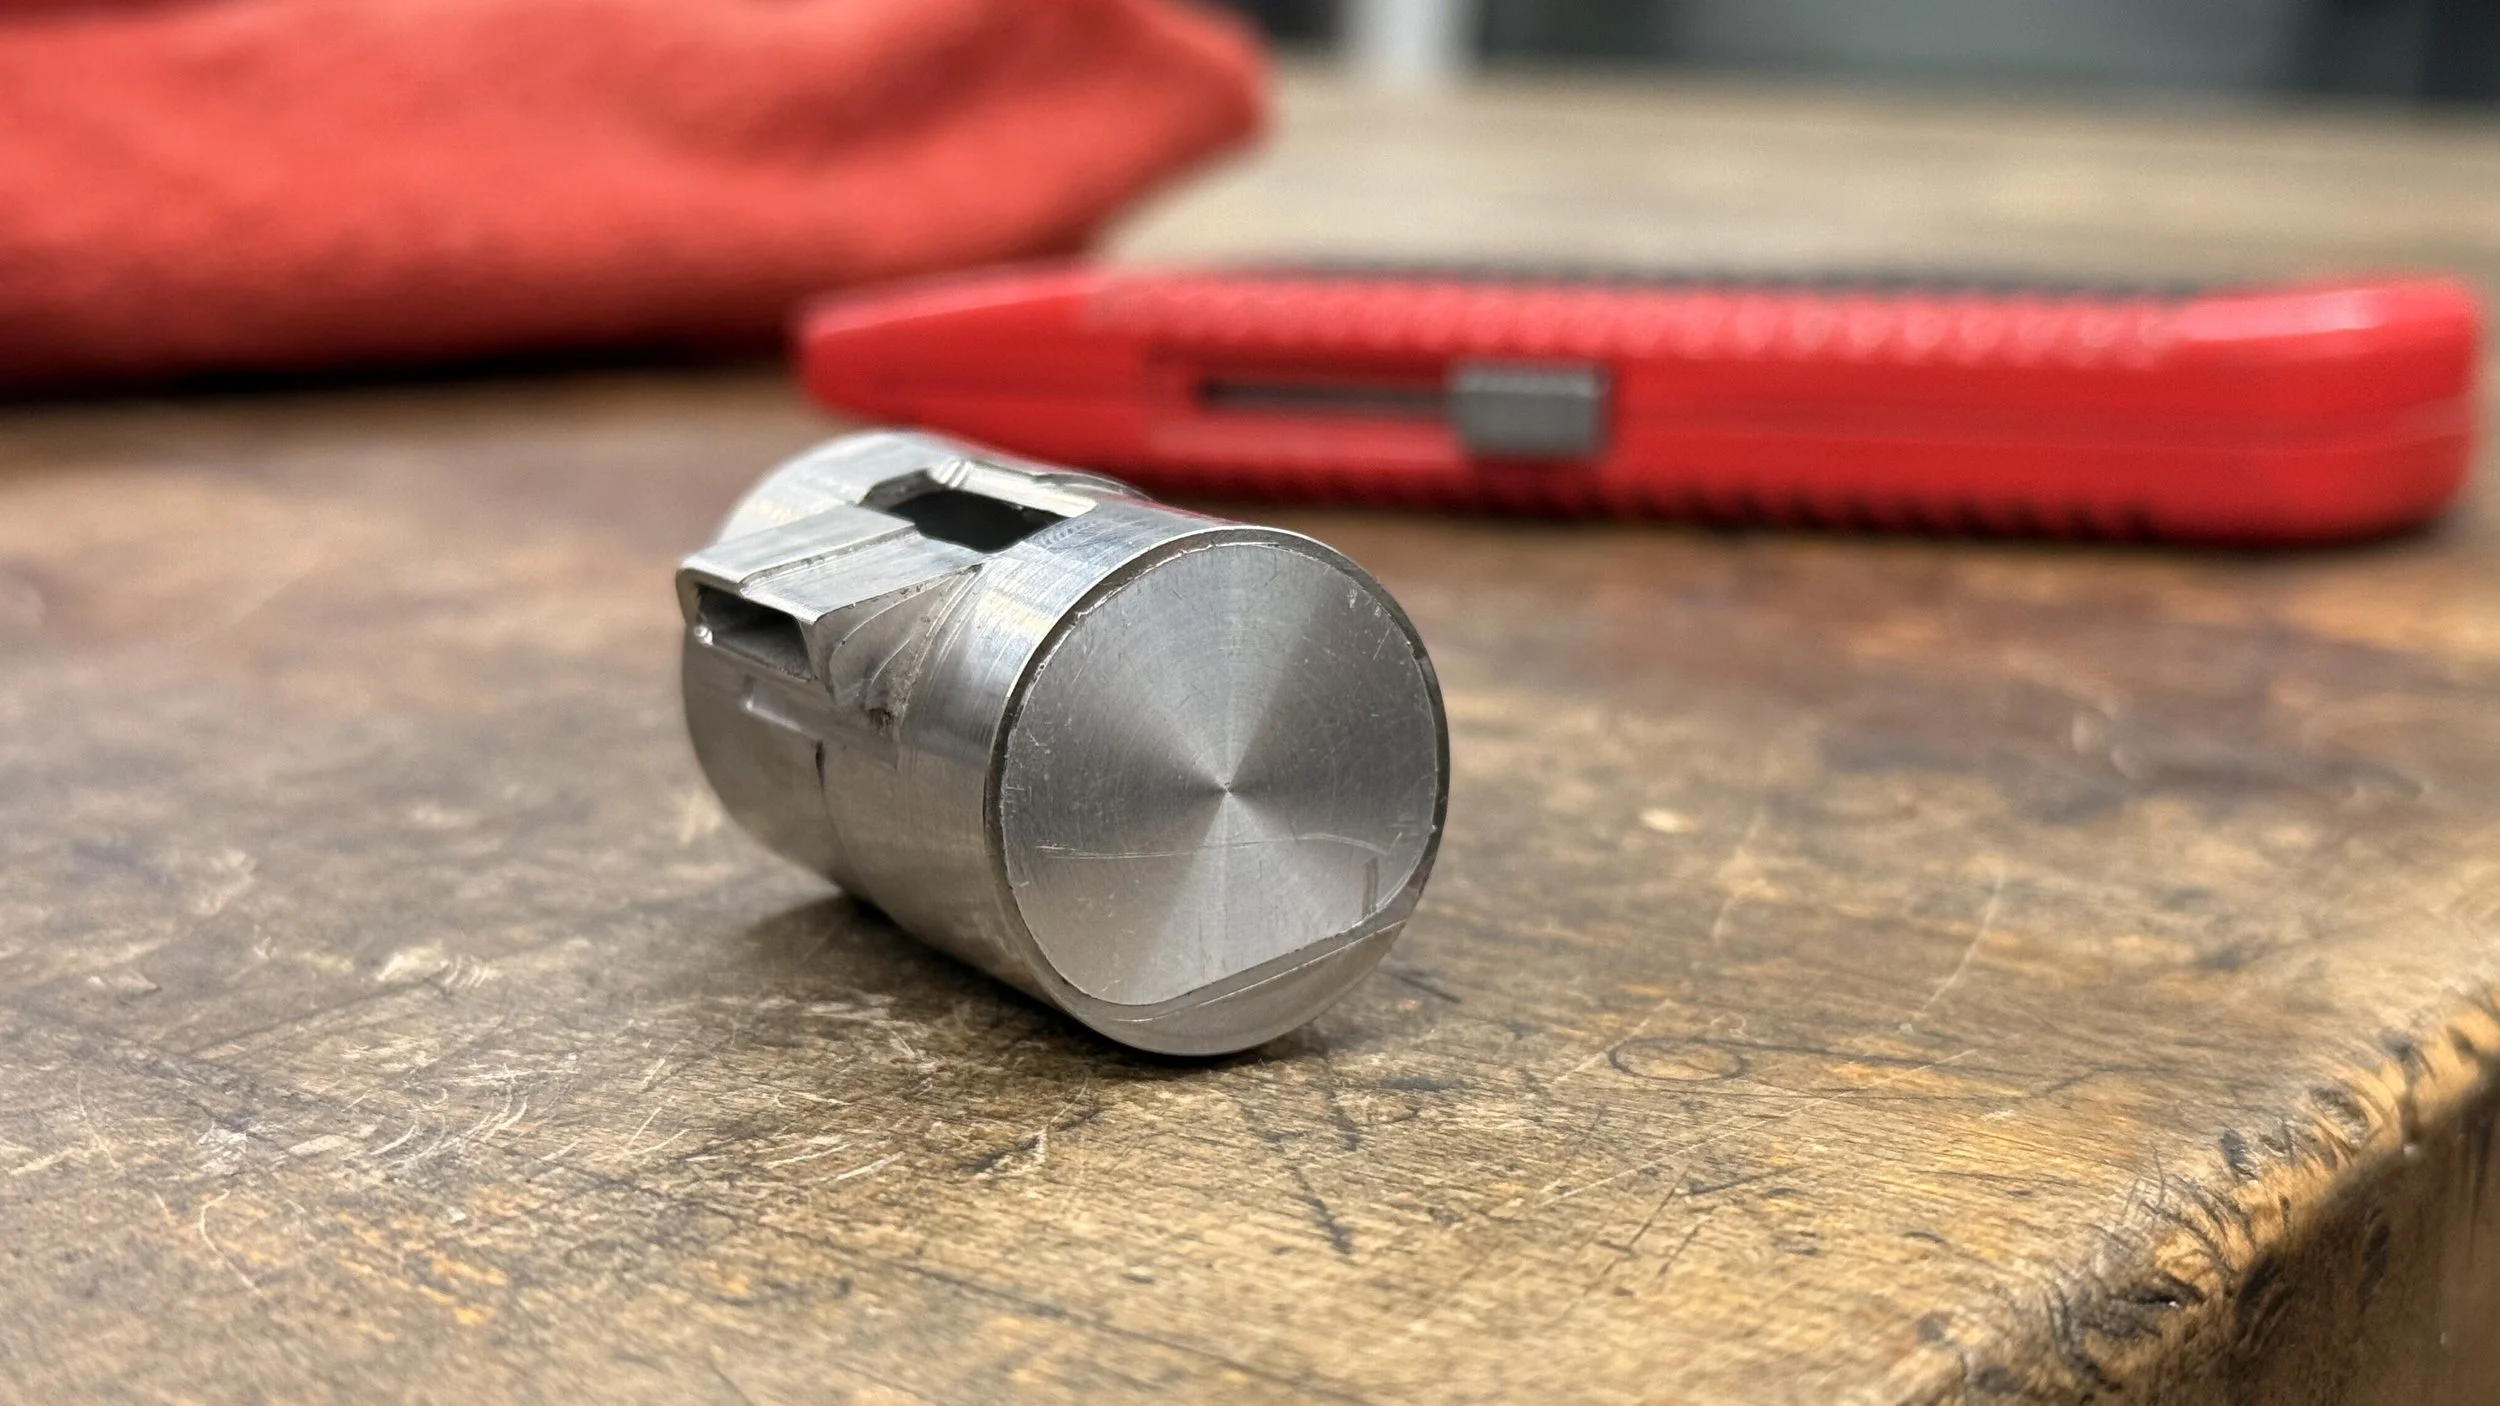
Making a whistle
Was the first assignment in our CNC class. I wanted to take this class really badly and finally got in after applying a 3rd time. I was ready to make something exceptional.
2024
Inspiration
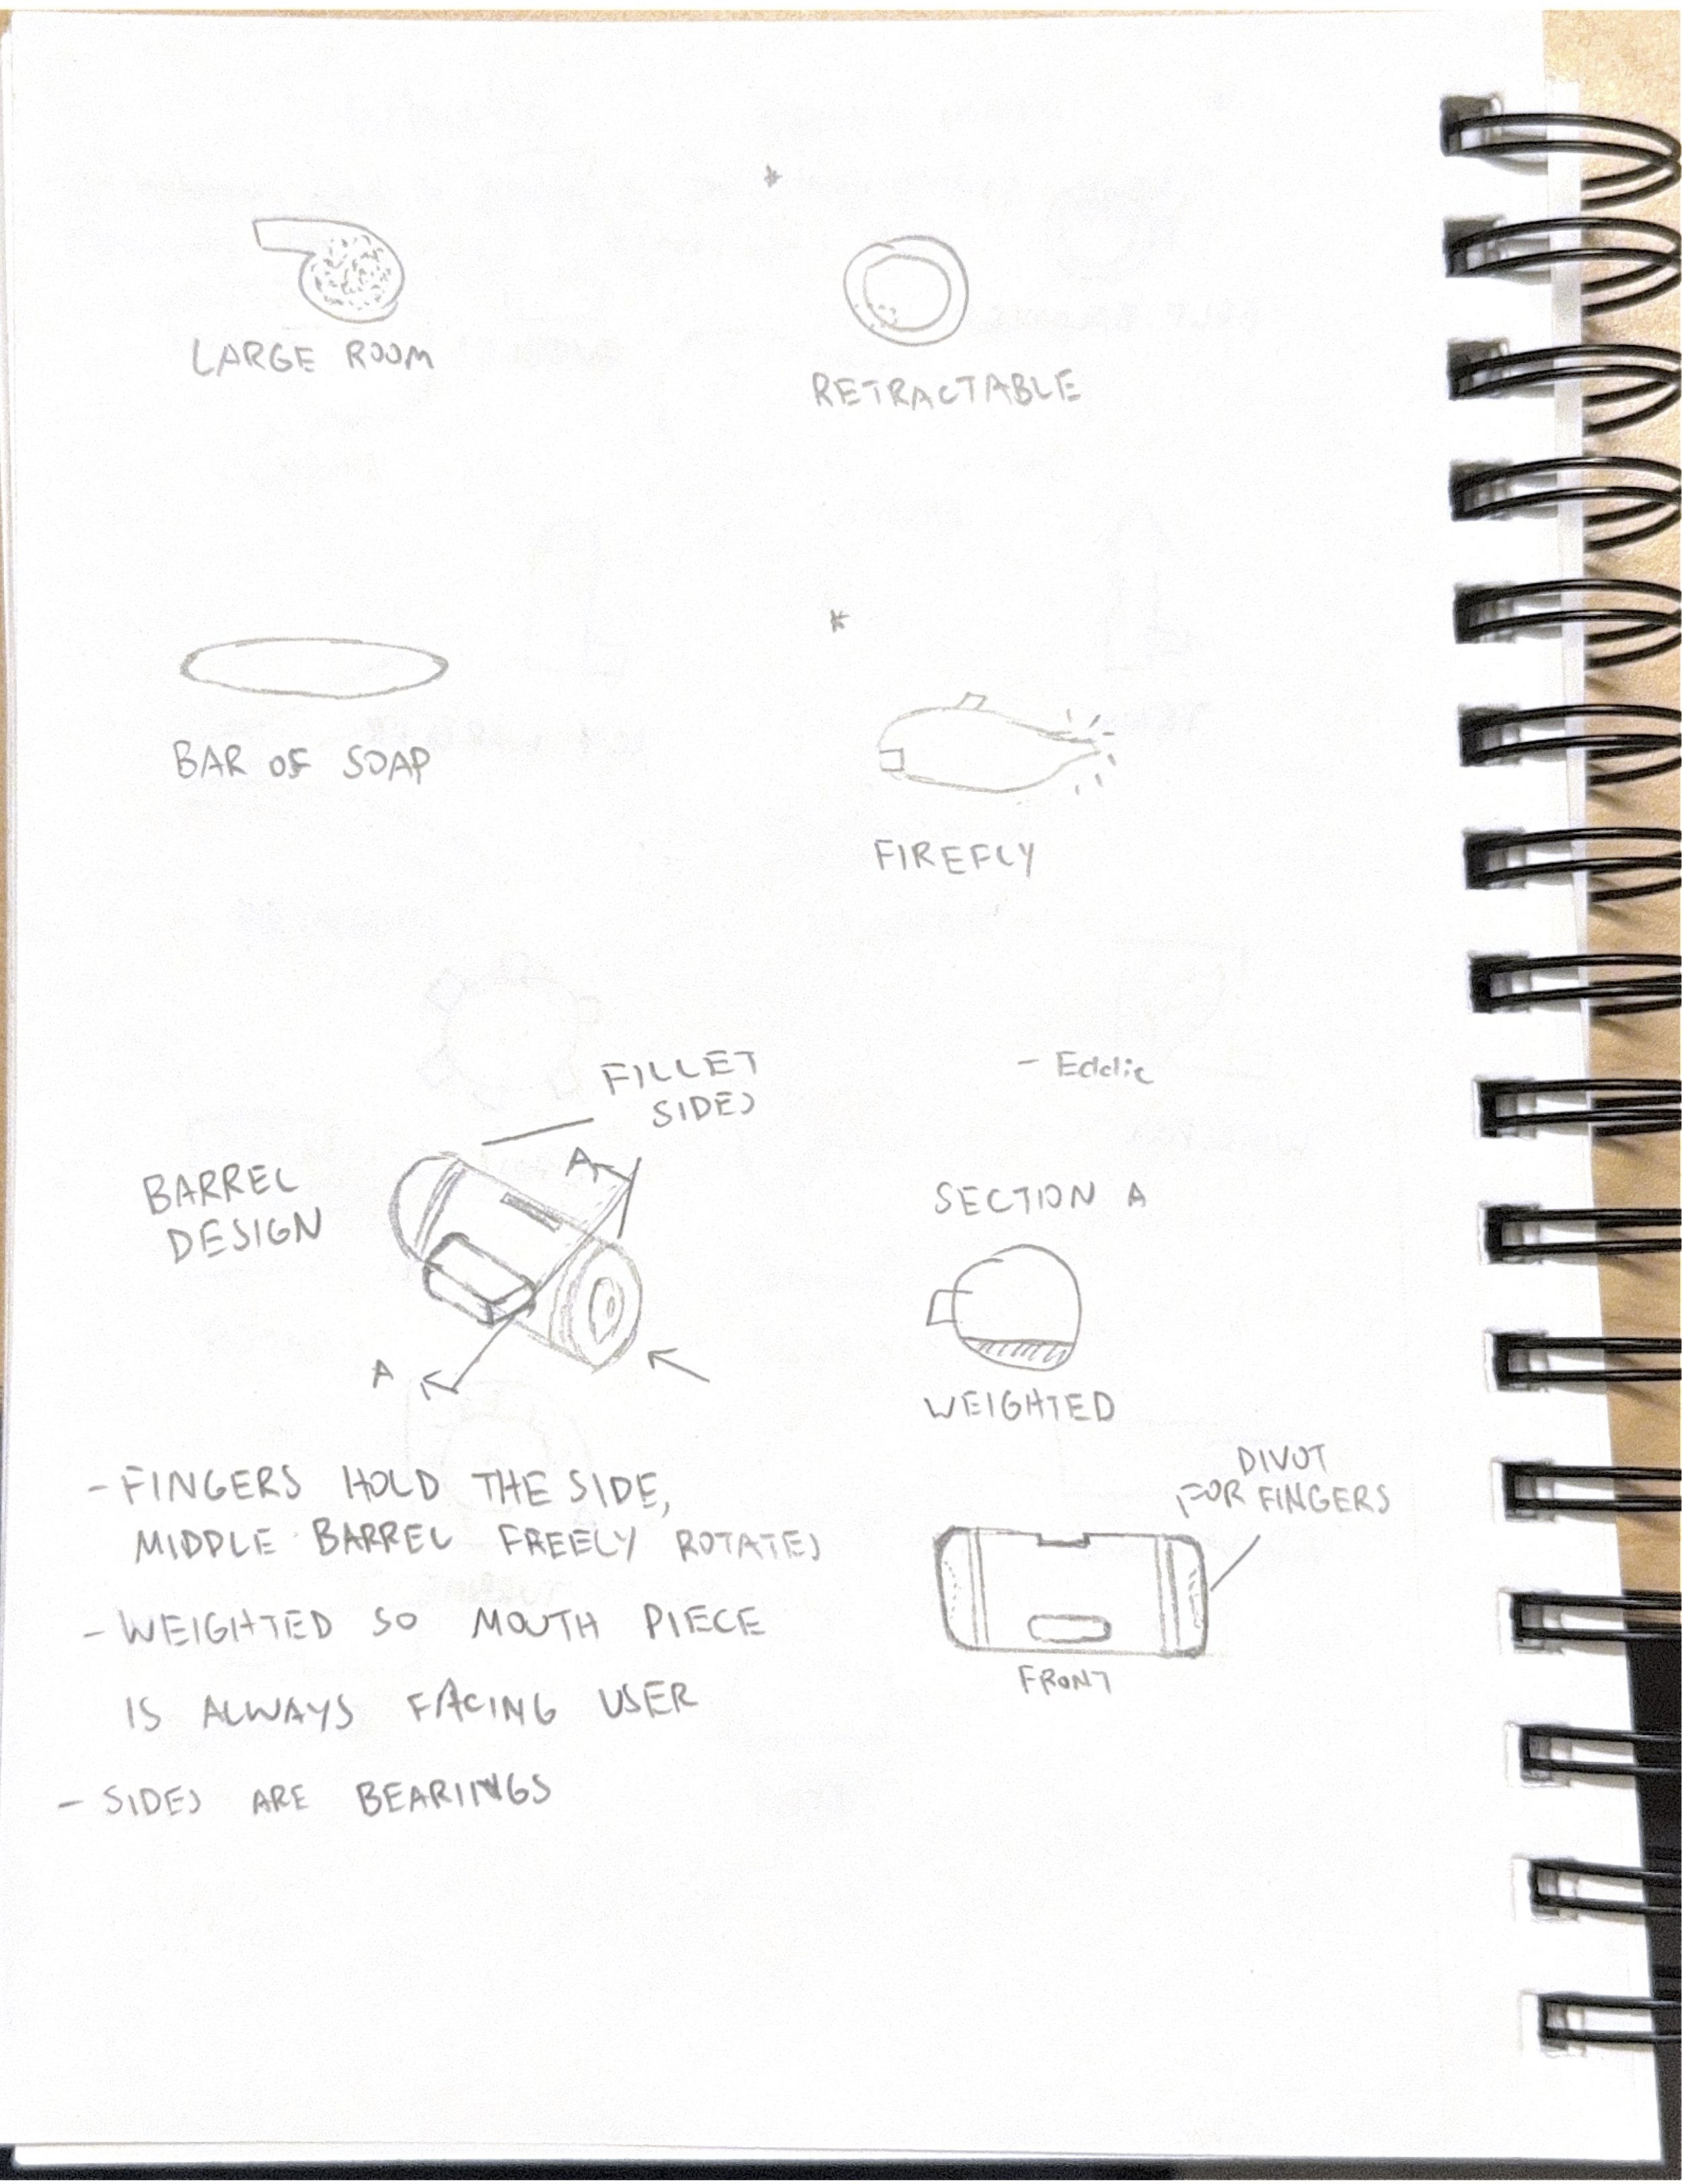
The idea for my whistle was inspired the the center wheel cap on a Rolls Royce. No matter the turn of the tires, the logo stays upright. I wanted the fipple of my whistle to always correctly face the user no matter how they picked it up.
It will consist of 7 parts, 5 of which are machined:
×1 main body
×2 air seals
×2 caps
×2 ball bearings
CAD
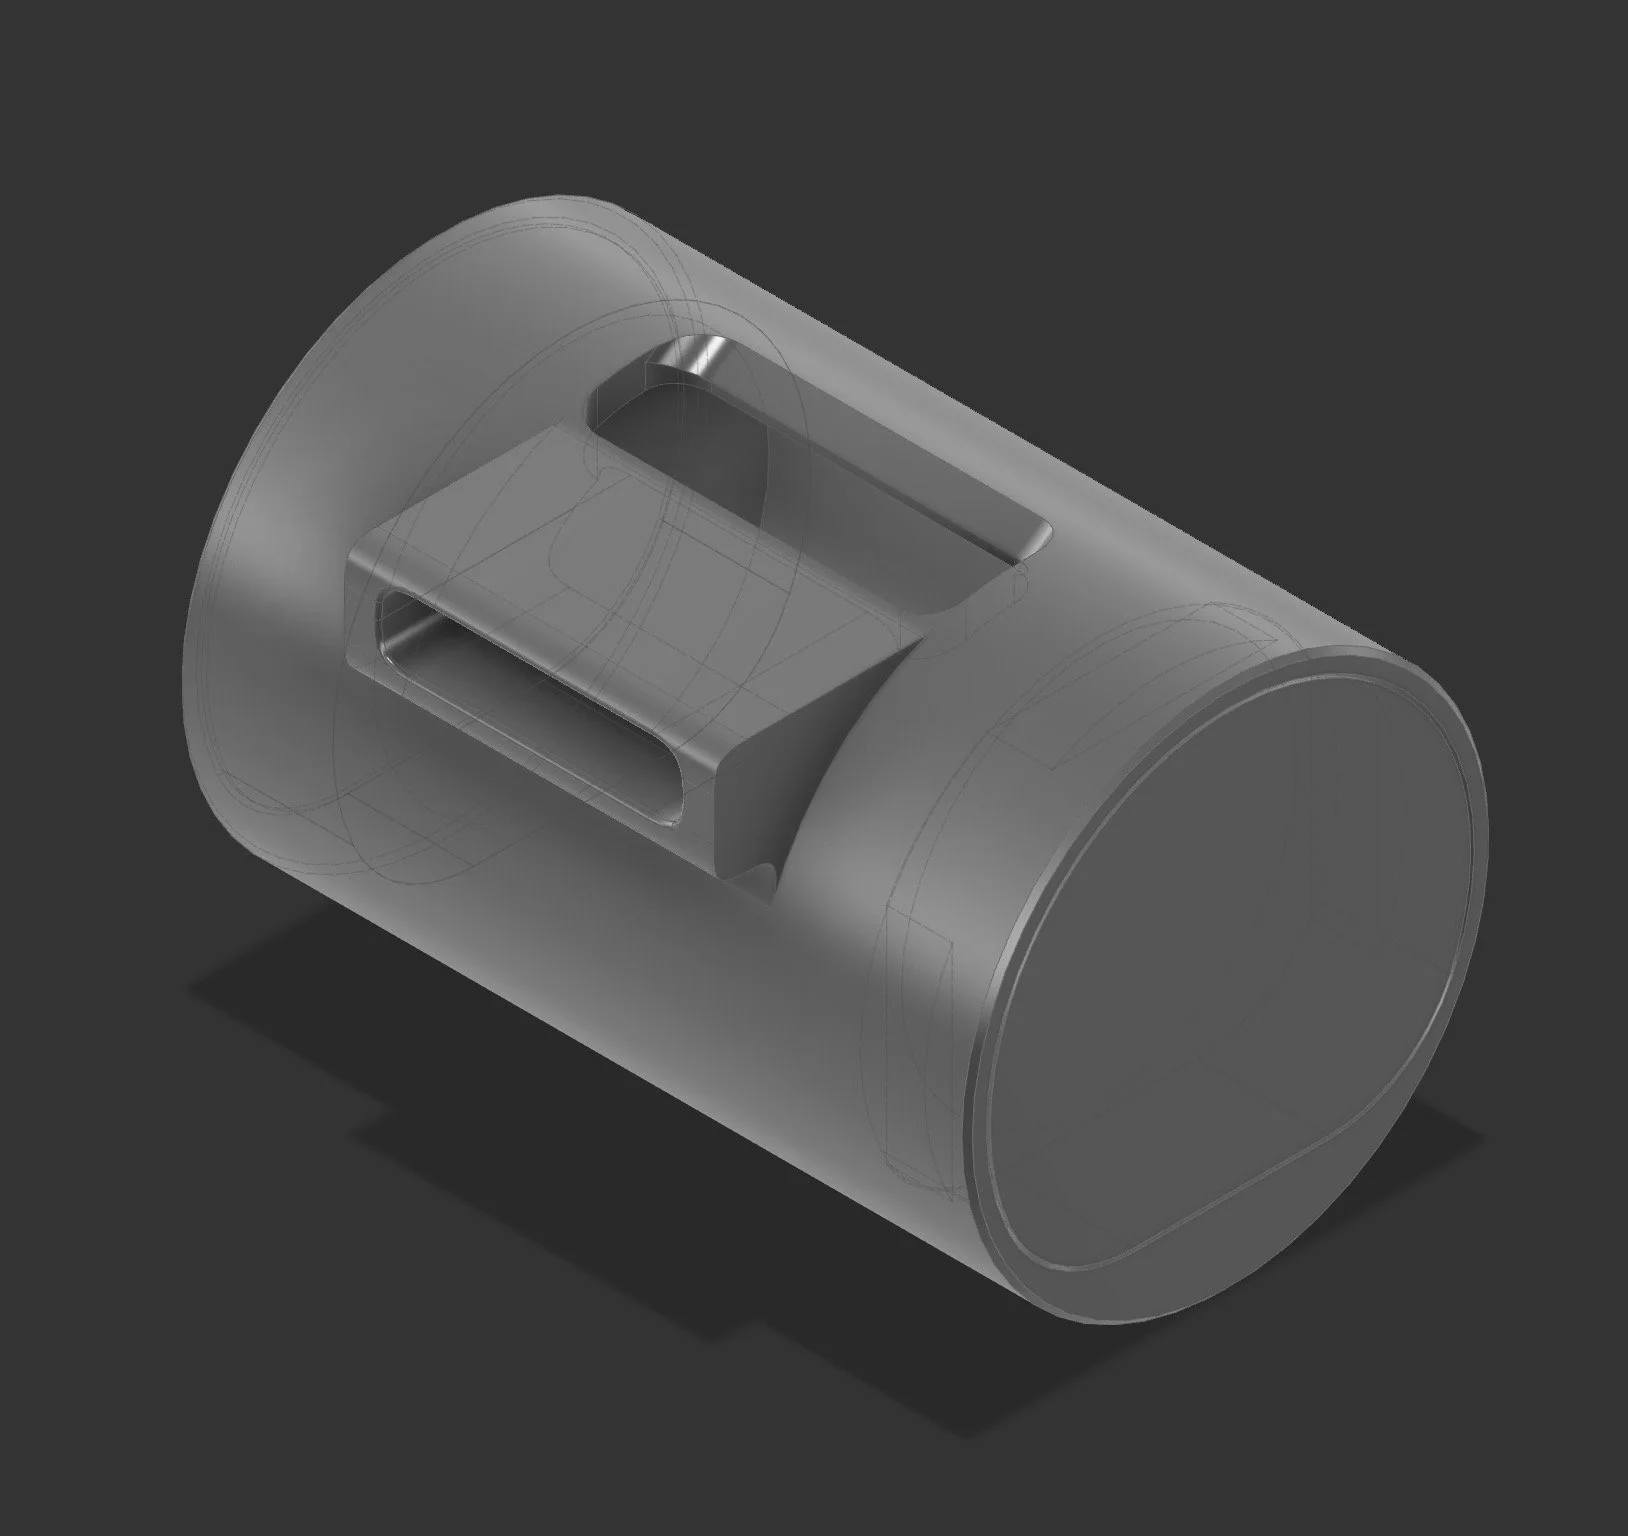
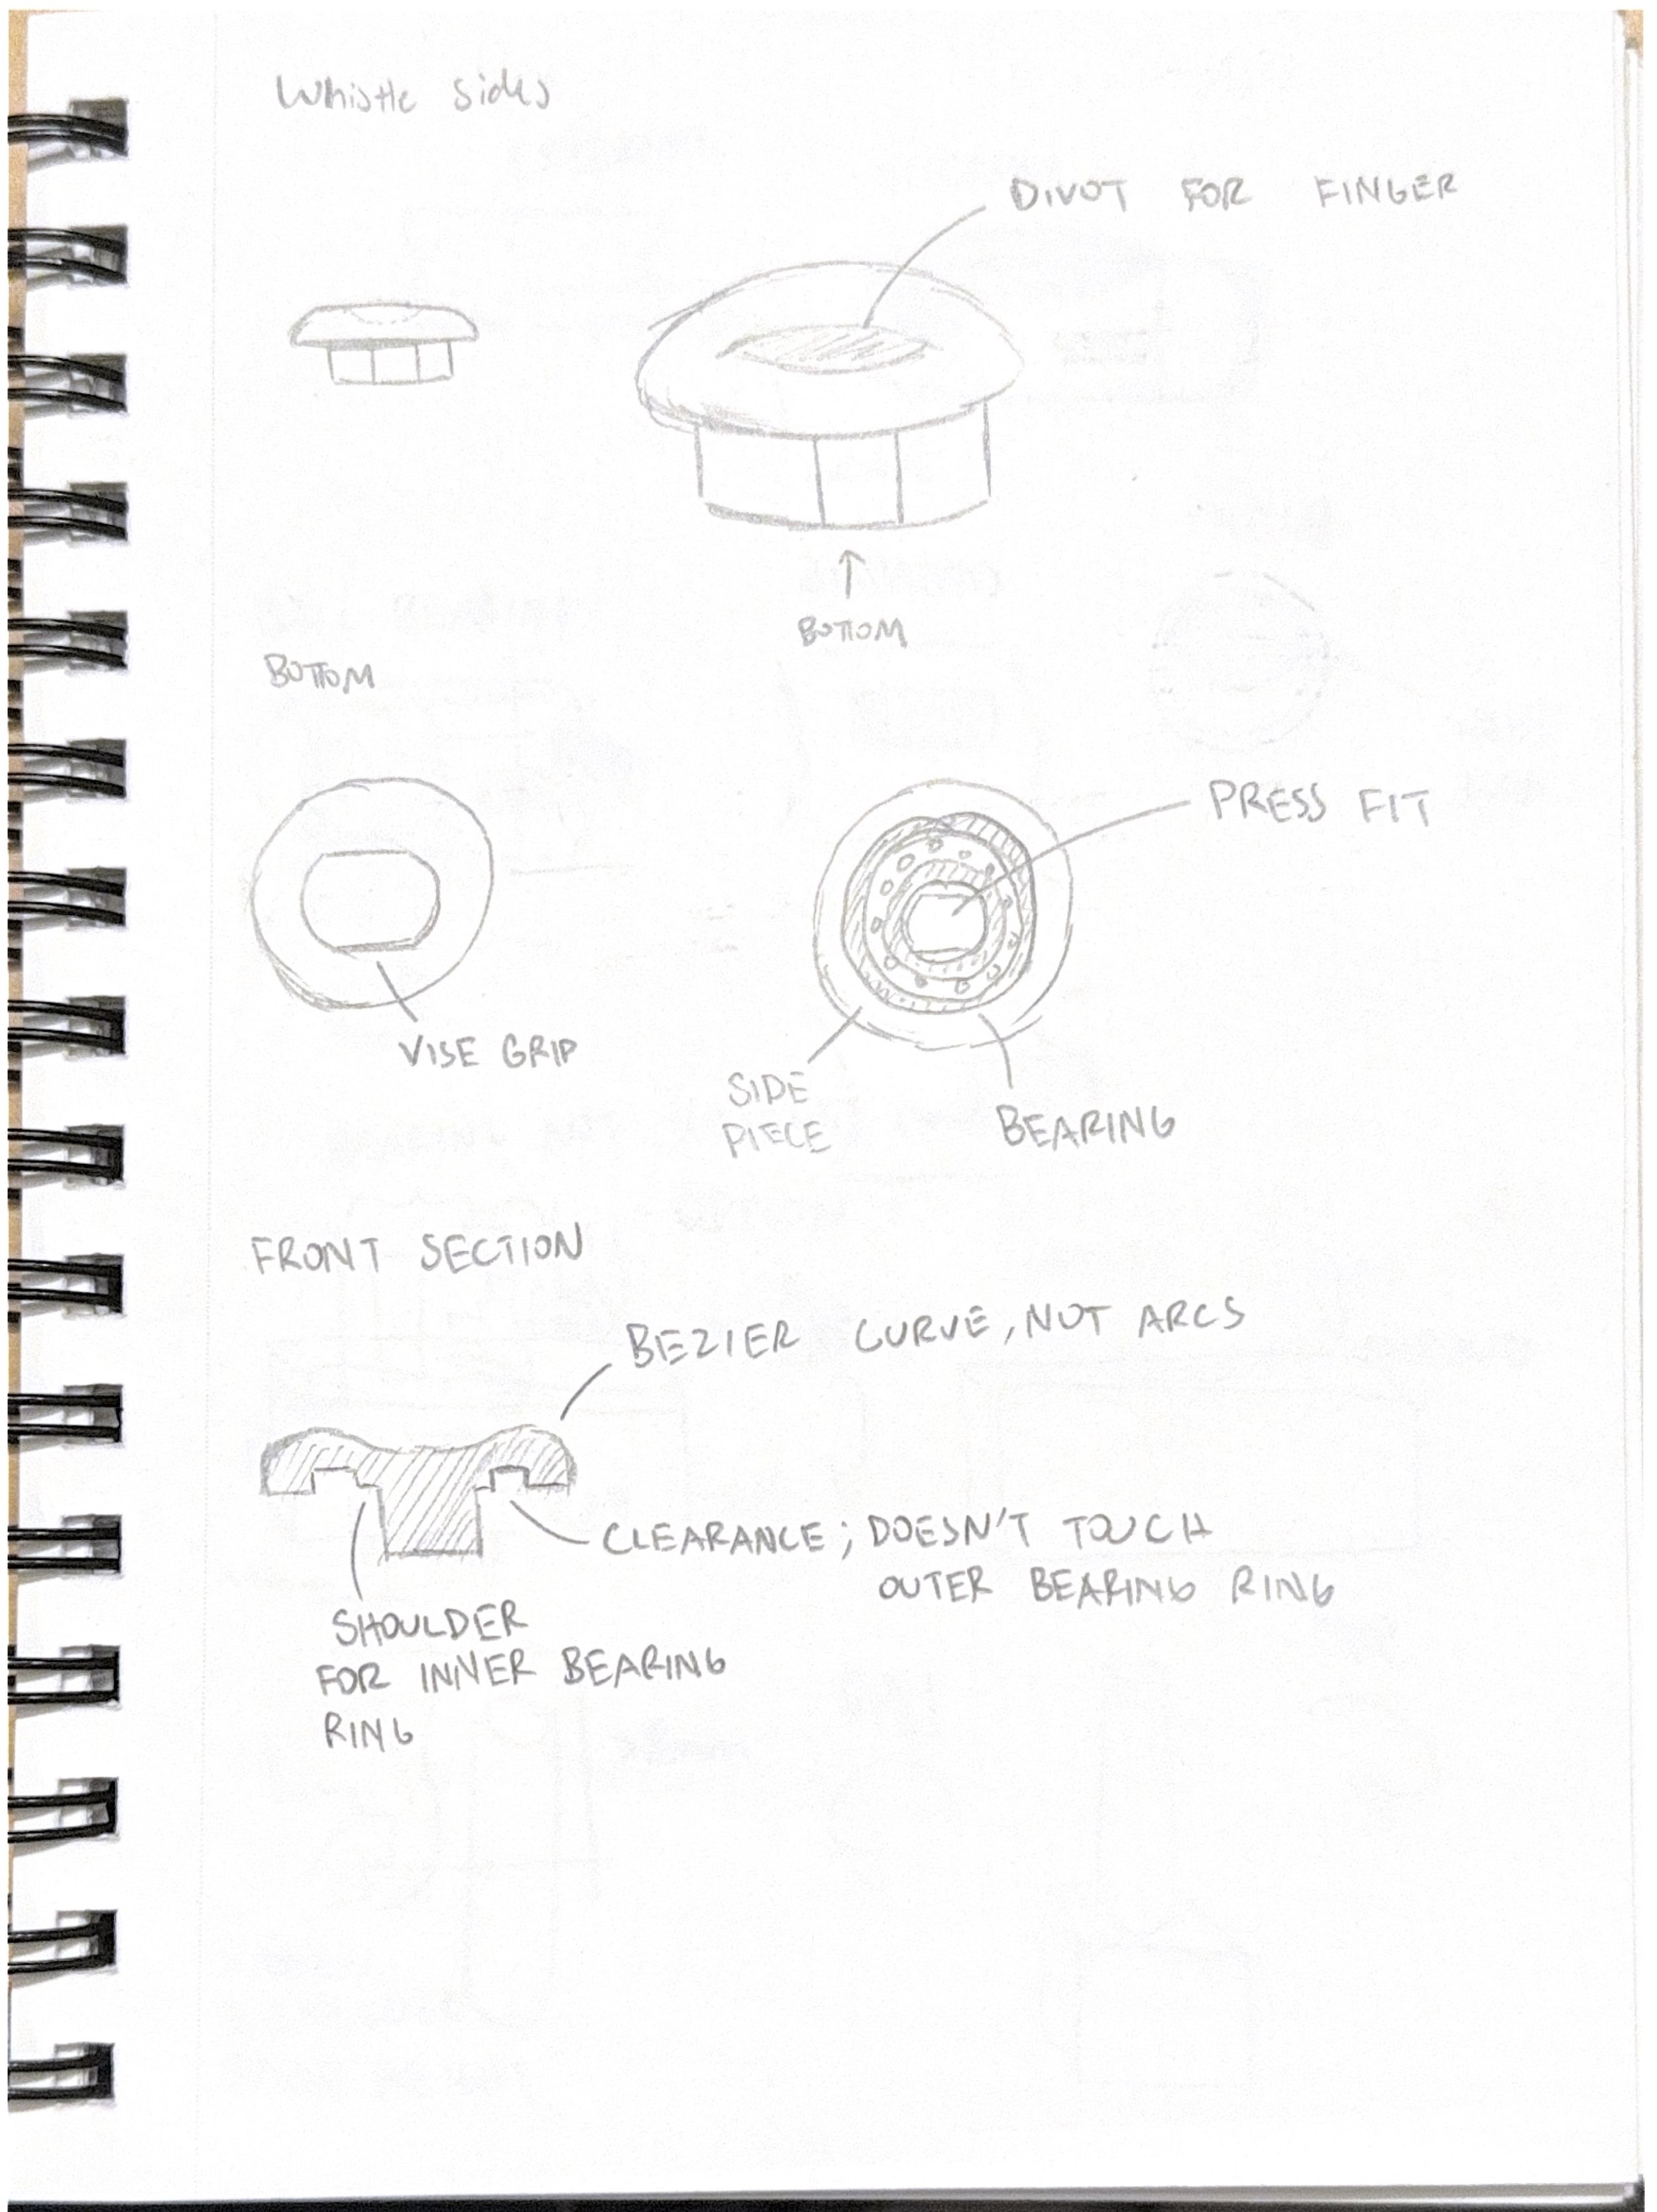
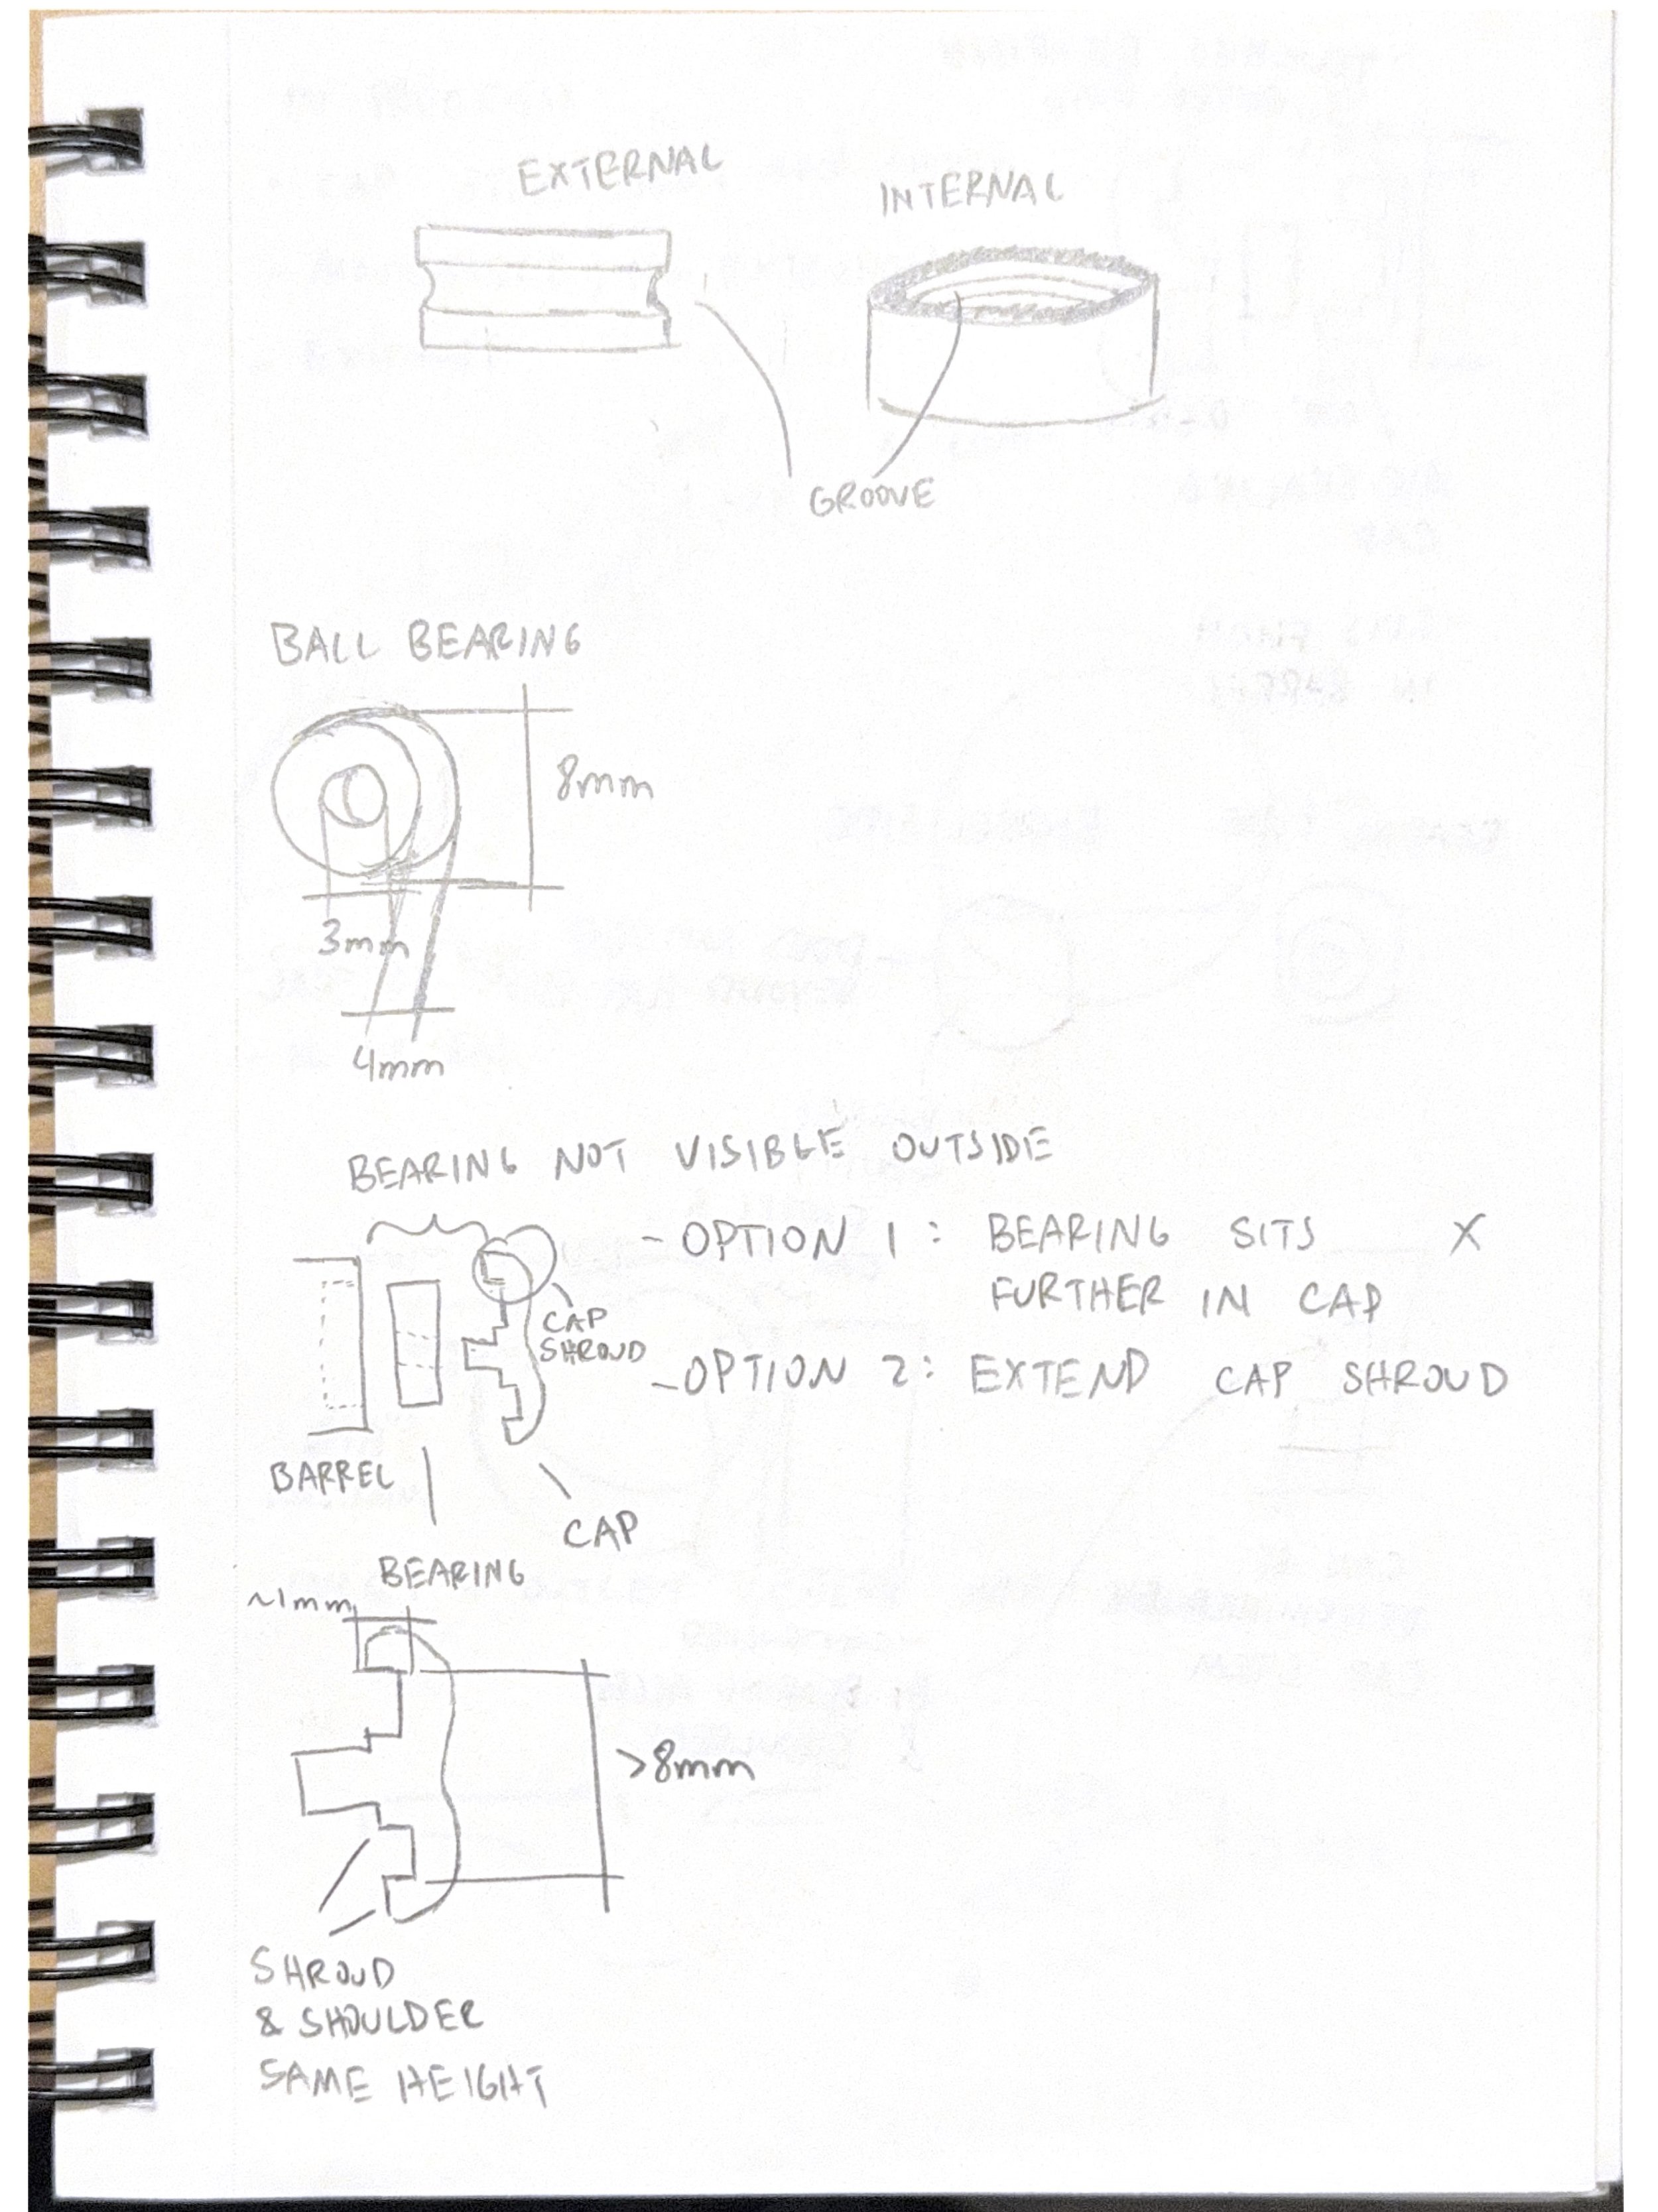
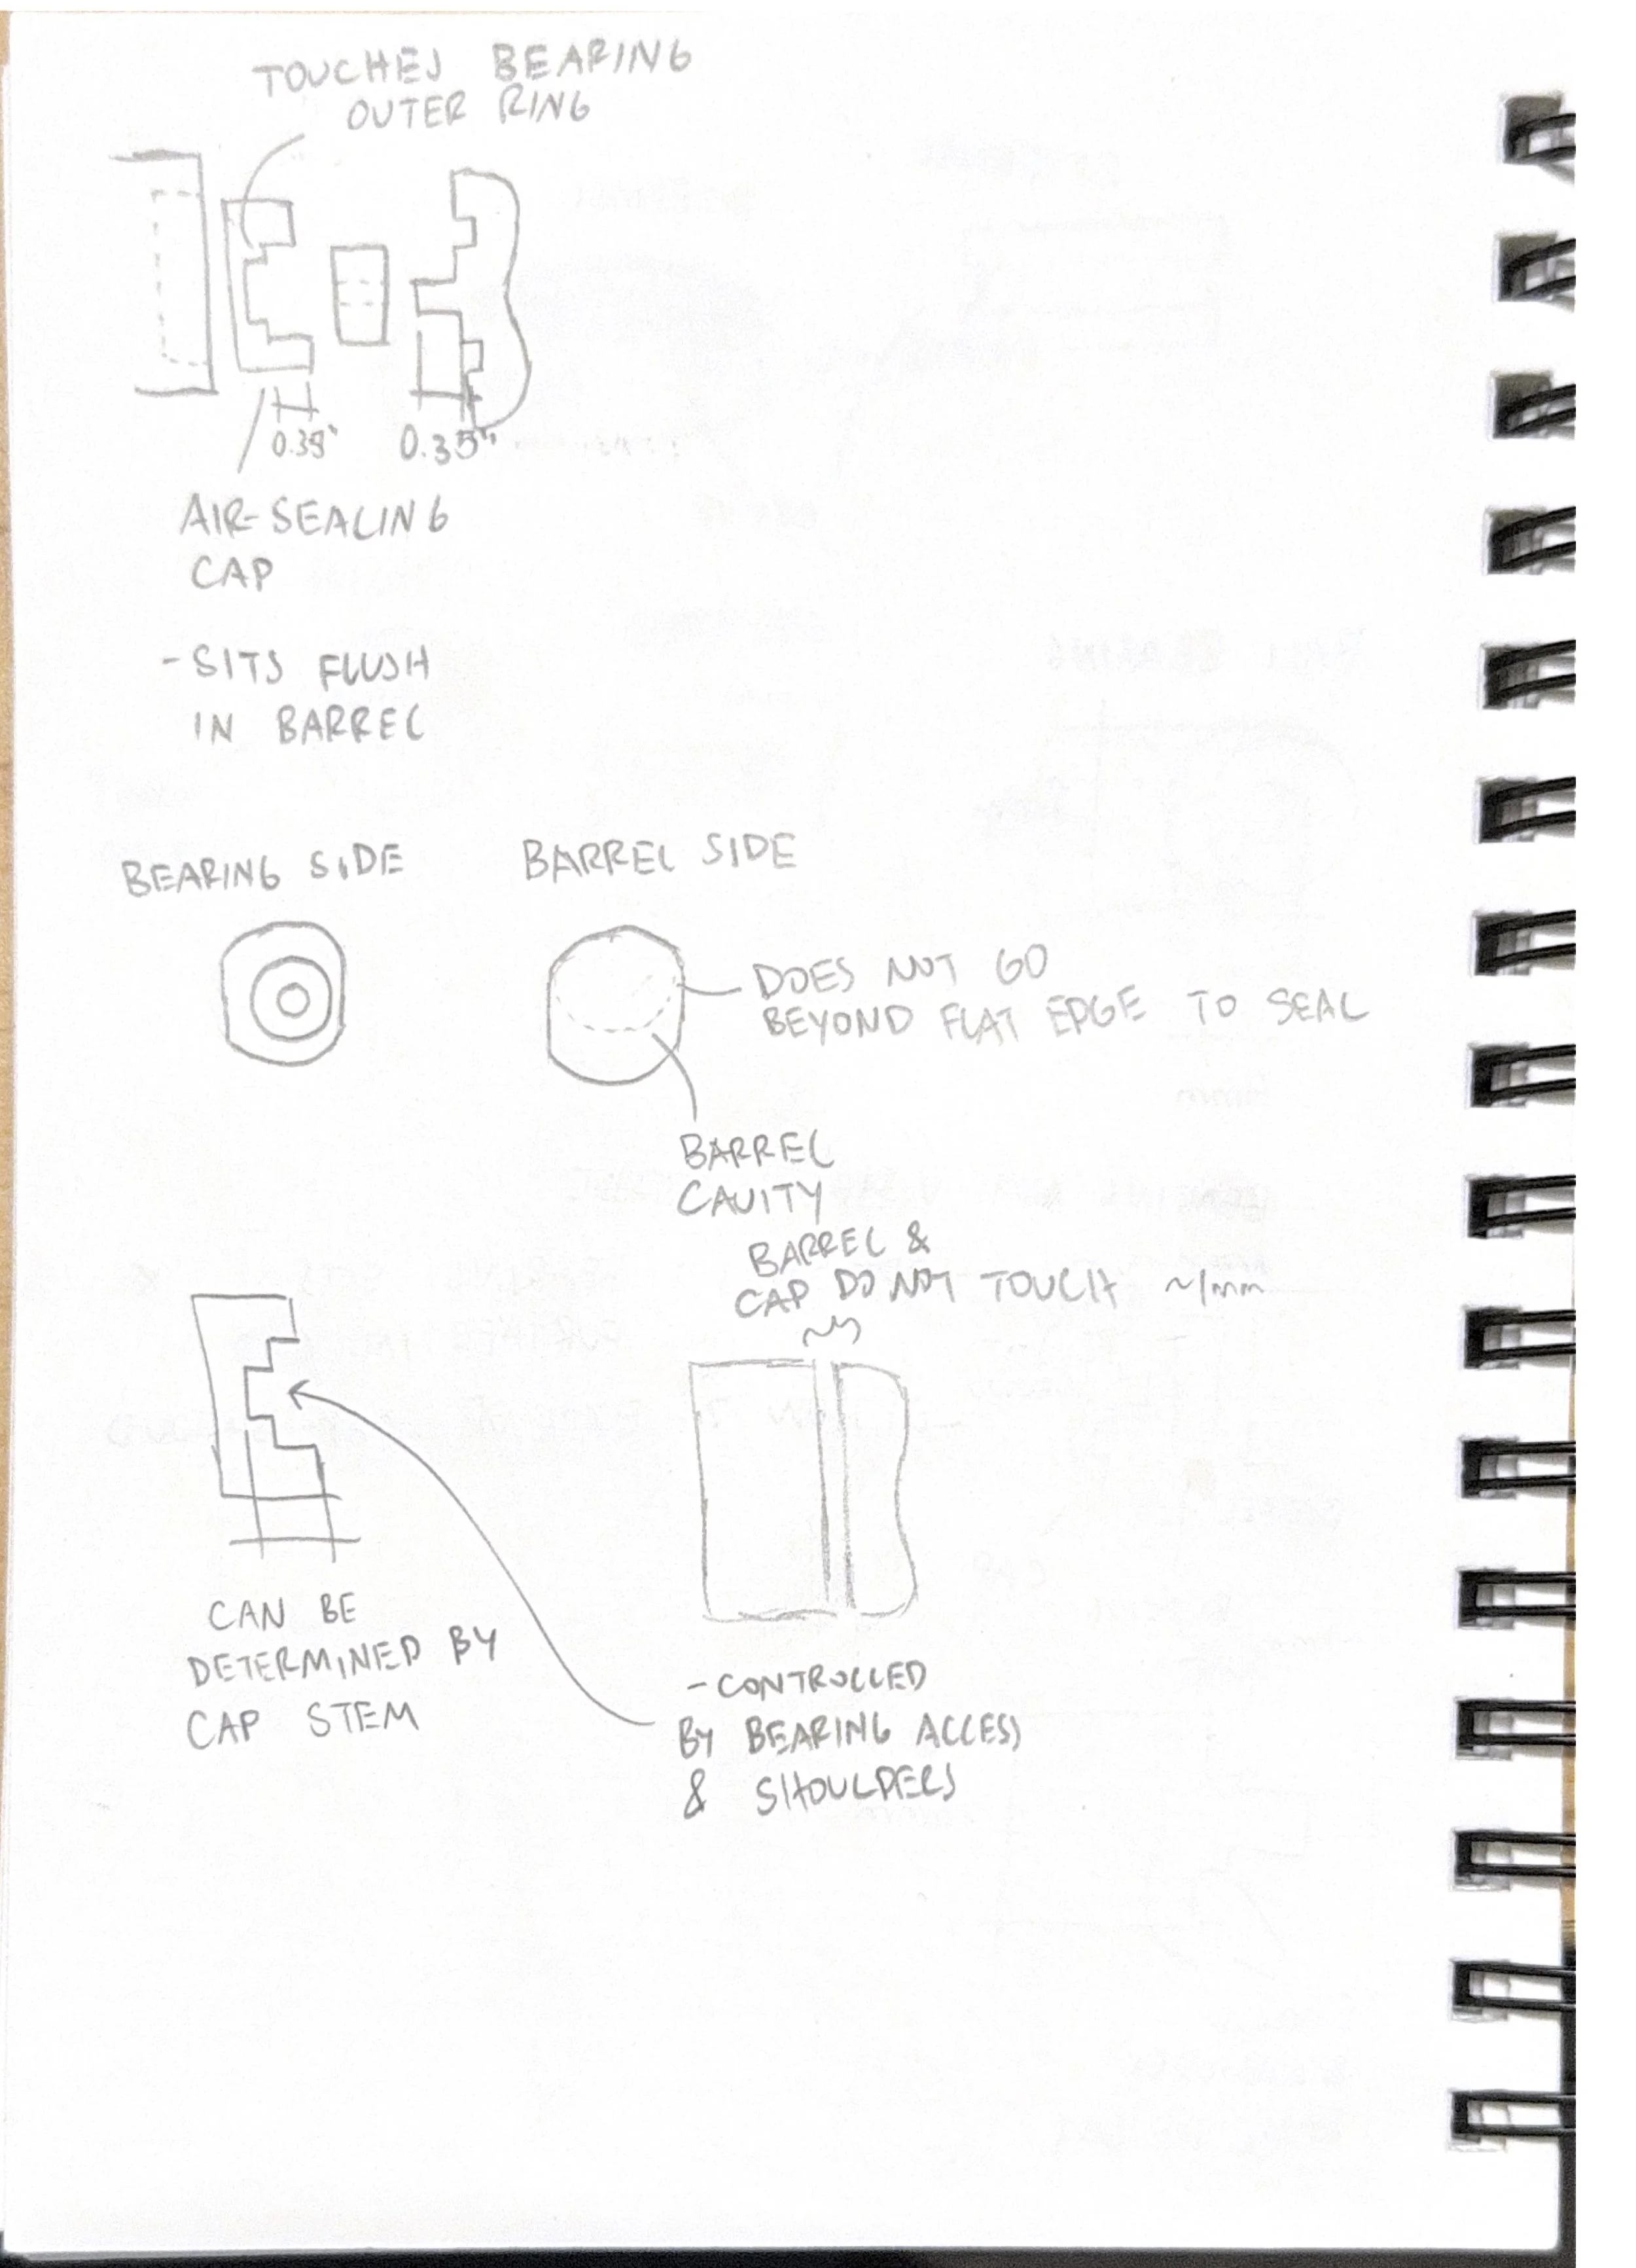
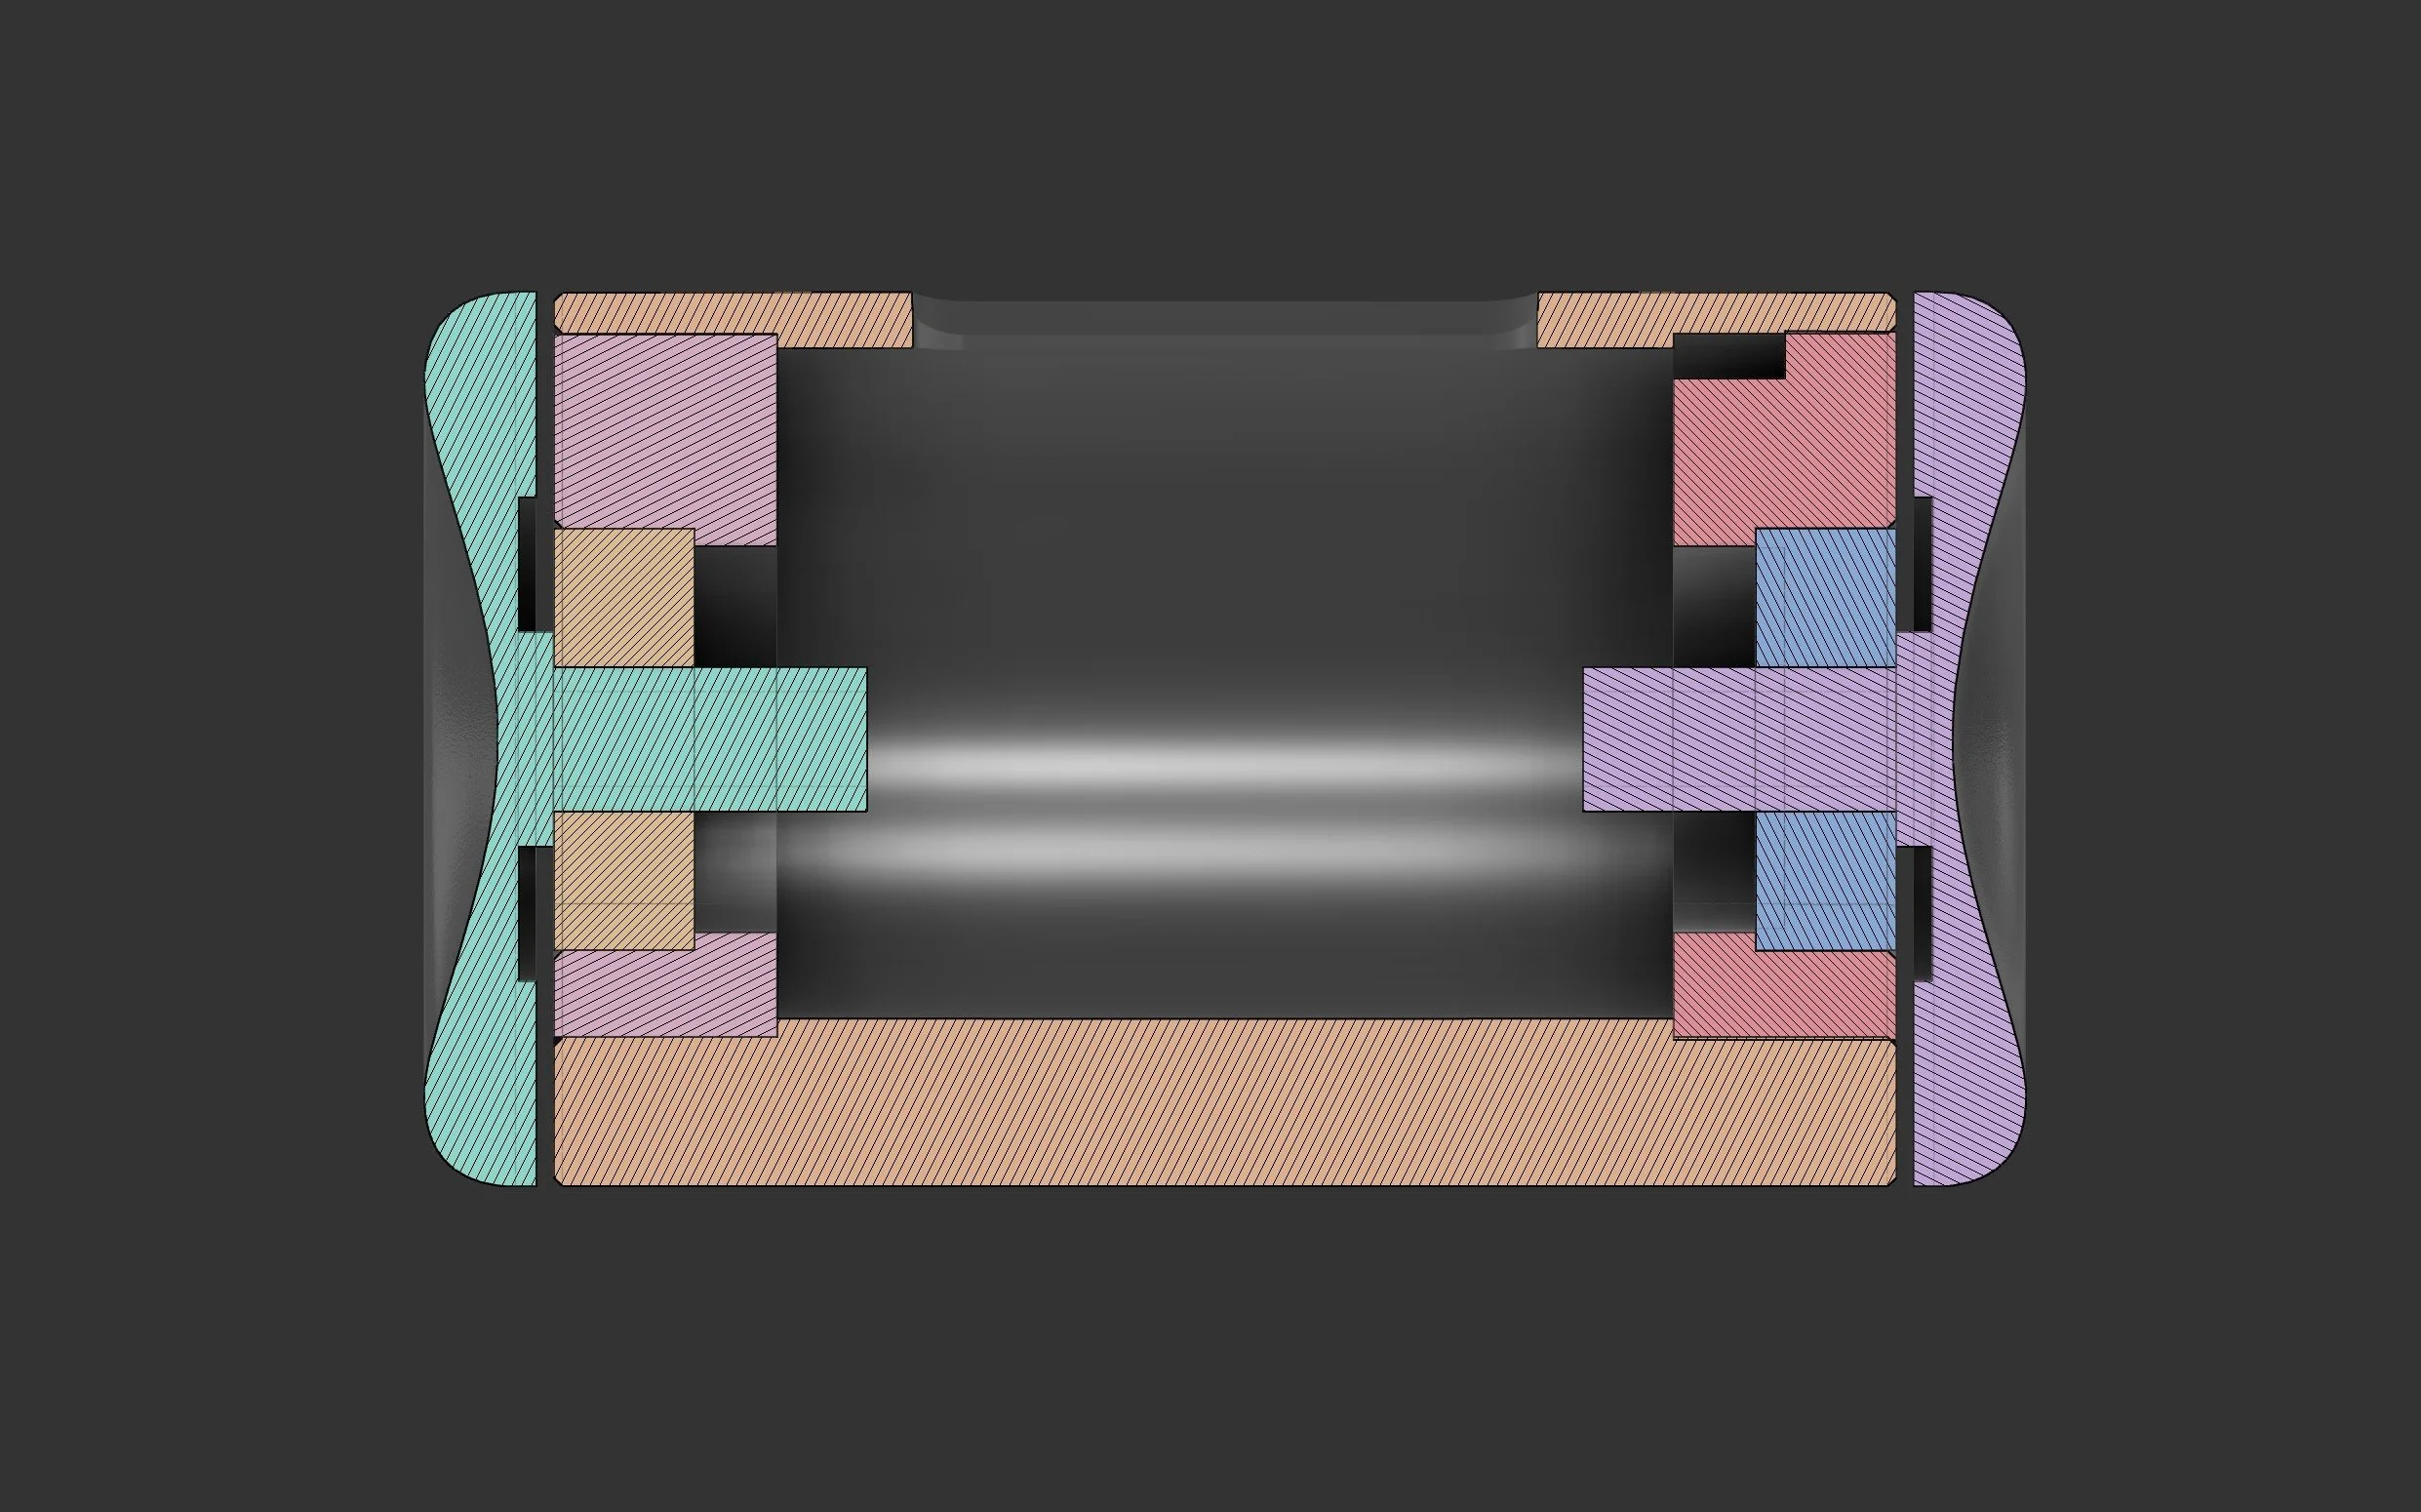
Here you can see a cross section of the whistle. The bottom of the whistle will have extra body material allowing it to stay in an upright position. Once all the parts have been press-fitted in, the air seal will touch the outer race of the ball bearing while the cap will touch the inner. There is a small gap of 0.5mm between the edge of the body and the cap with a chamfer on the body’s edge to give it a subtle shine. Both these features will allow the whistle to rotate smoothly and freely in the user’s hands.
Something important to me is that all the curves are splines. This allows a gradual curvature as the faces change angles and was a way to take advantage of the CNC’s machining capabilities.
The CAD on the right is the final iteration of my whistle and will be explained later. Some features are also overwritten due to refinement. For instance, the caps’ stems end at bottom of the air seals and the seals themselves have a solid filled bottom half.

Prototyping
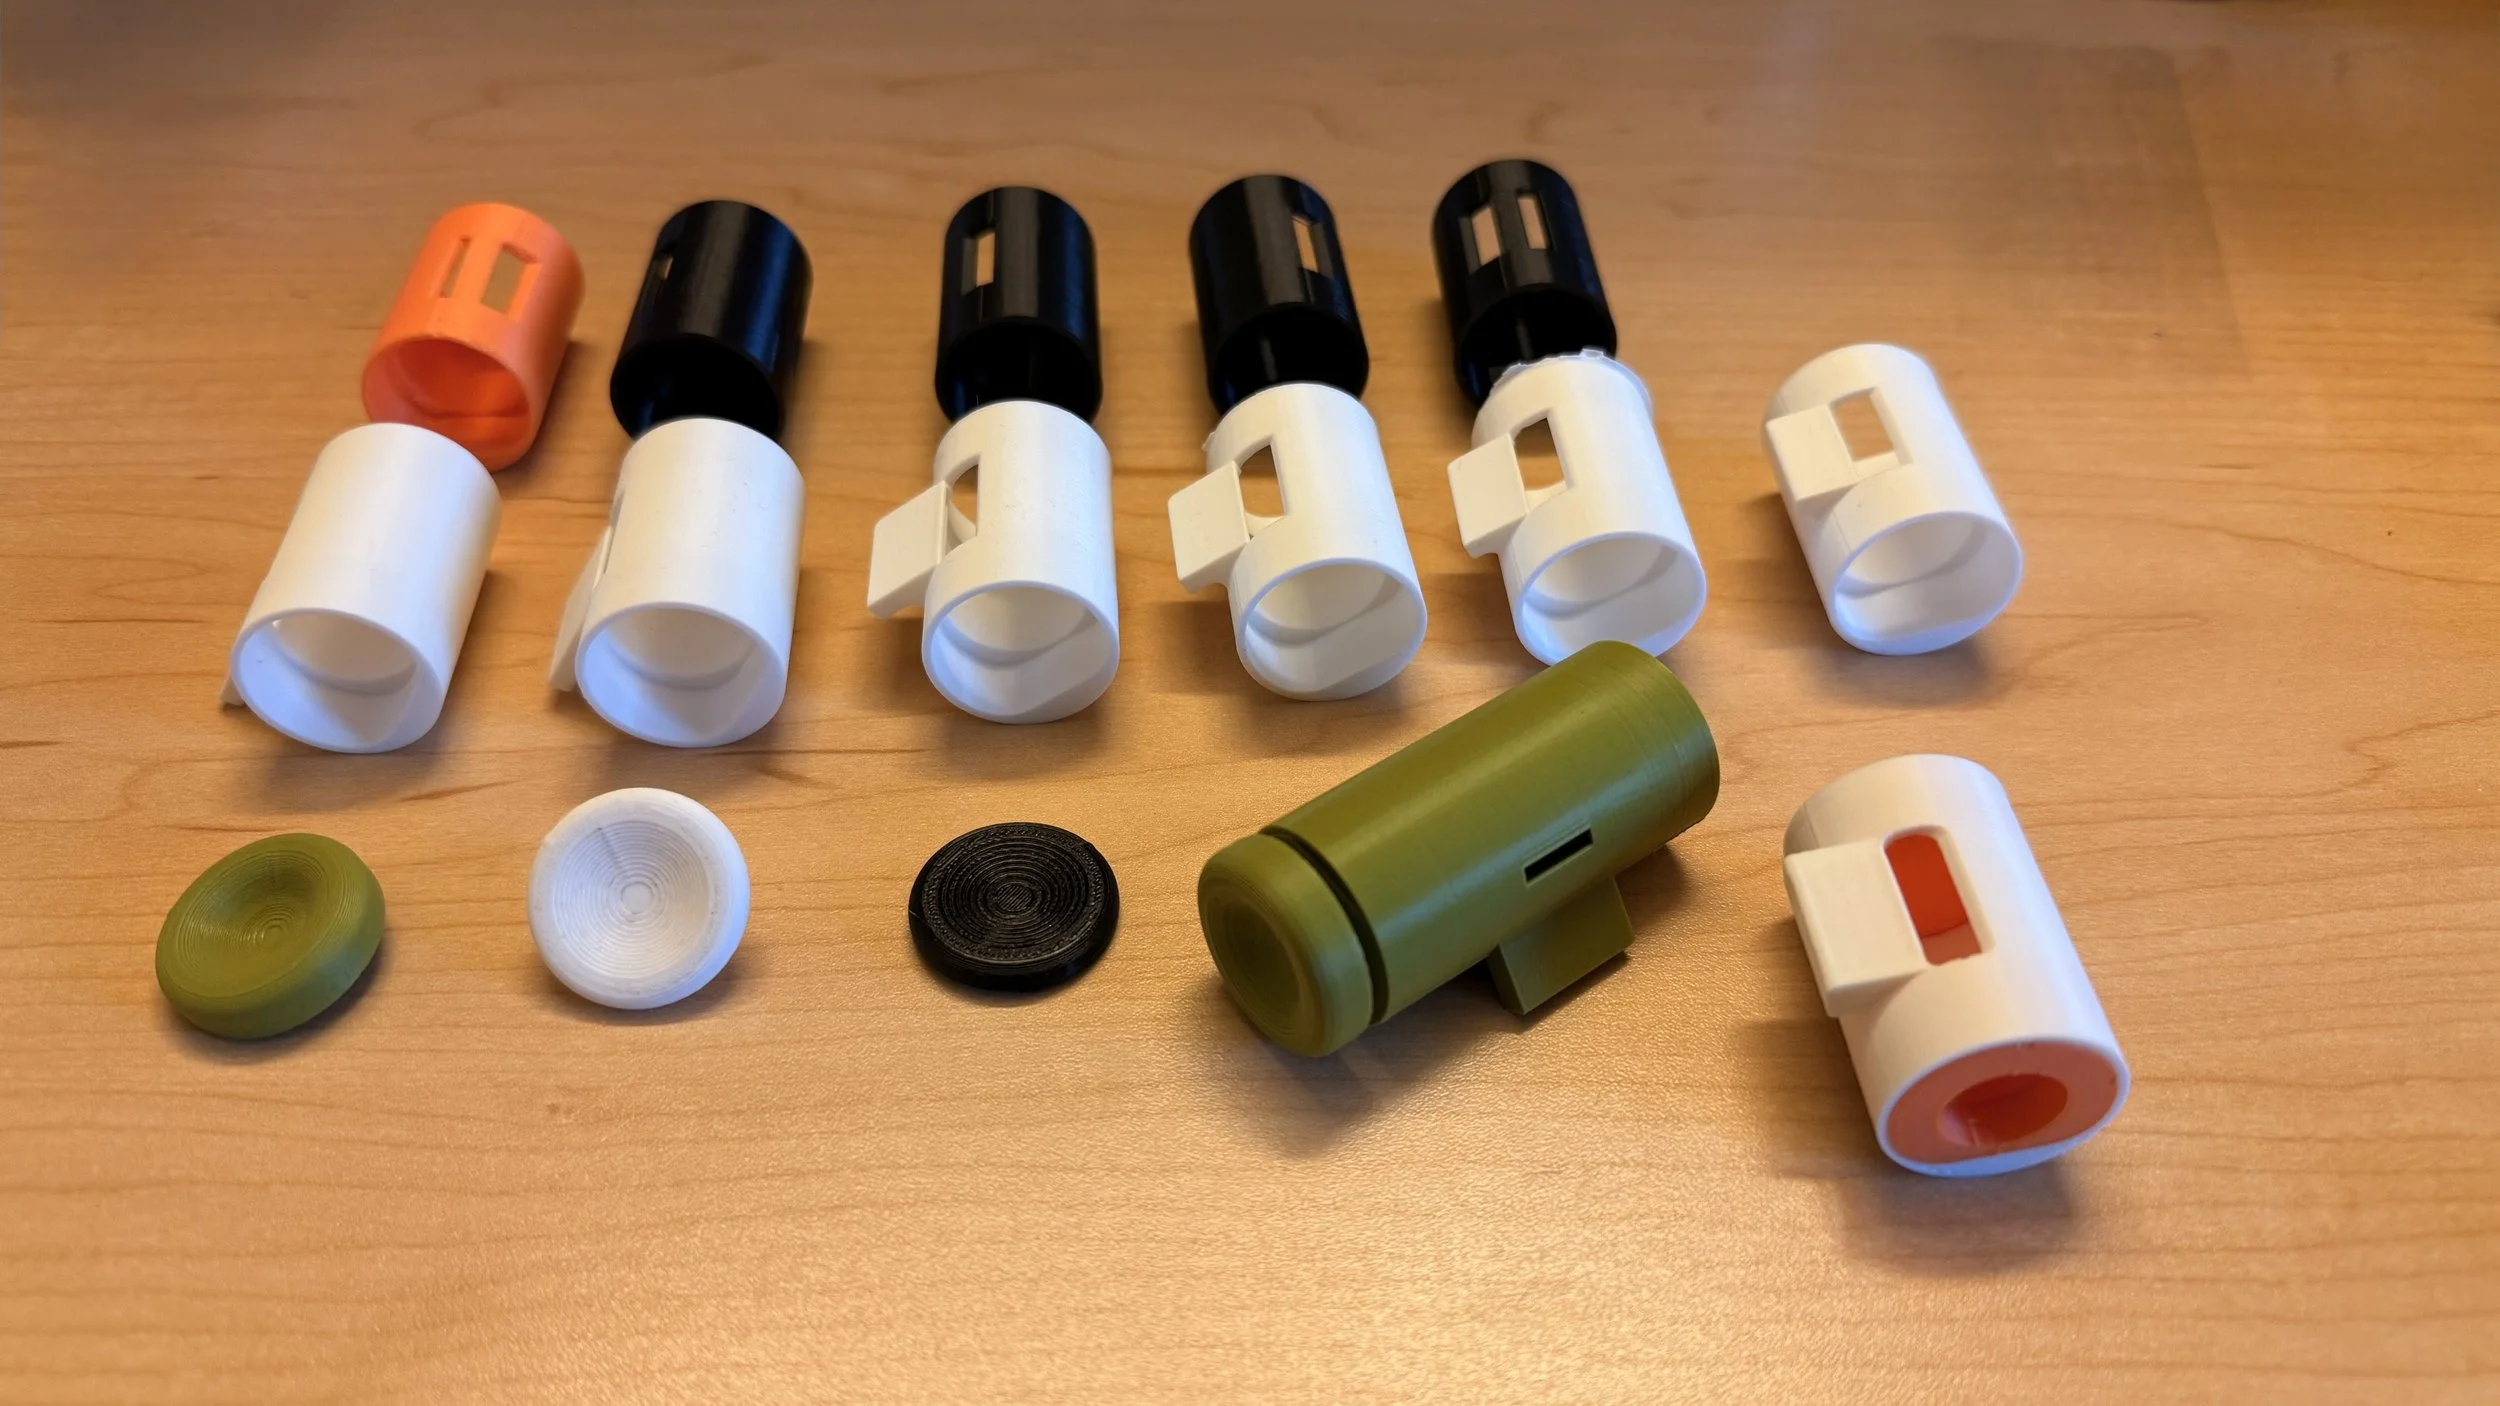
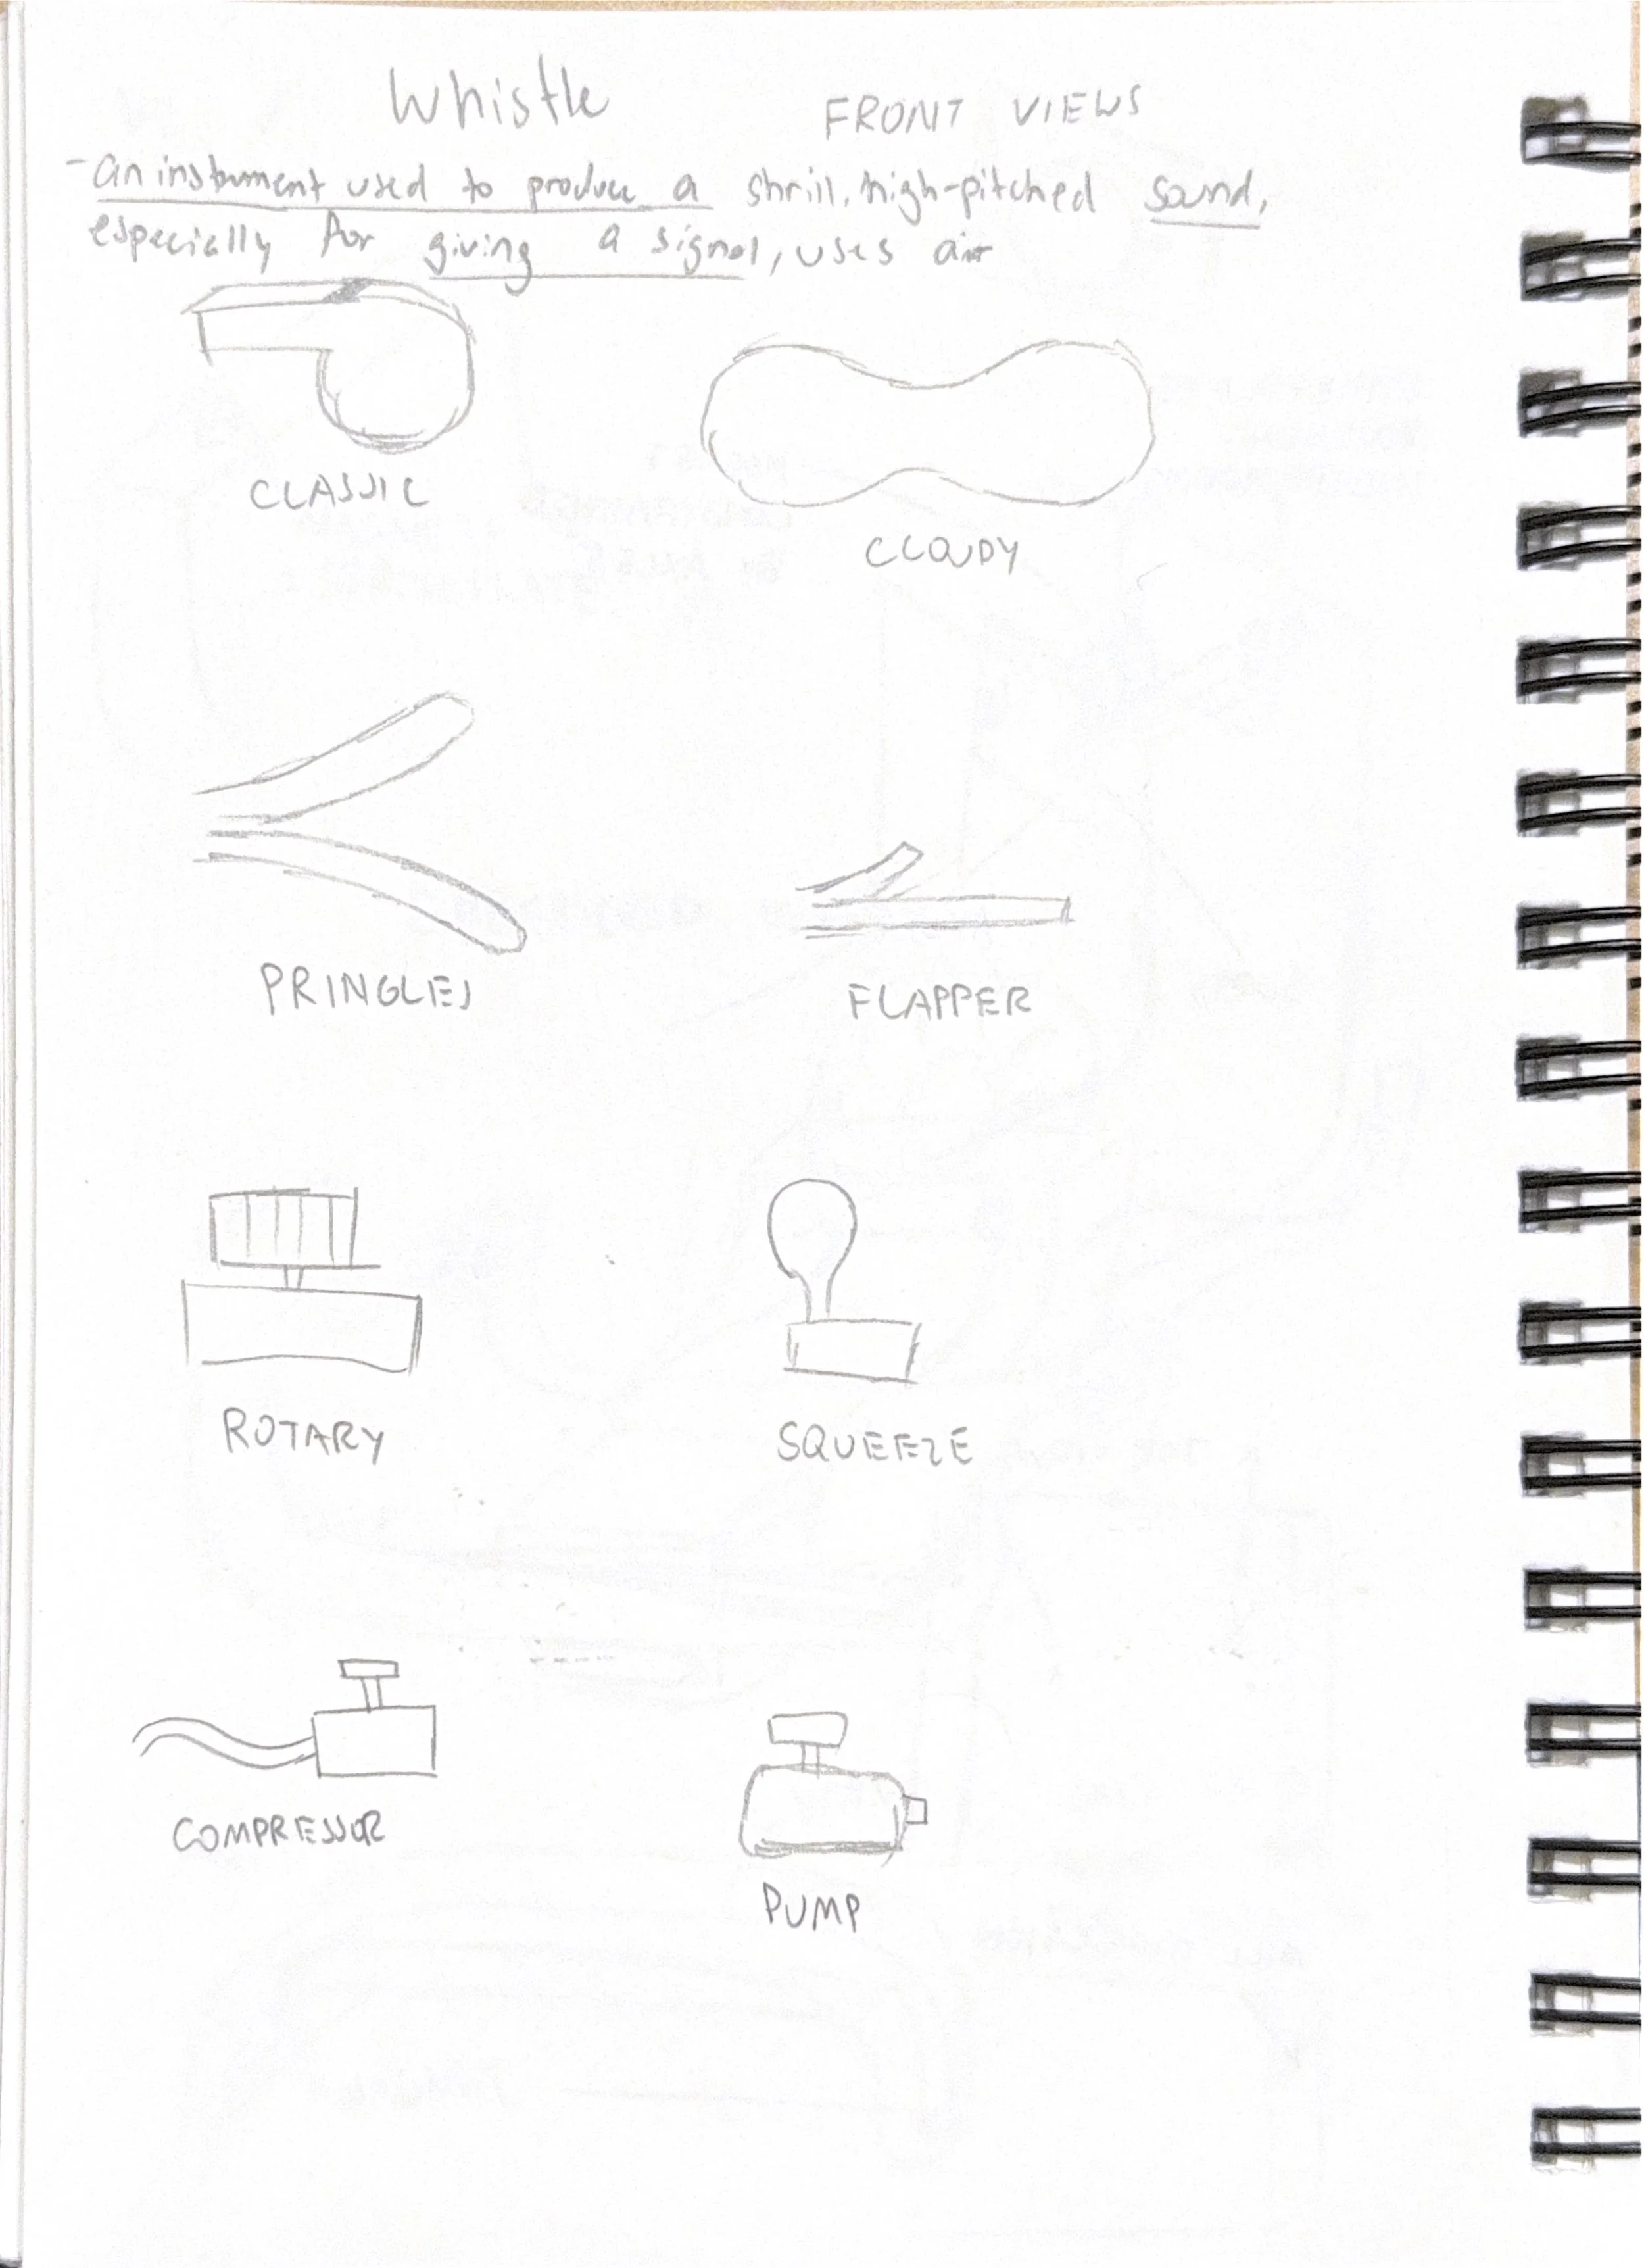
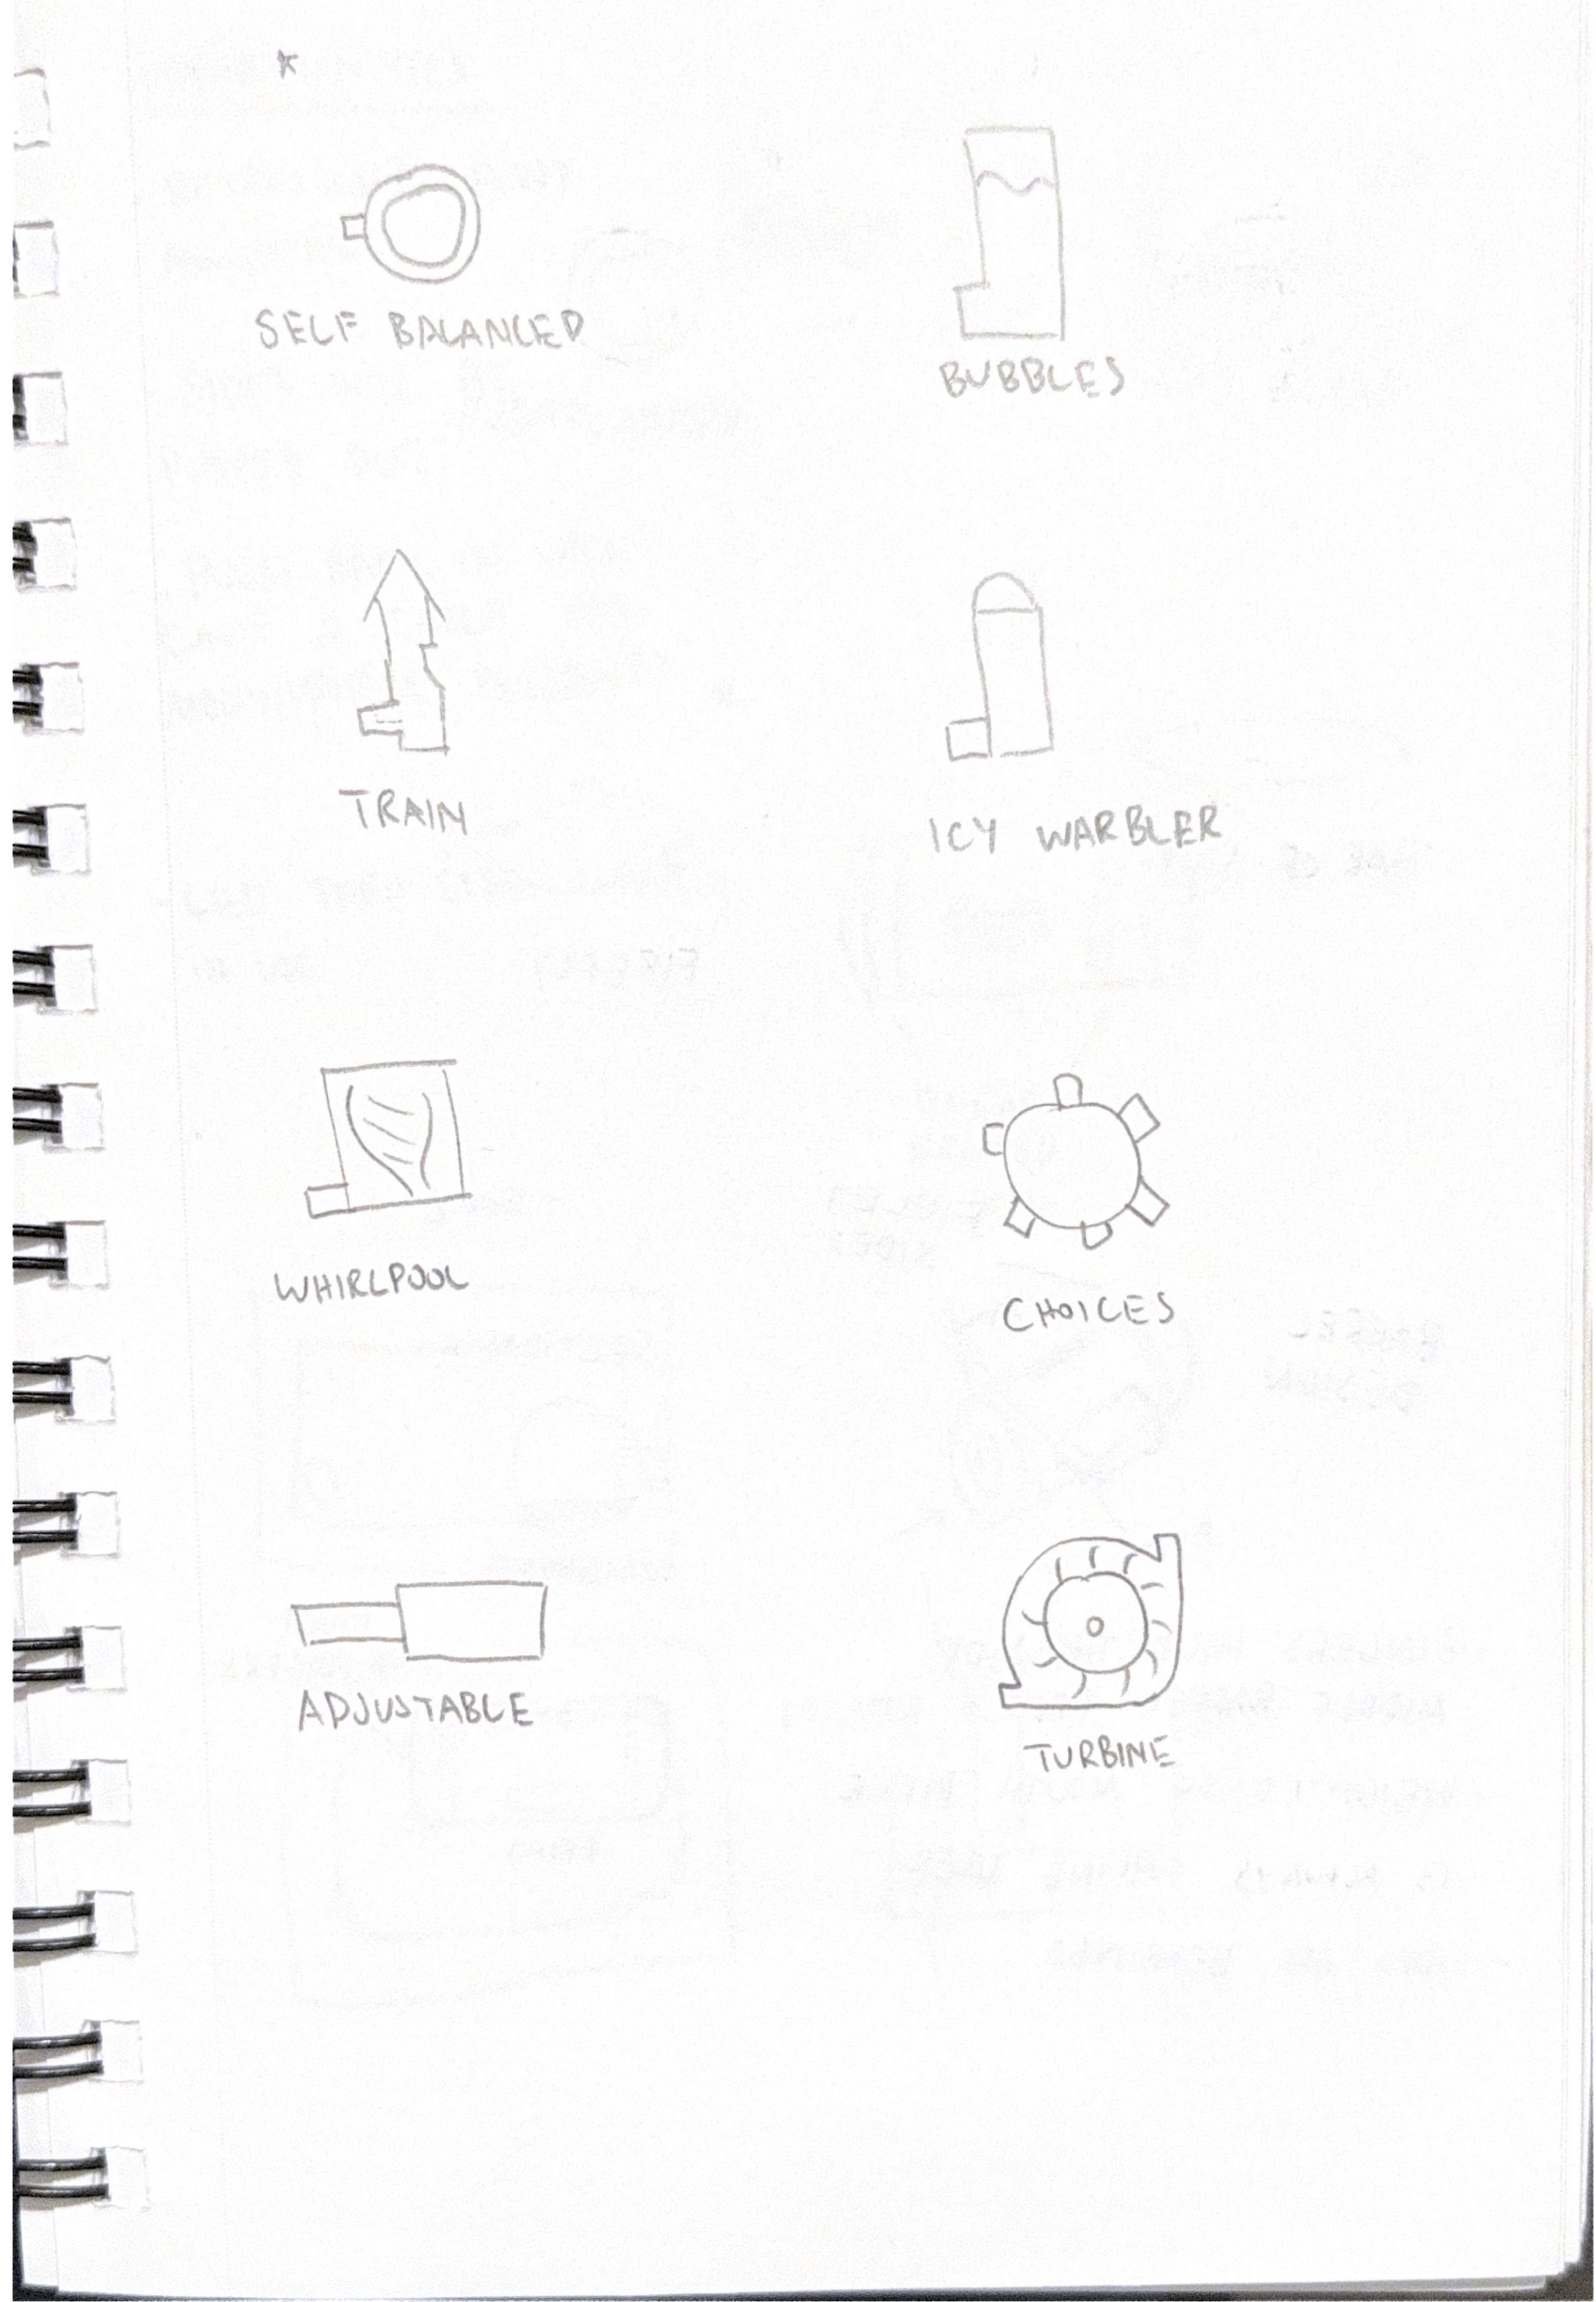
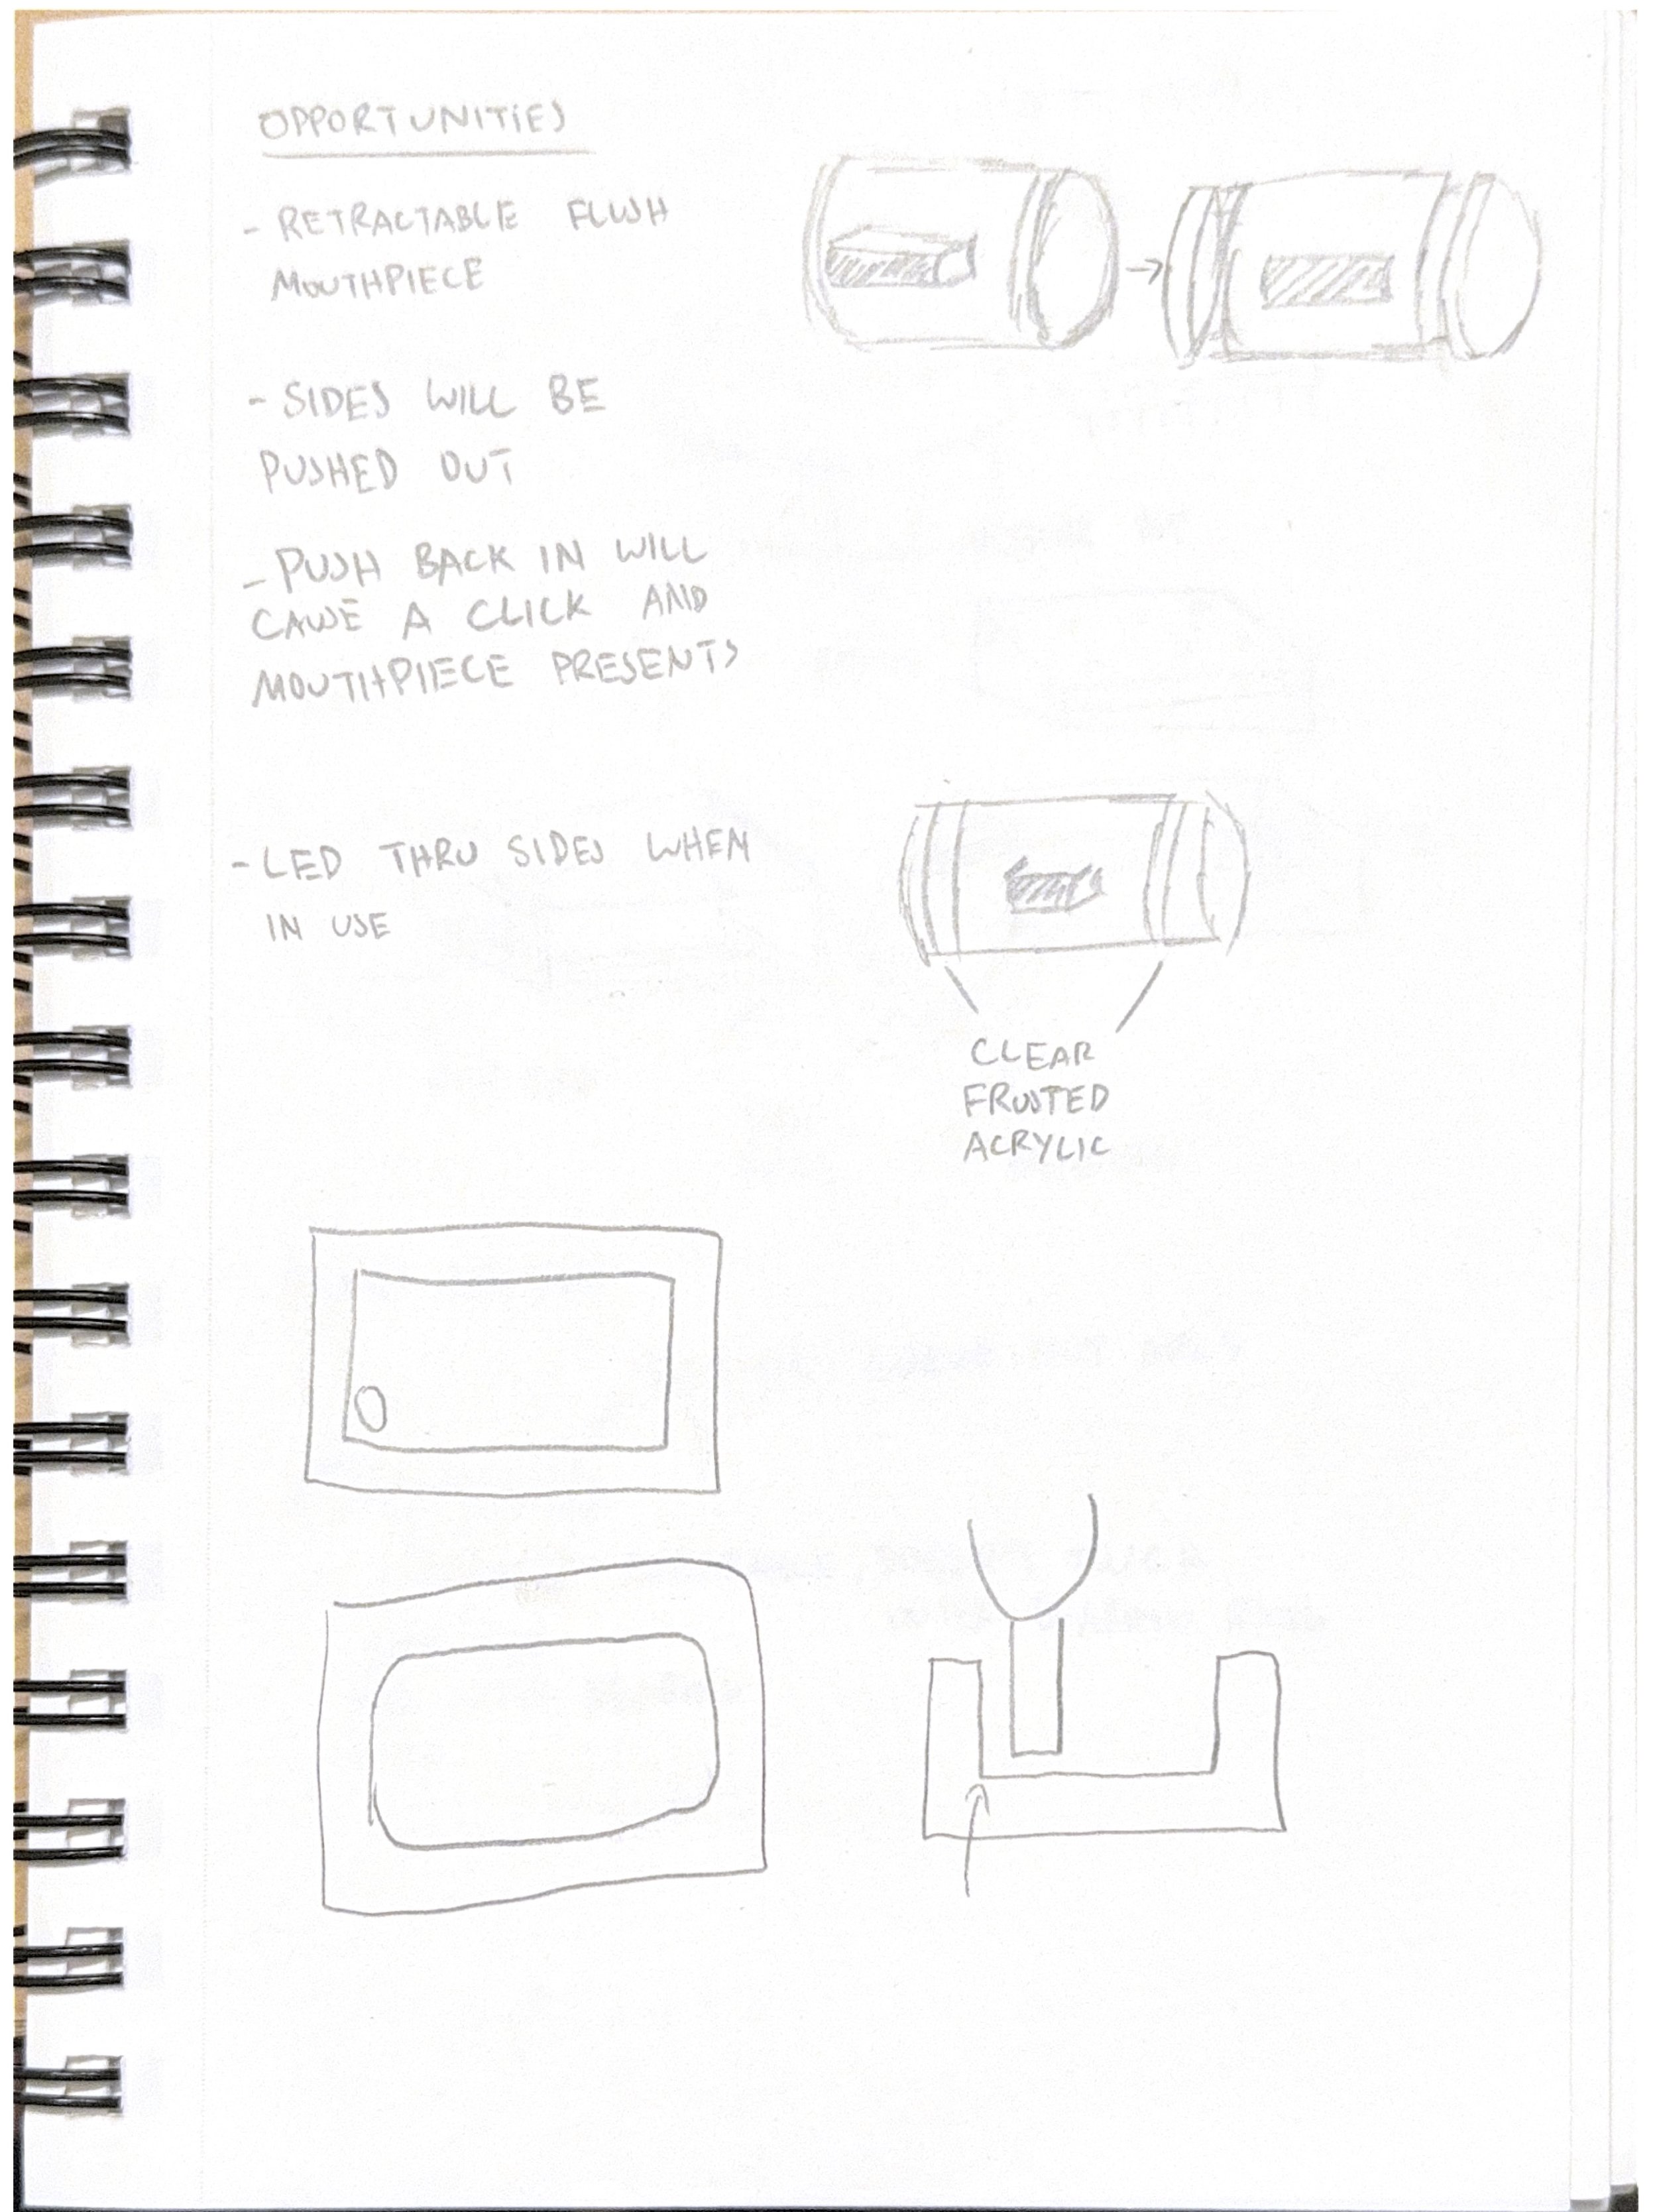
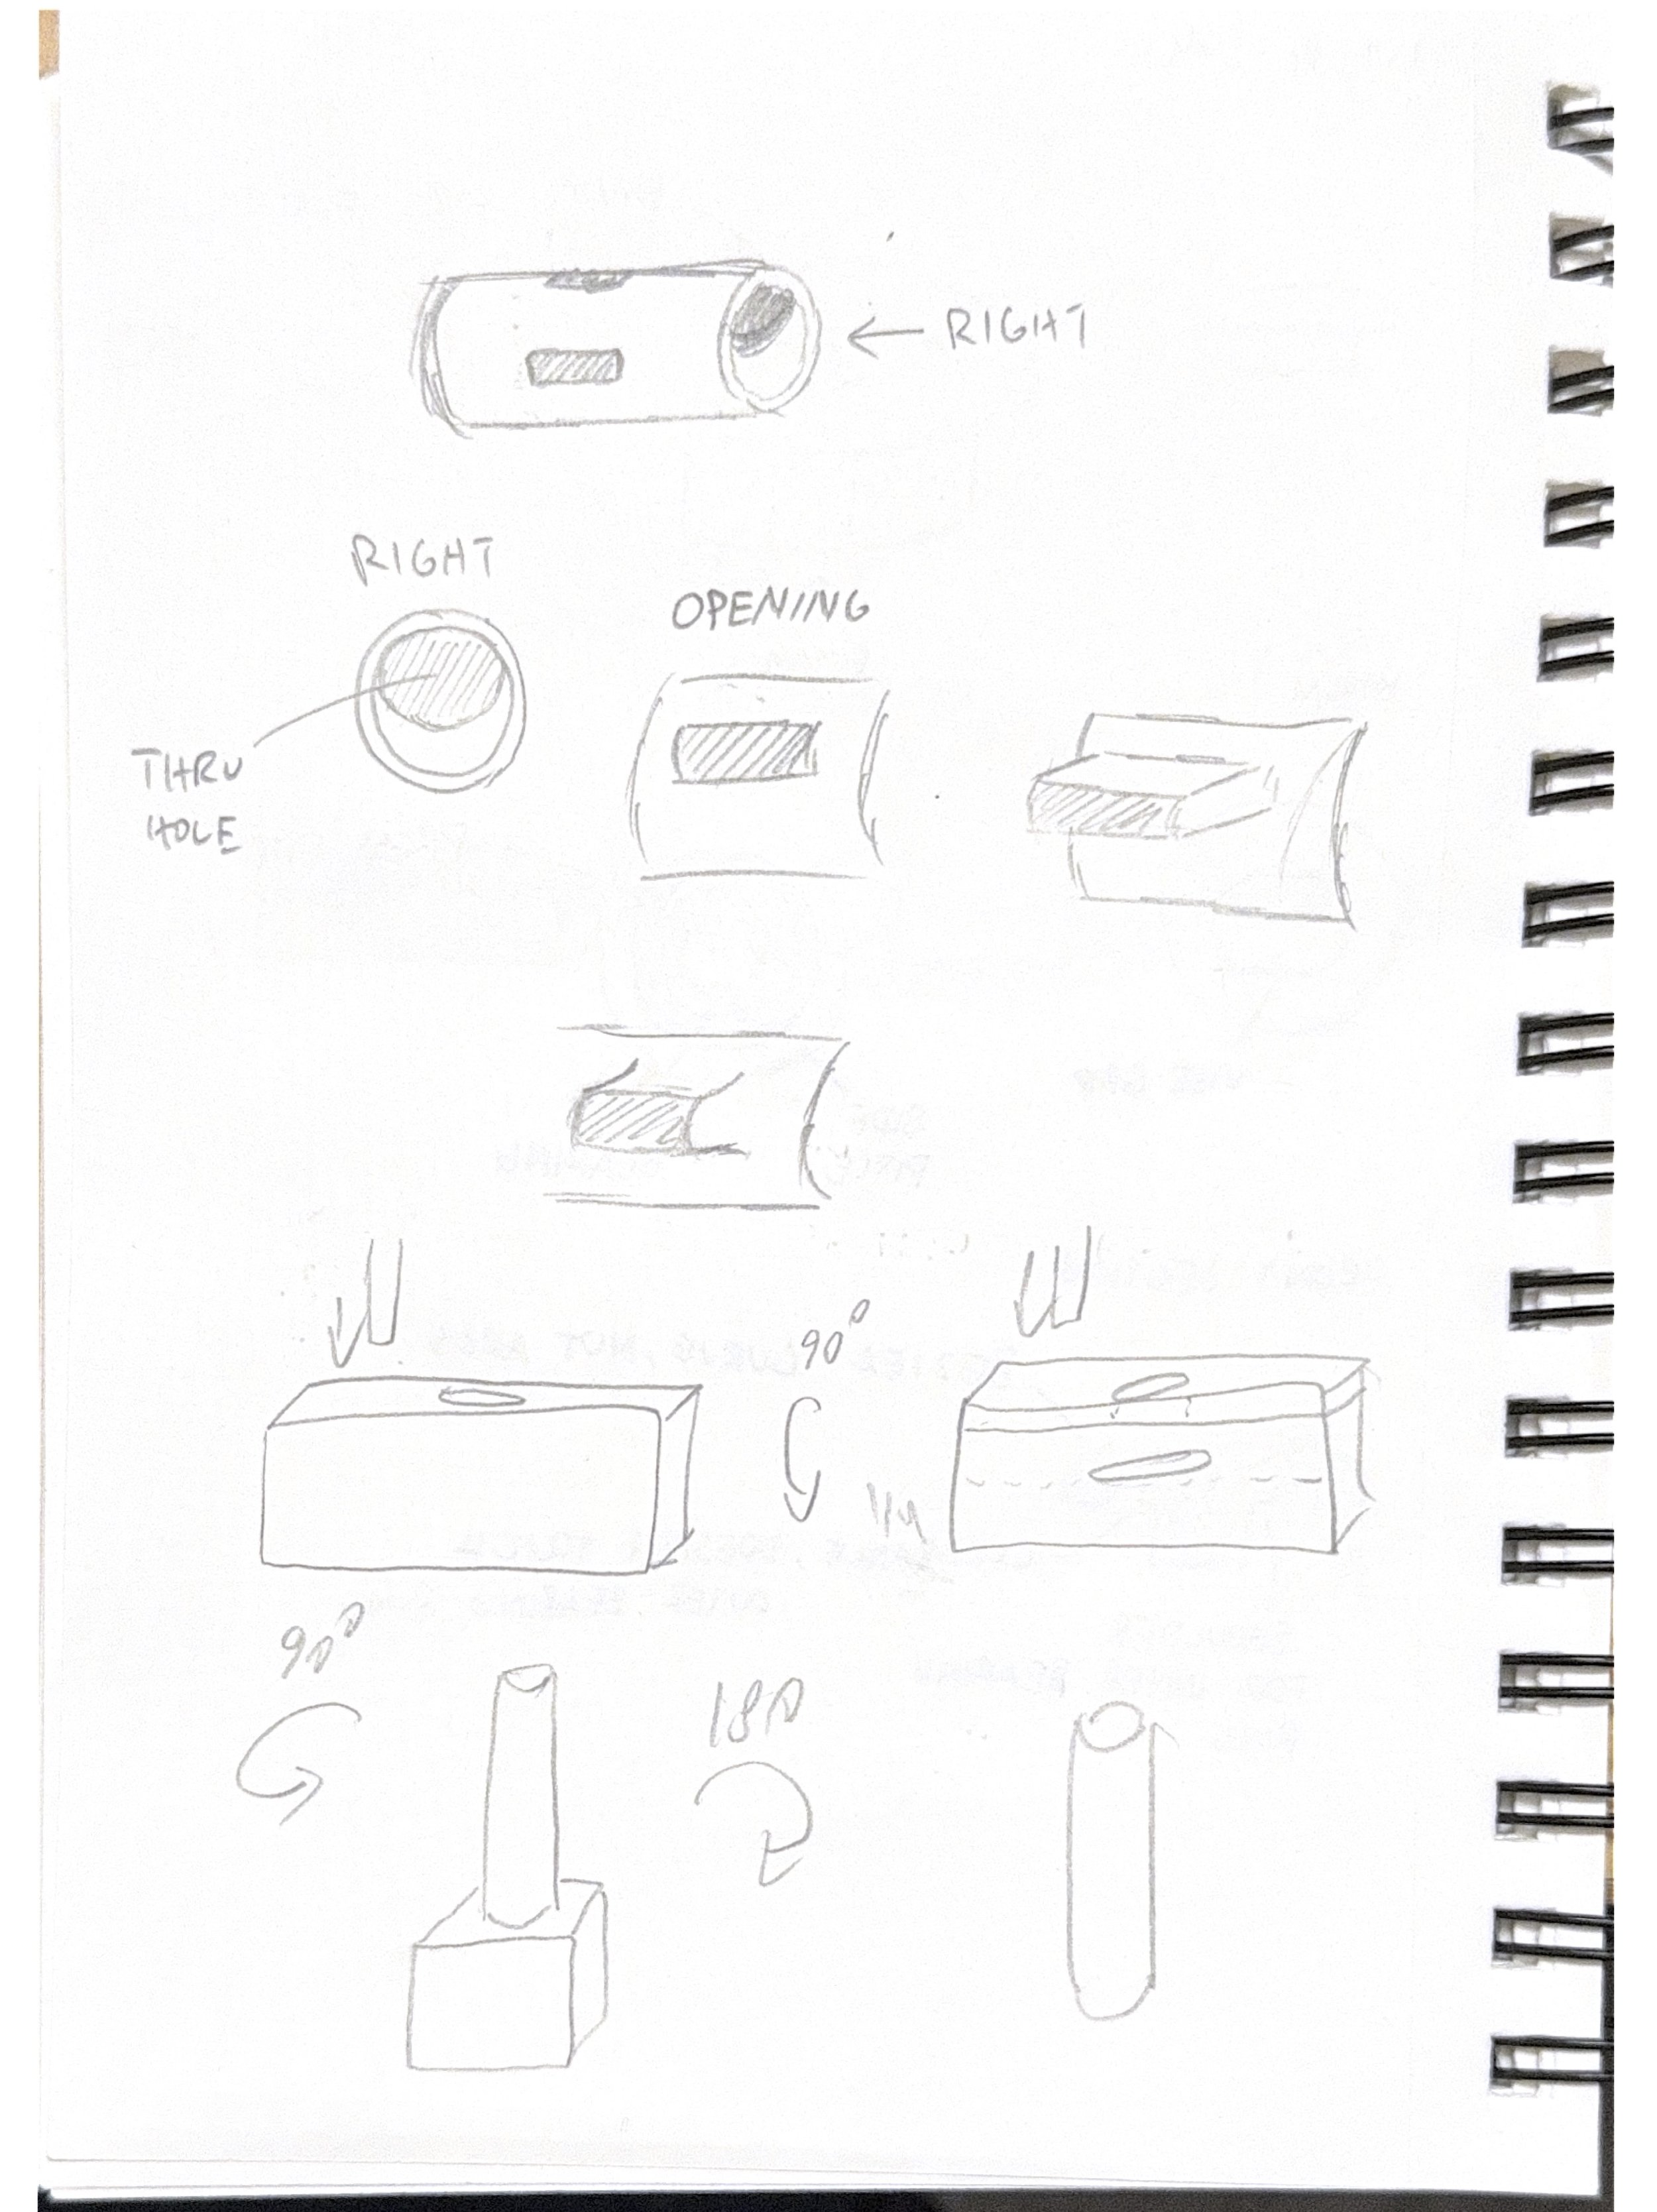
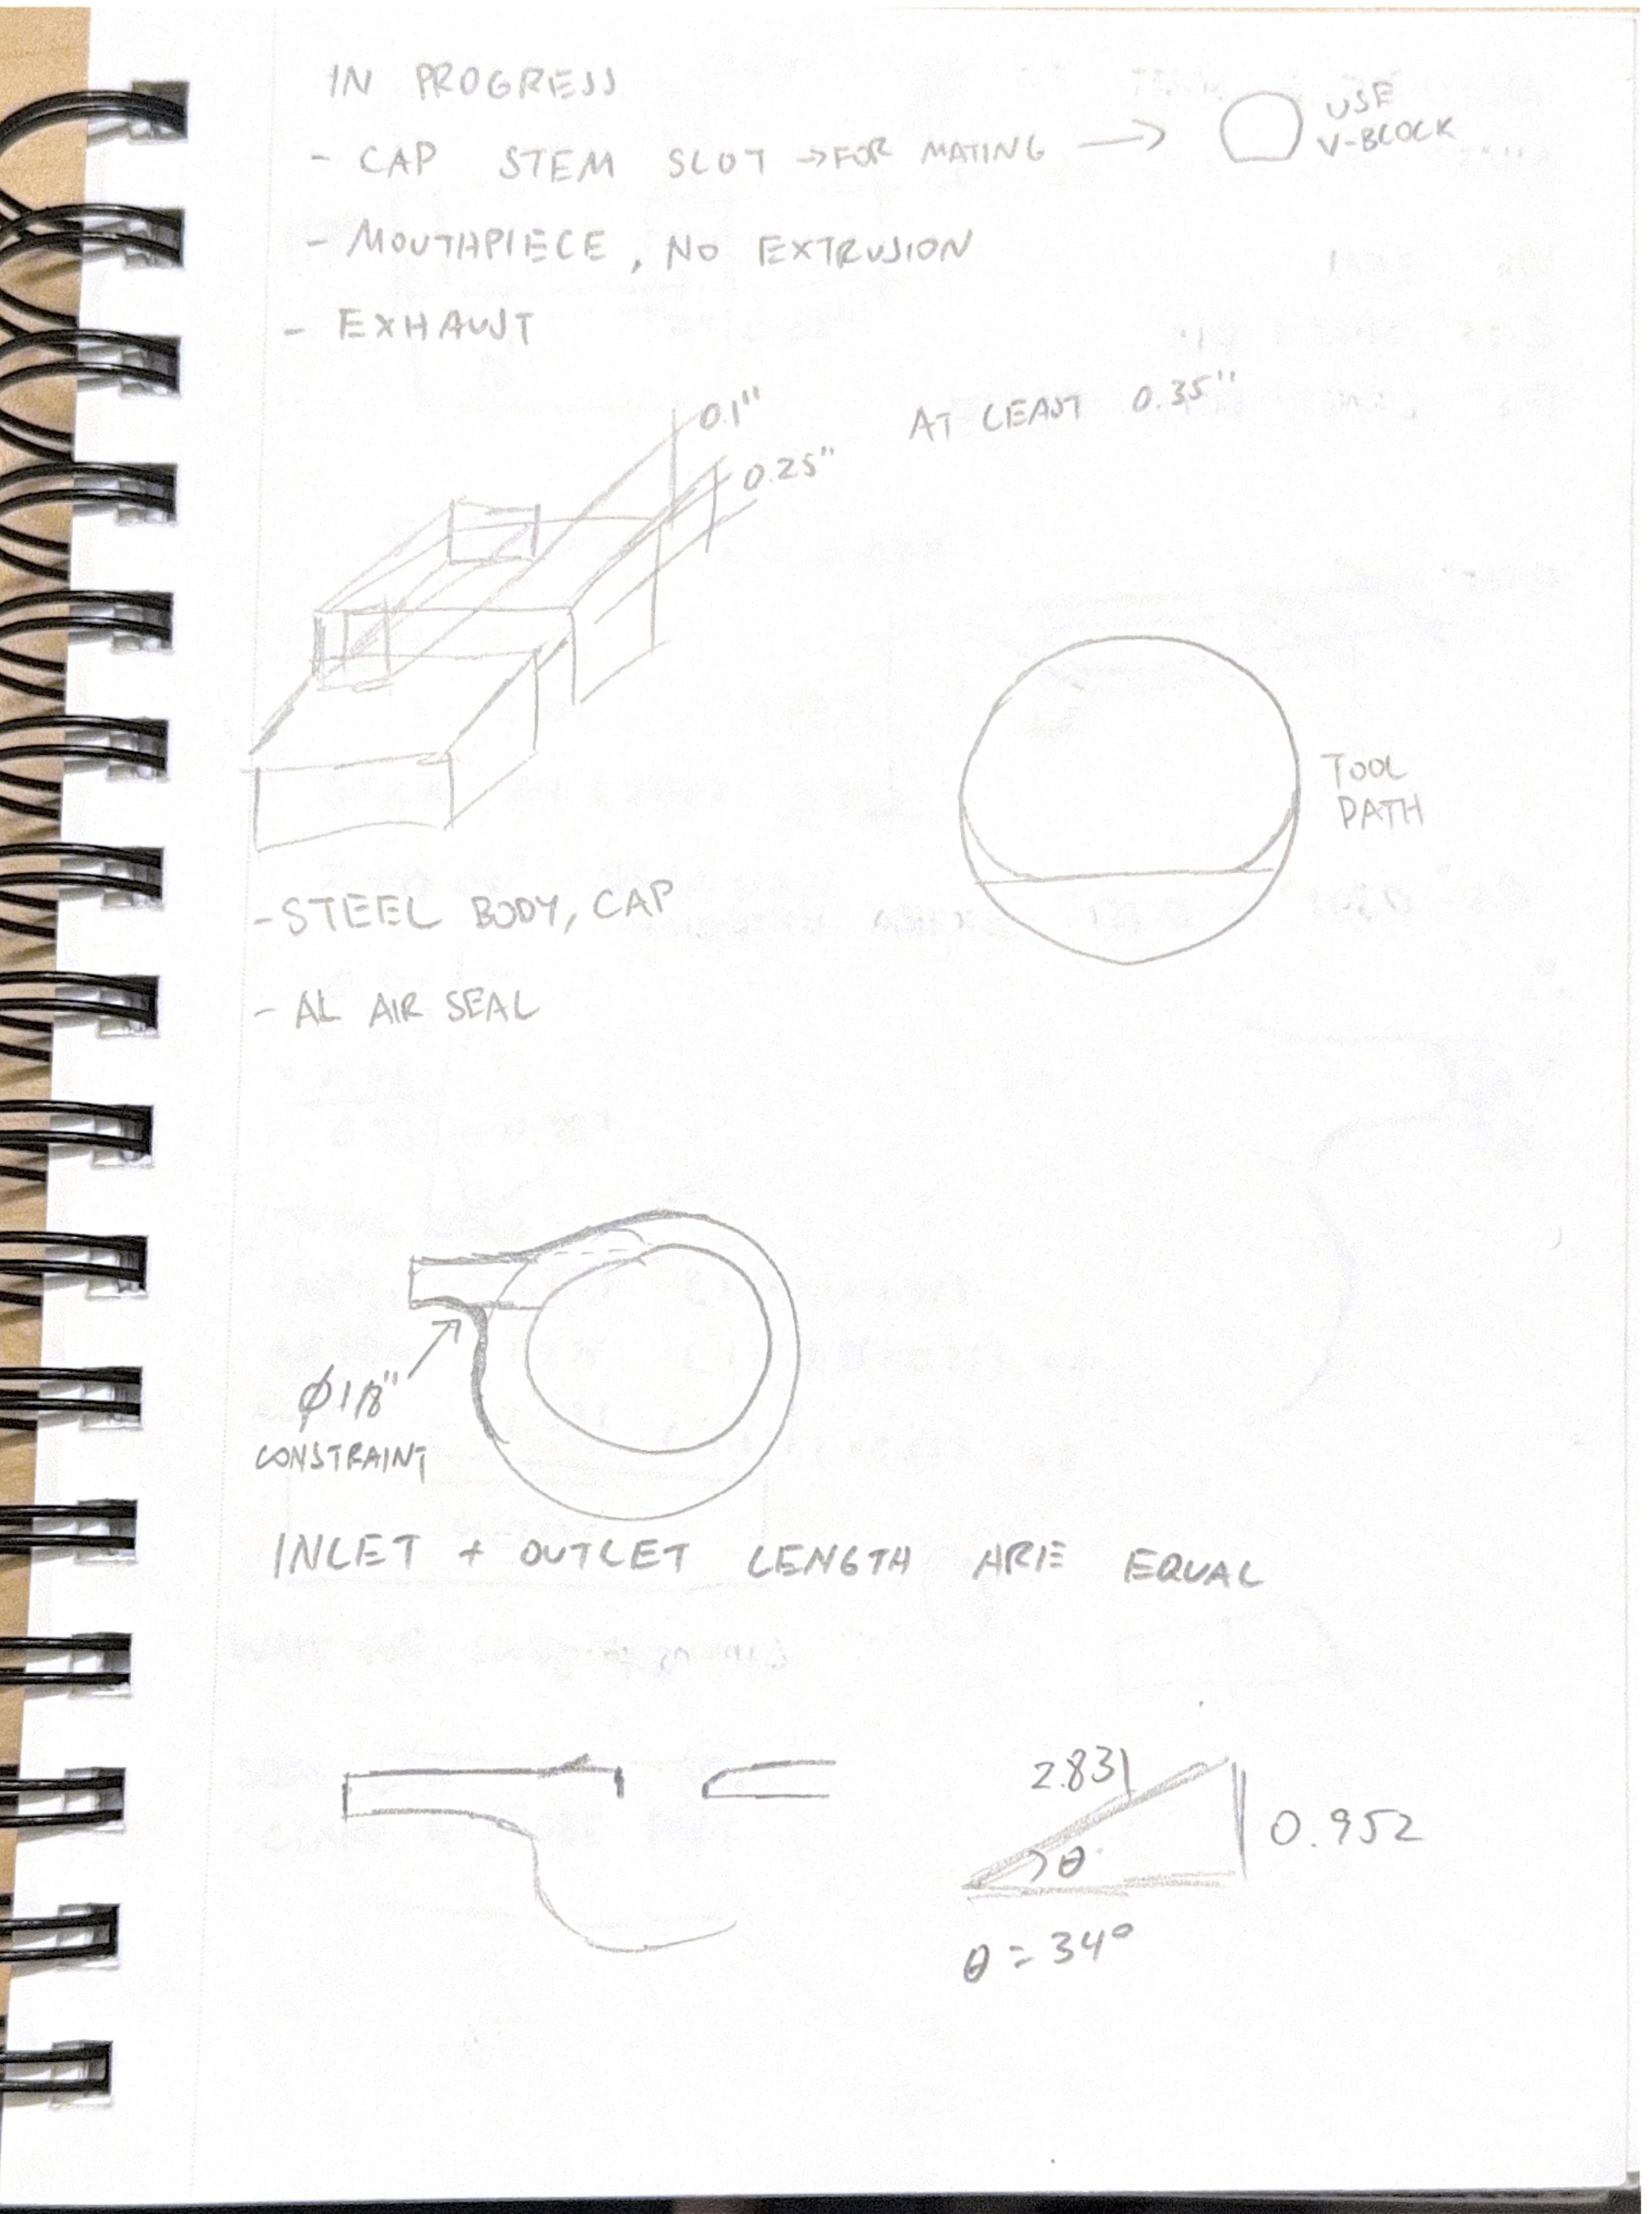
There was a lot to consider for my whistle as it had so many parts. Initially, I wanted it to be a smooth barrel with no protruding parts. The fipple and the exhaust were positioned near the bottom so it looked like a solid piece of metal from the top. However, this not only threw the weight off, but it also didn’t make a sound. I researched a classic referee whistle and incorporated that type of design, making various adjustments to the length of the fipple to prevent it from tipping over too much. Dimensions of the inlet and outlet also had to be refined to make a sound.
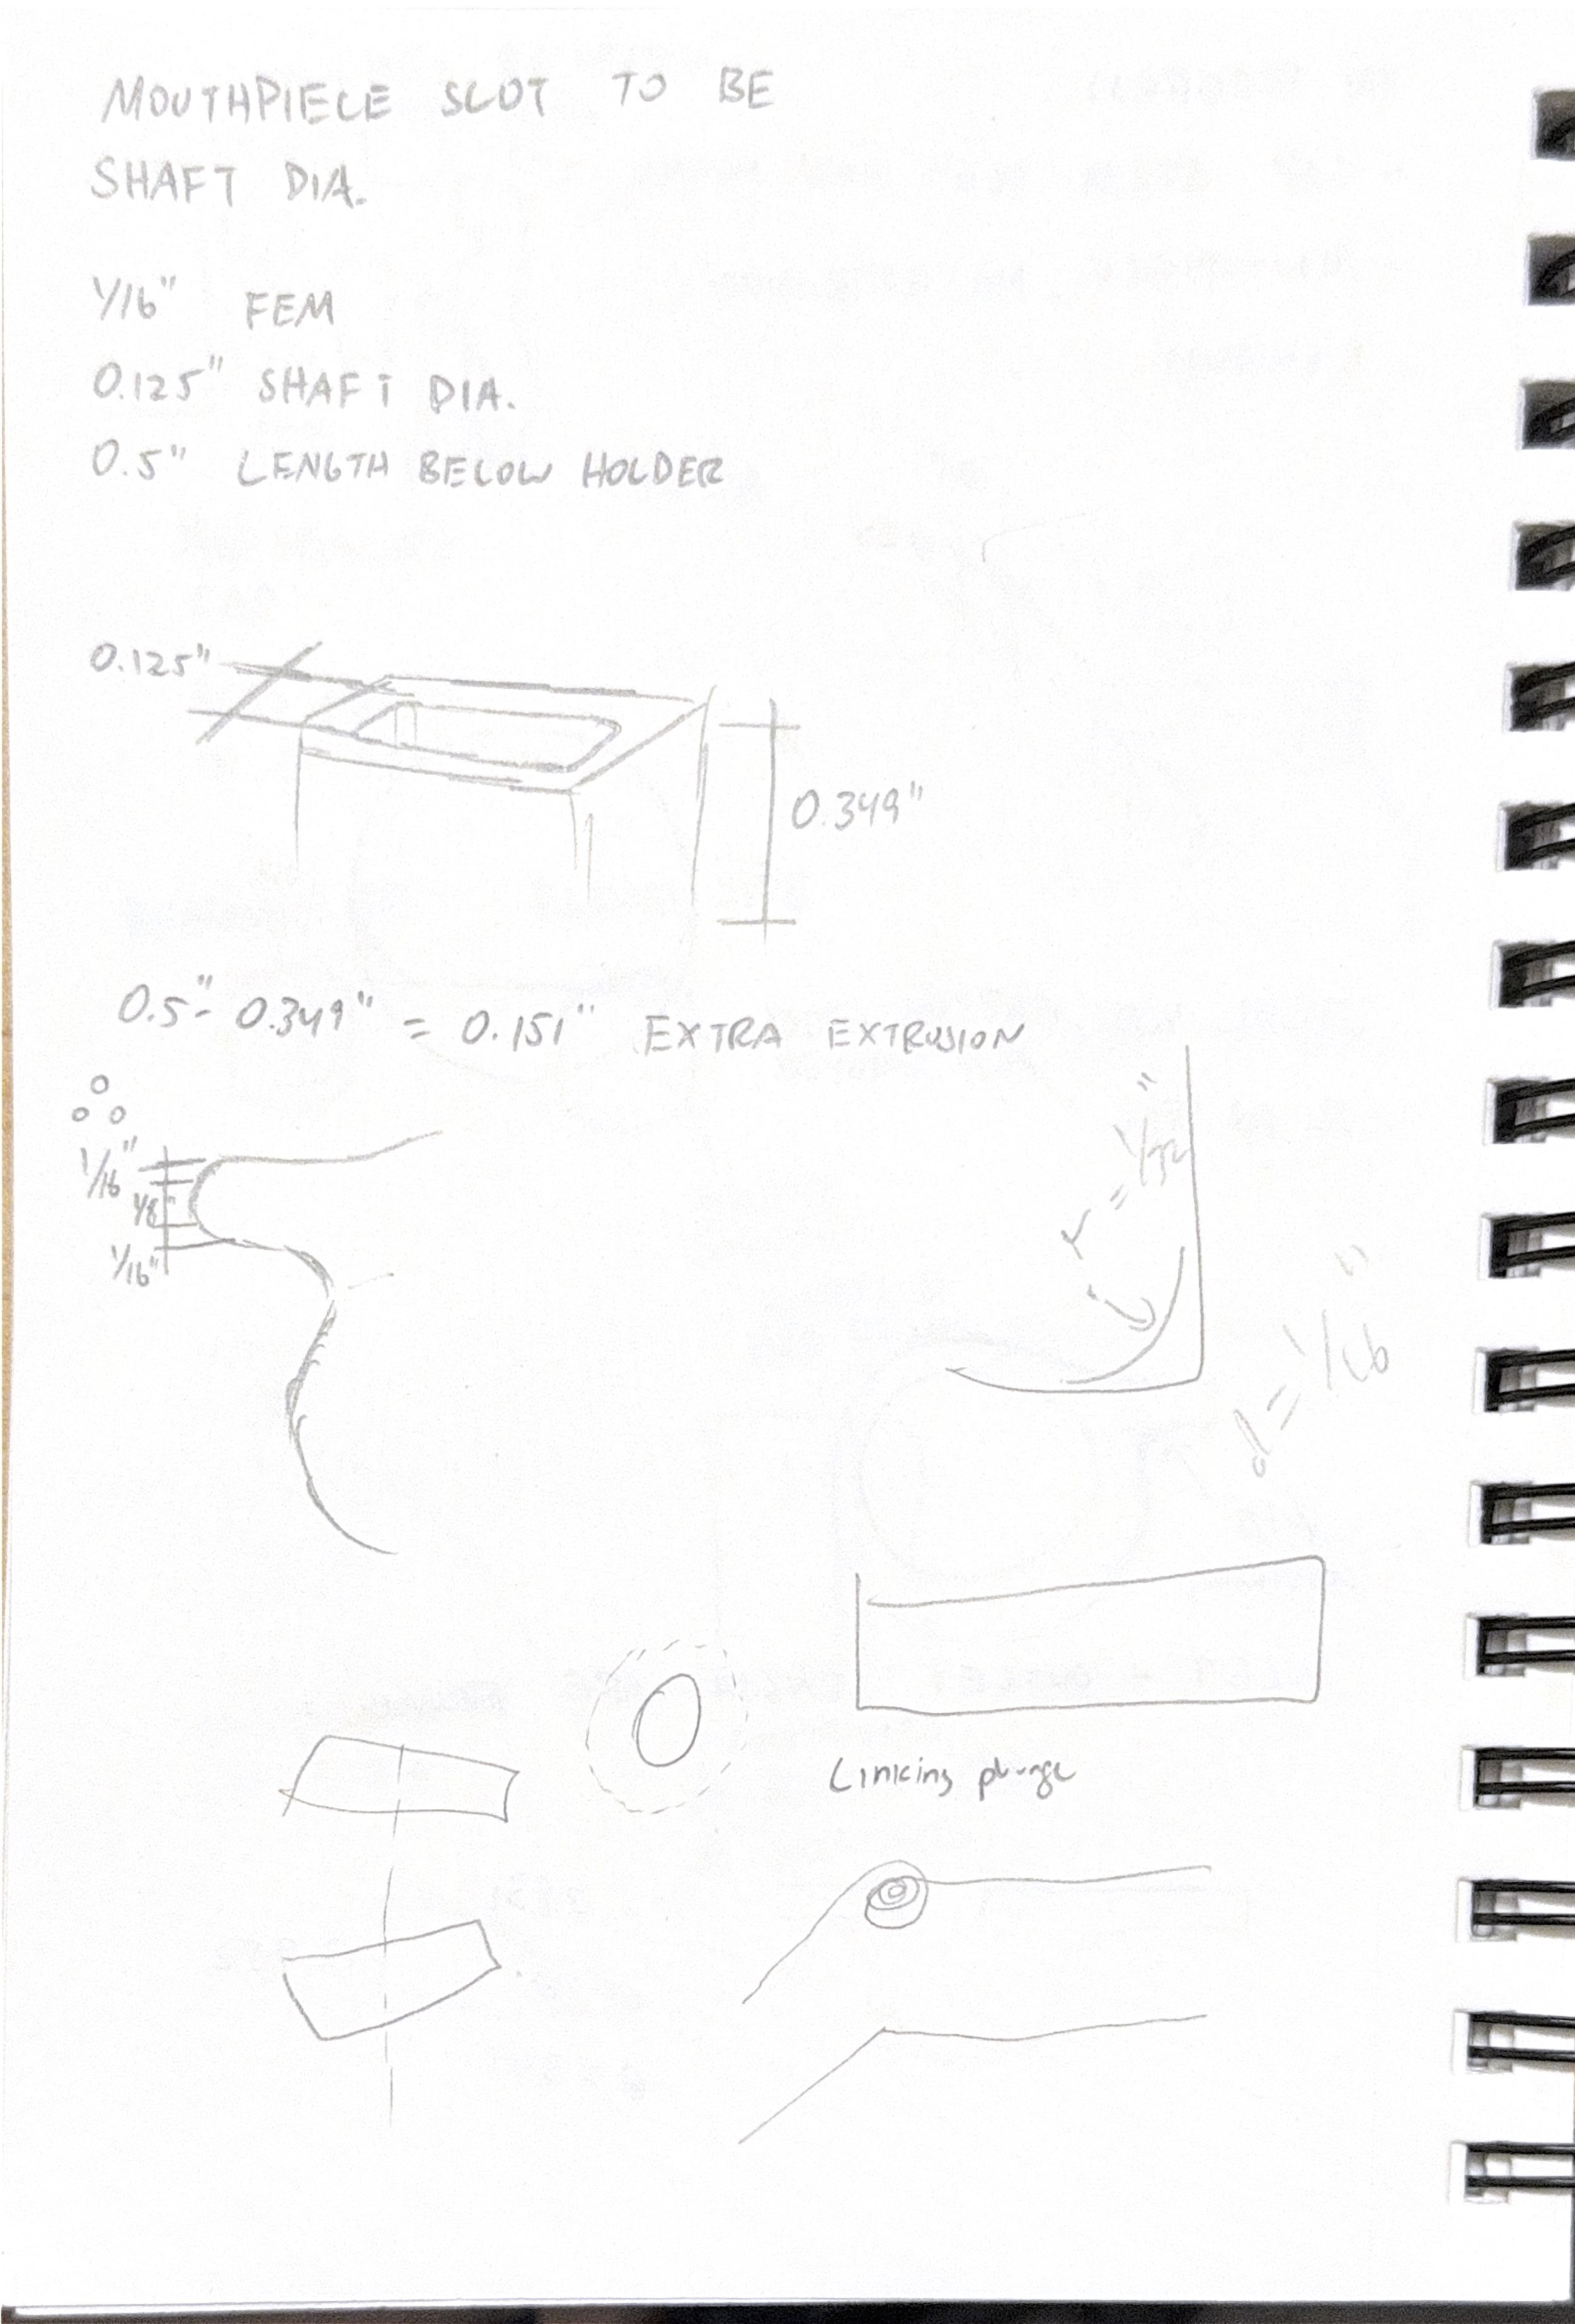
Dimples on the caps were refined through user testing to ensure they give the user’s finger a supple fit and accommodate for different nail lengths.
Machining test runs
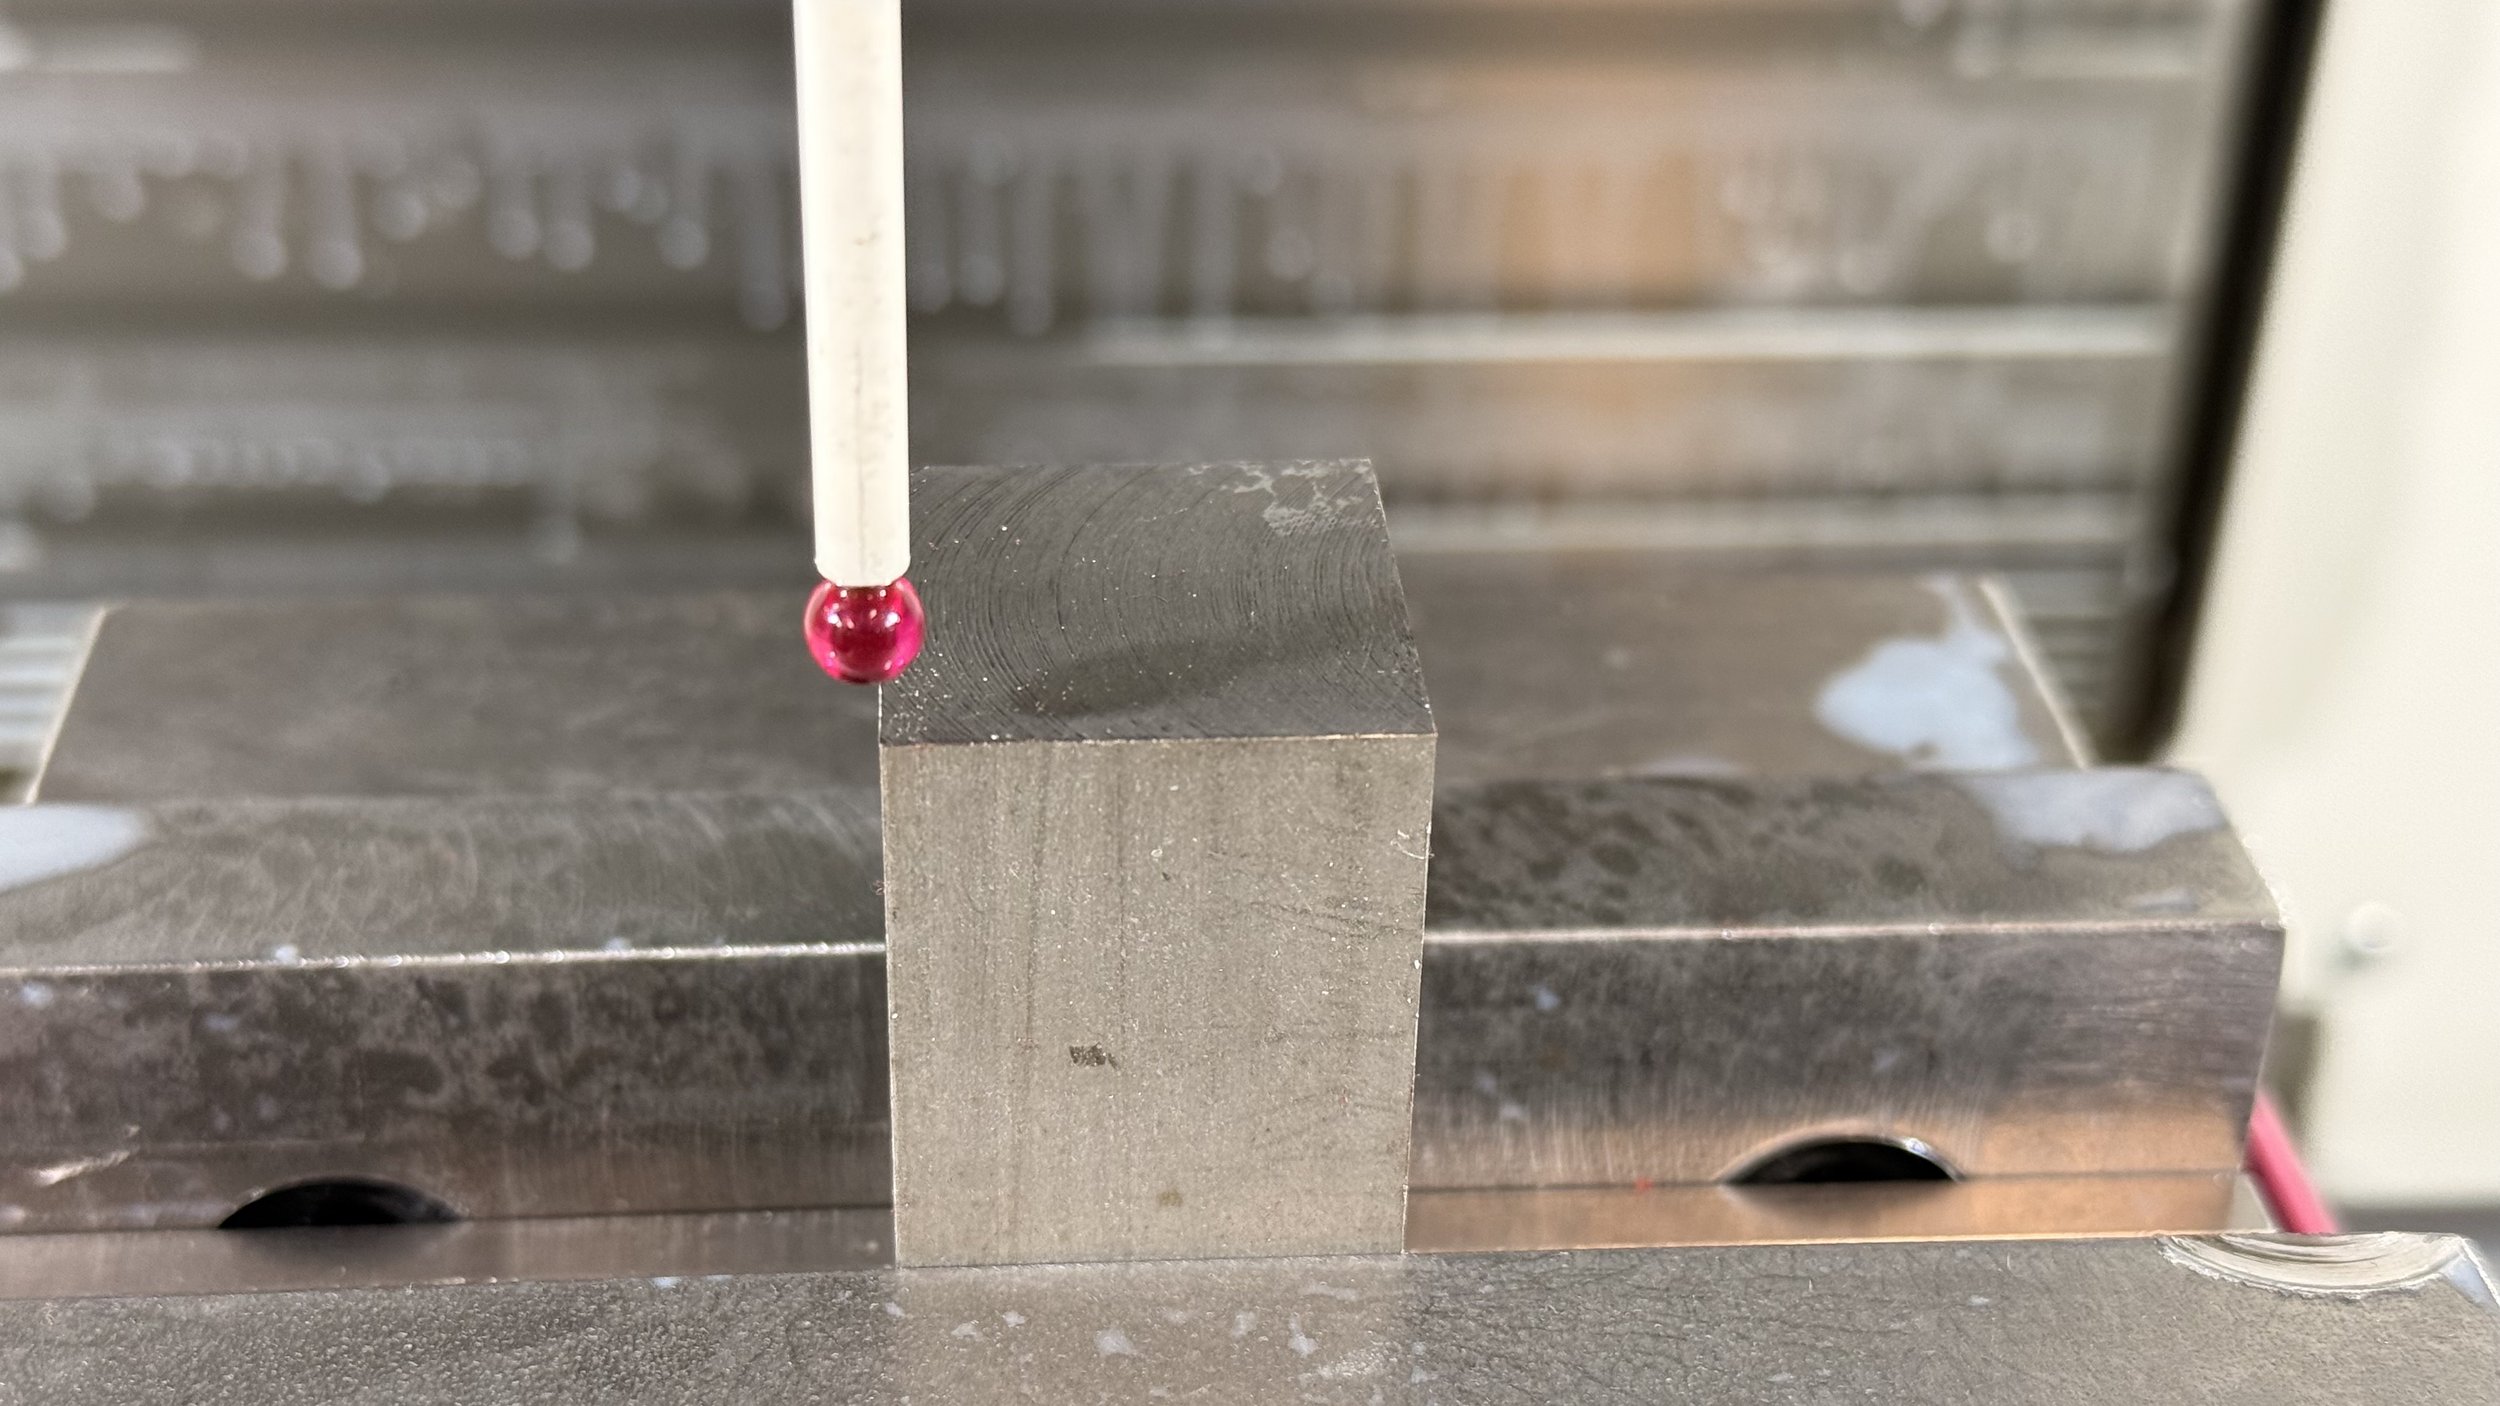
We had two weeks of machining available. Because I had so many parts and I was new to all the processes, I made sure to get started right away. I pre-machined a block of stainless steel 304 on the manual mill to make sure the faces were nice and clean for probing purposes. I did the same with aluminum stock pieces for the air seals and caps.
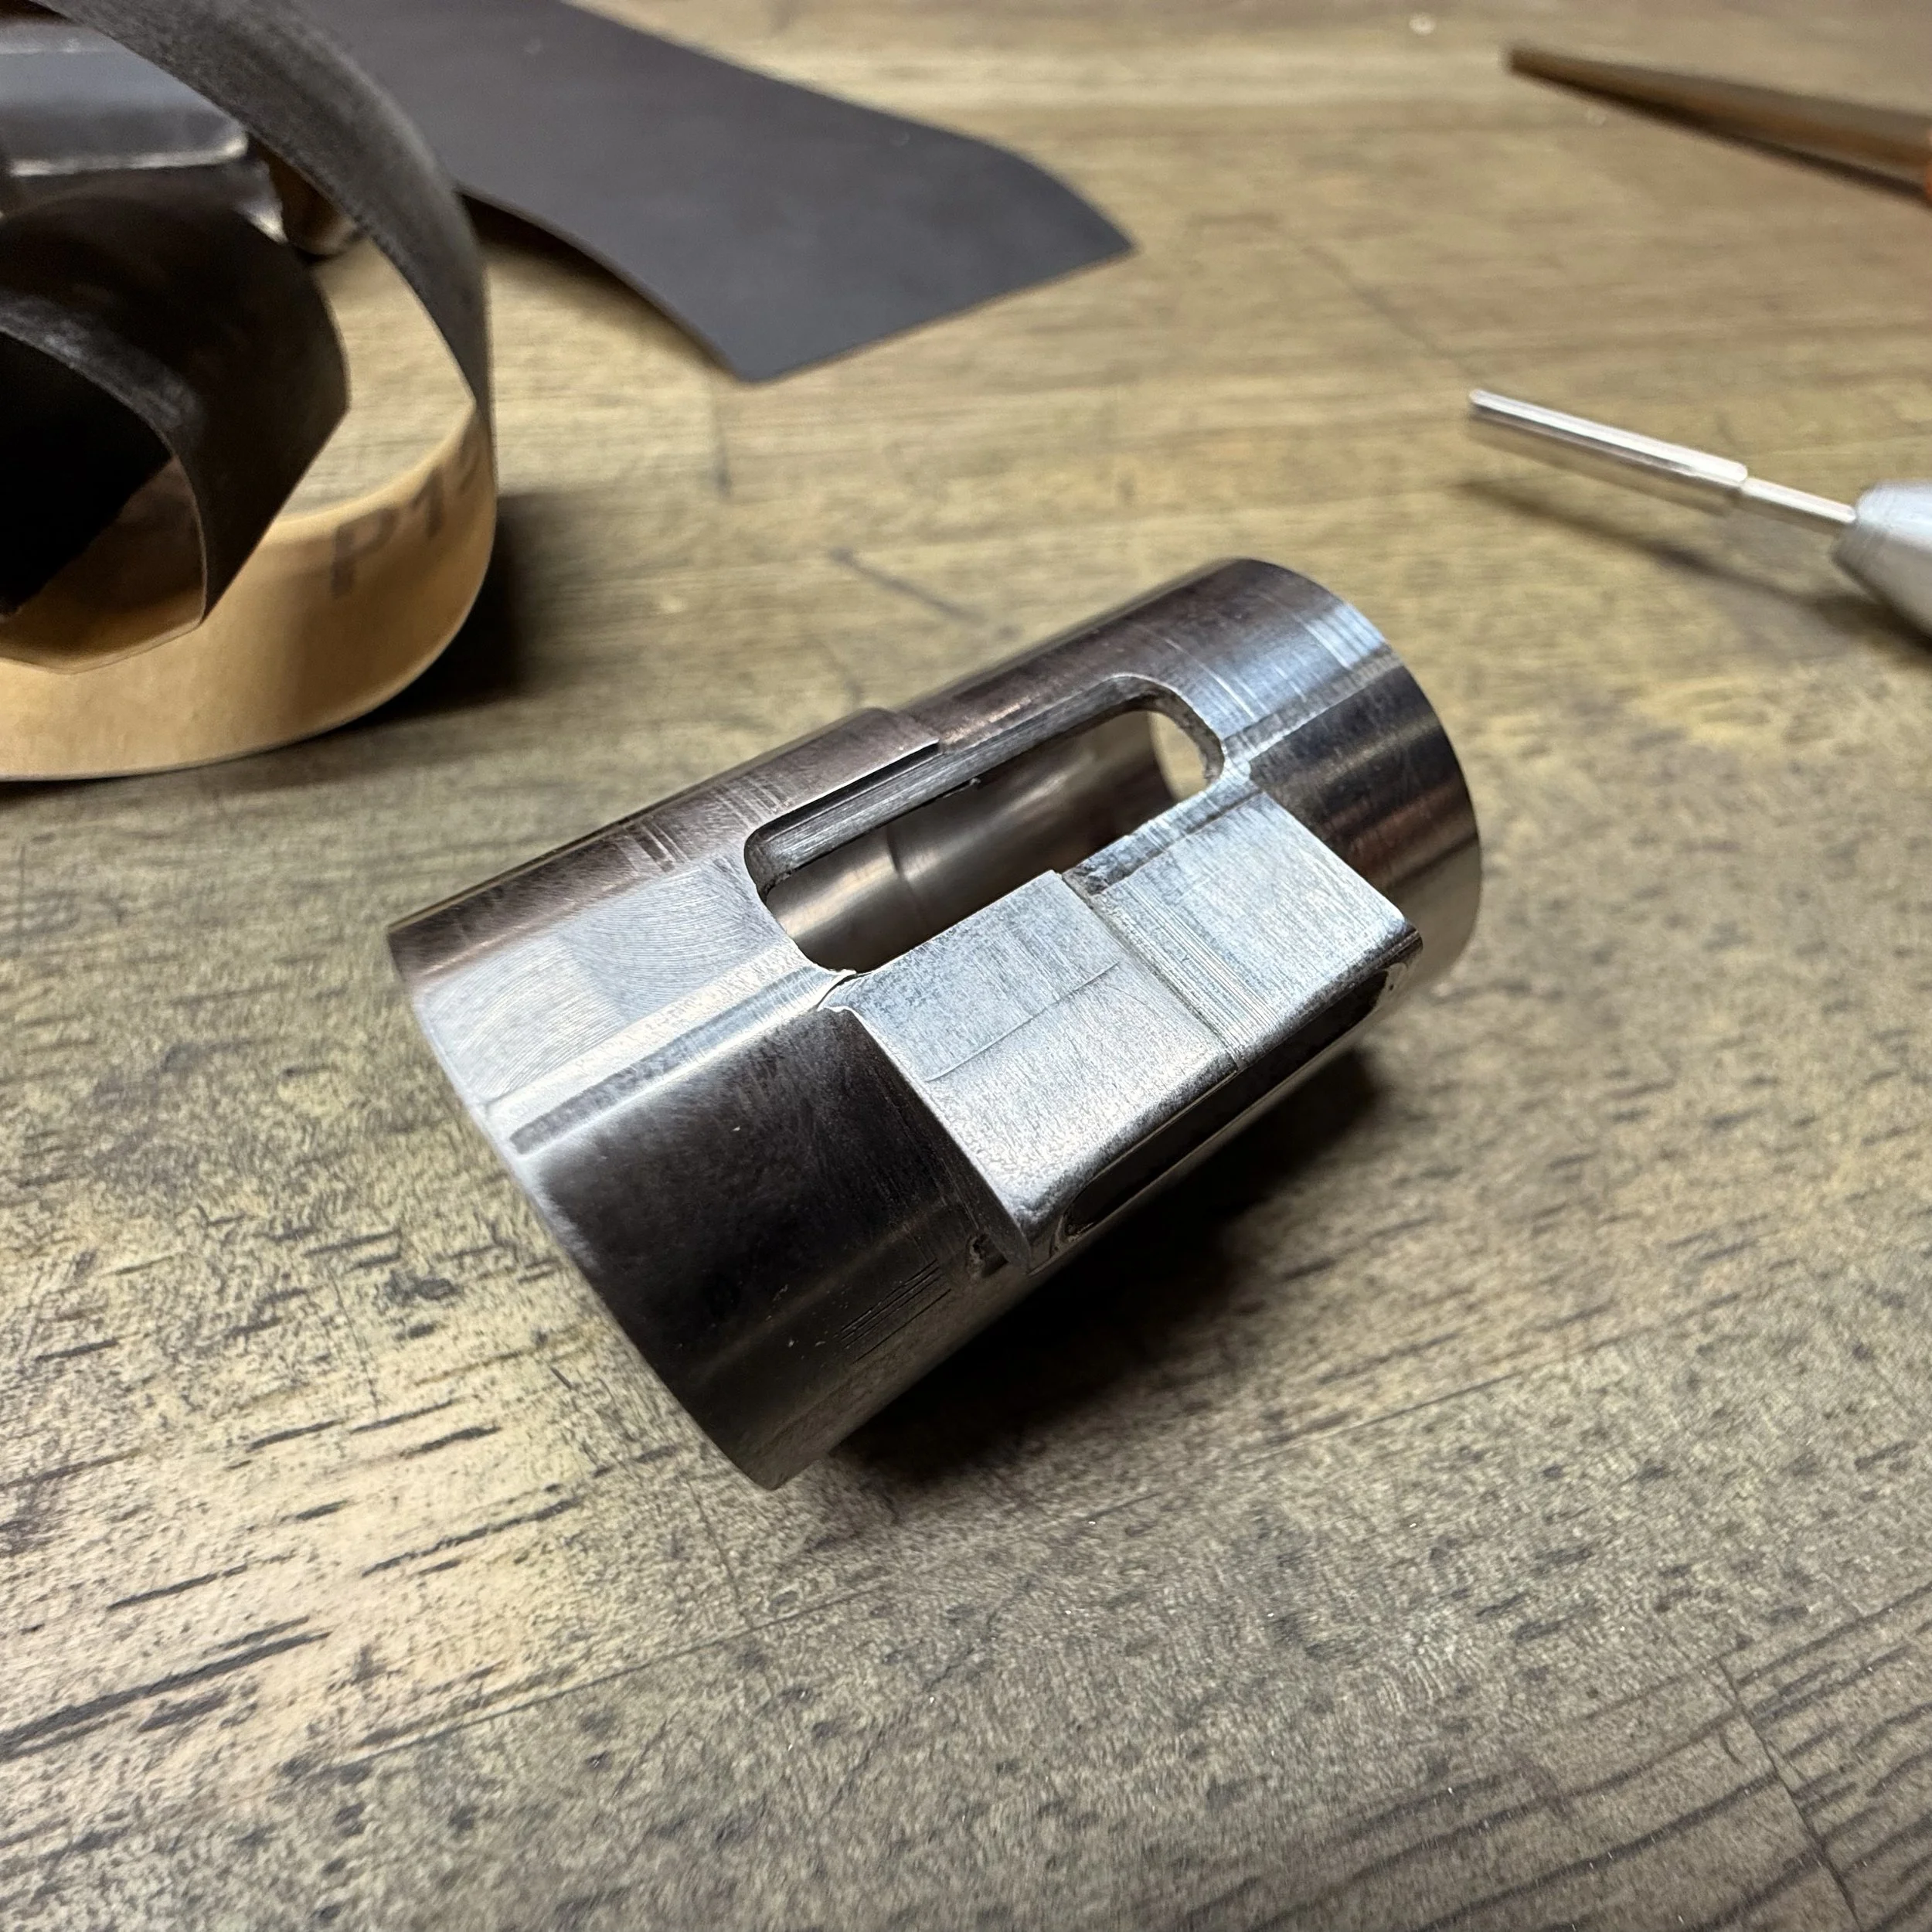
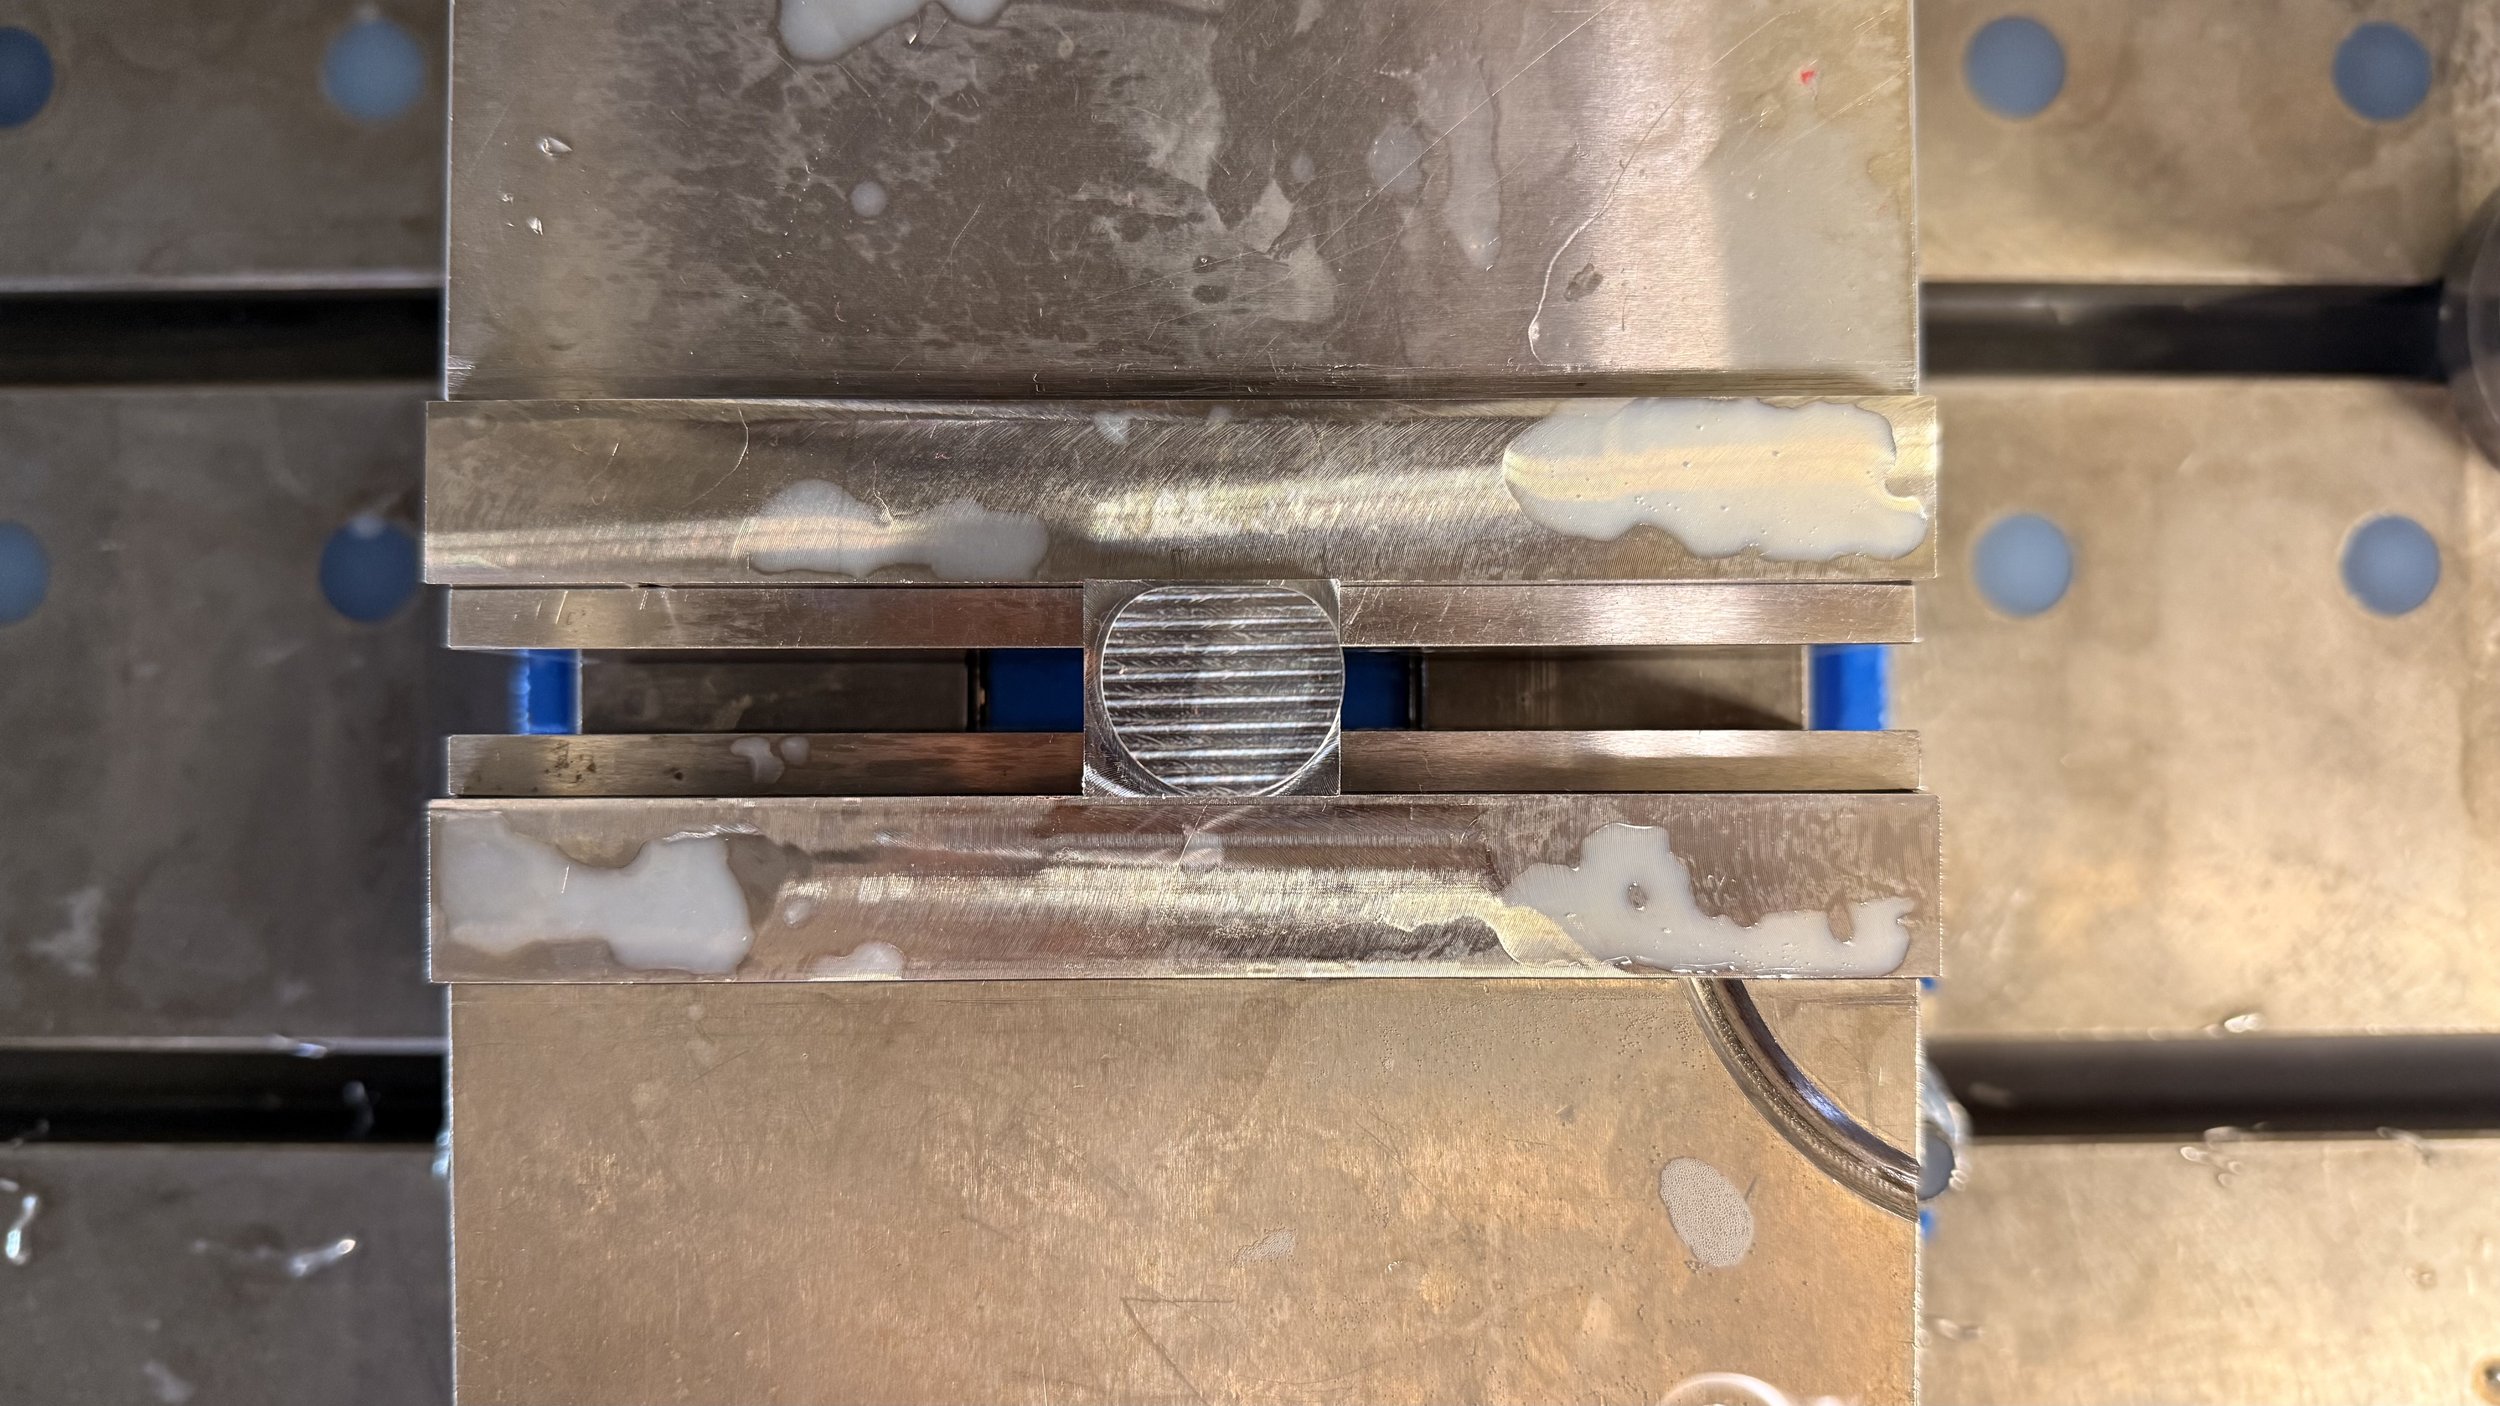
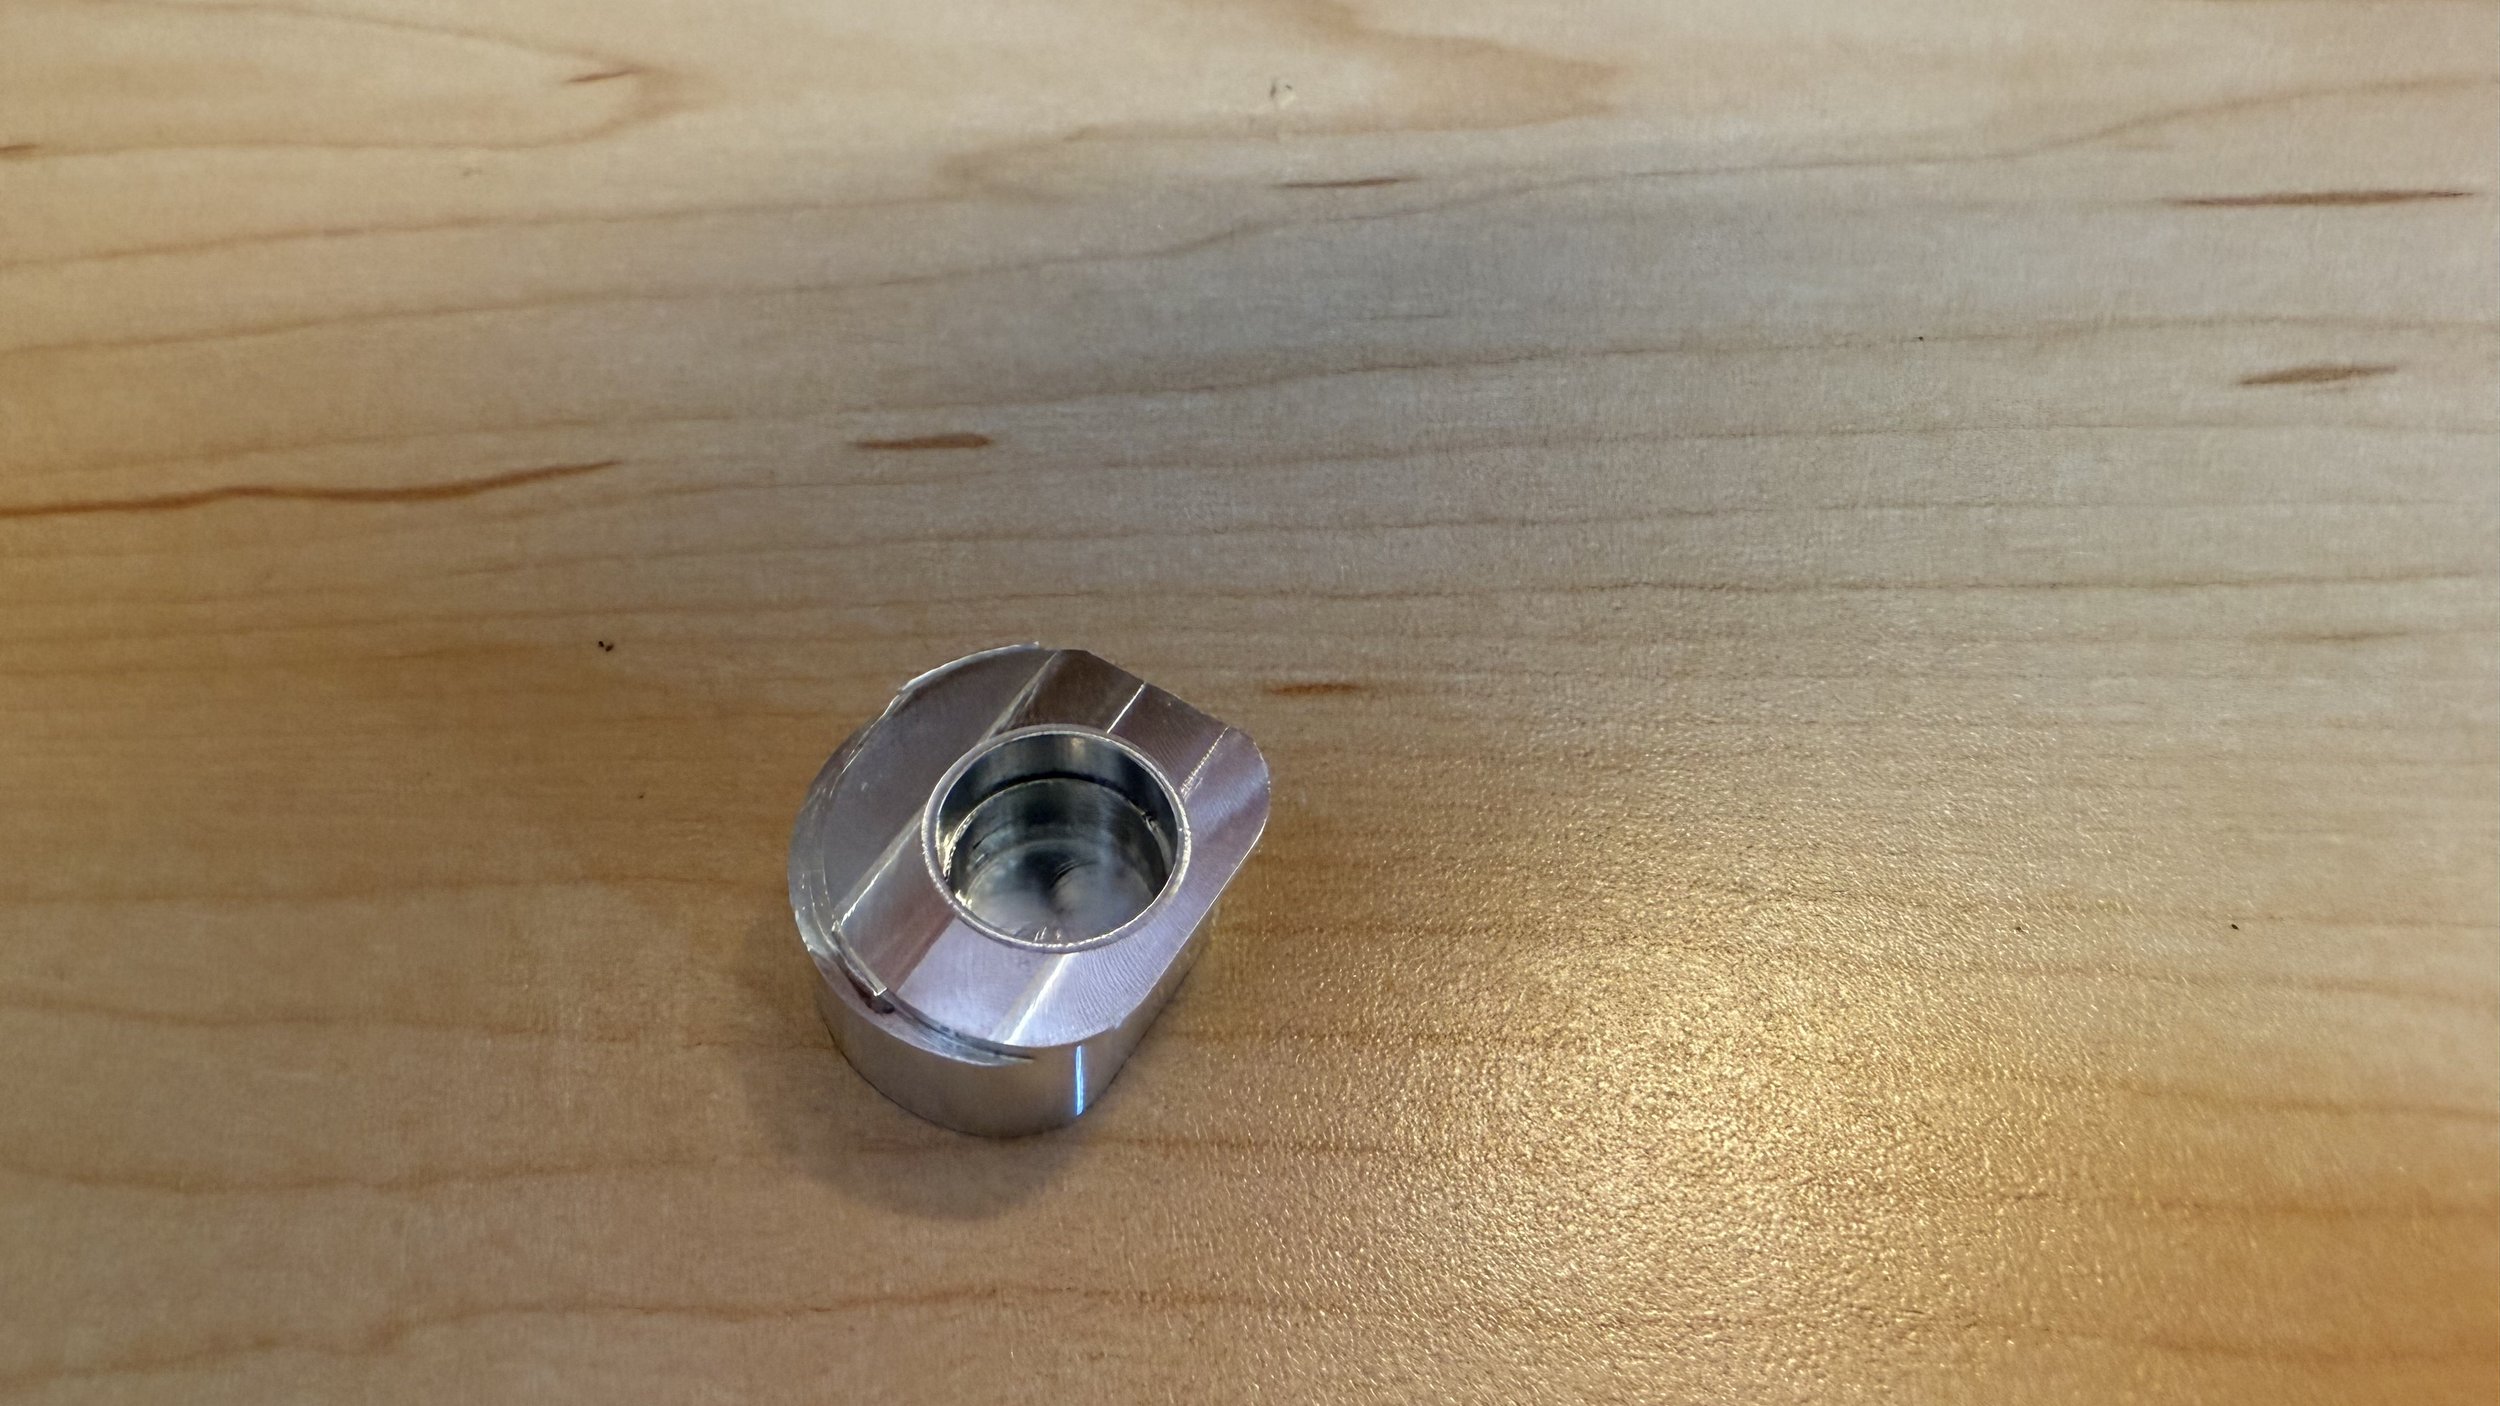
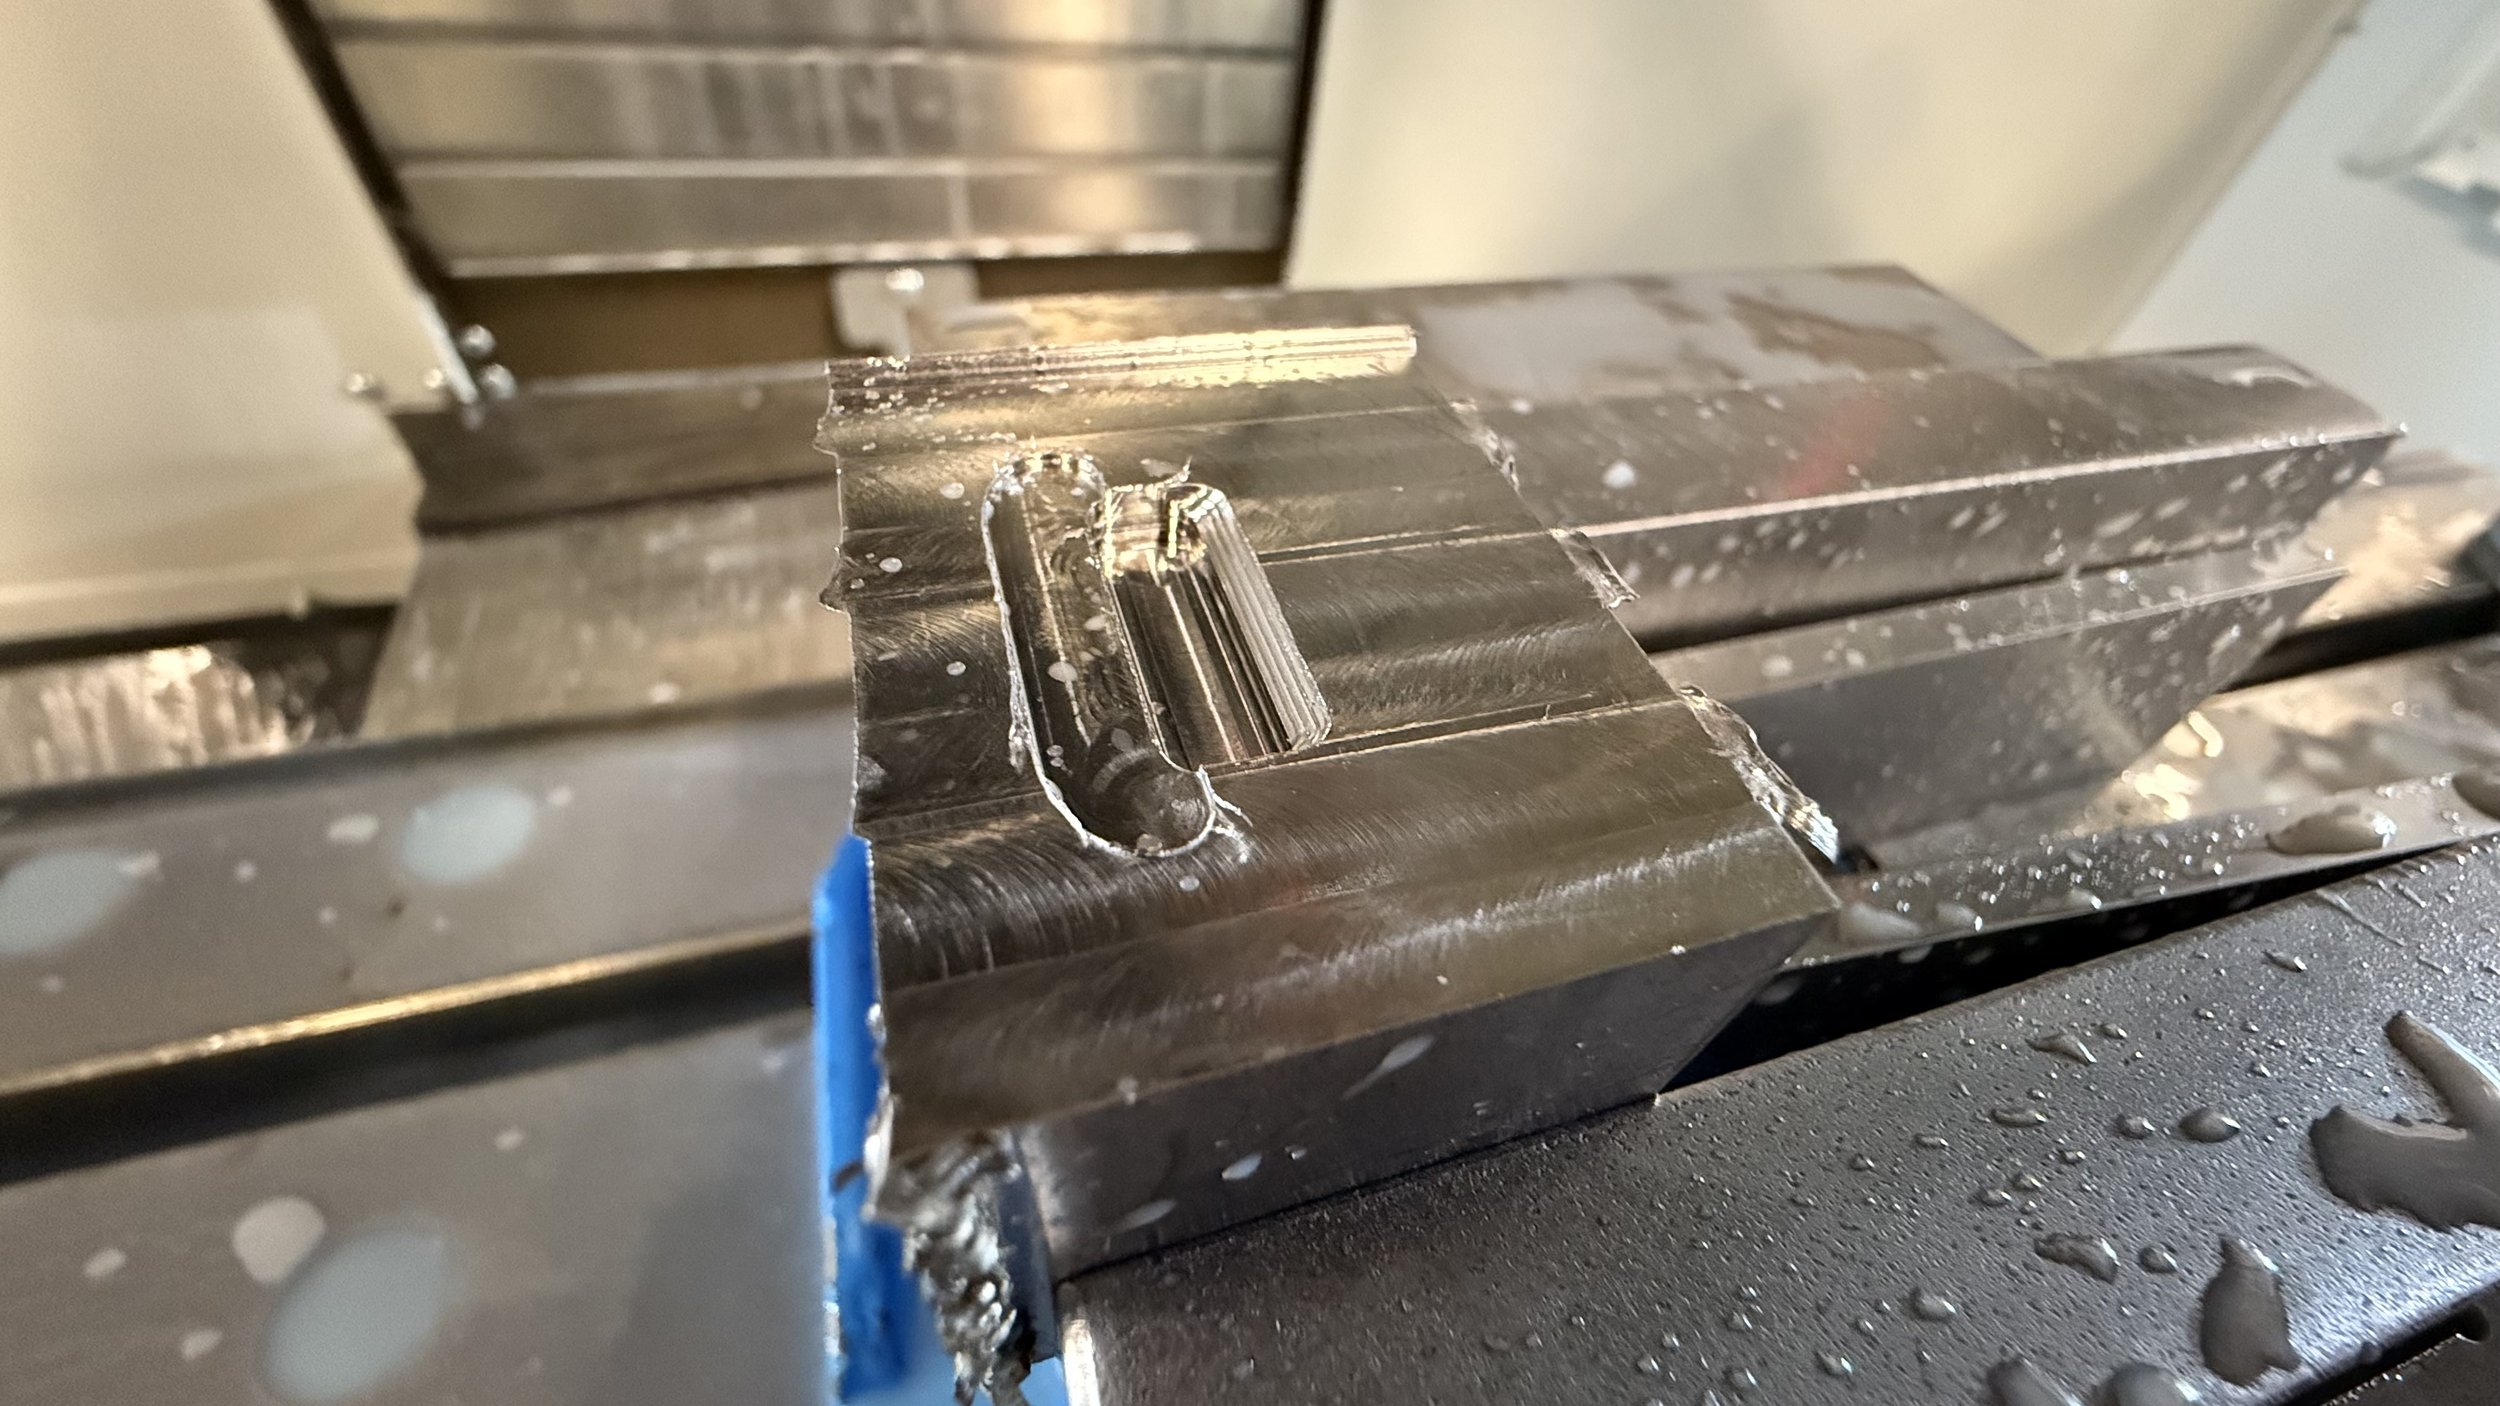
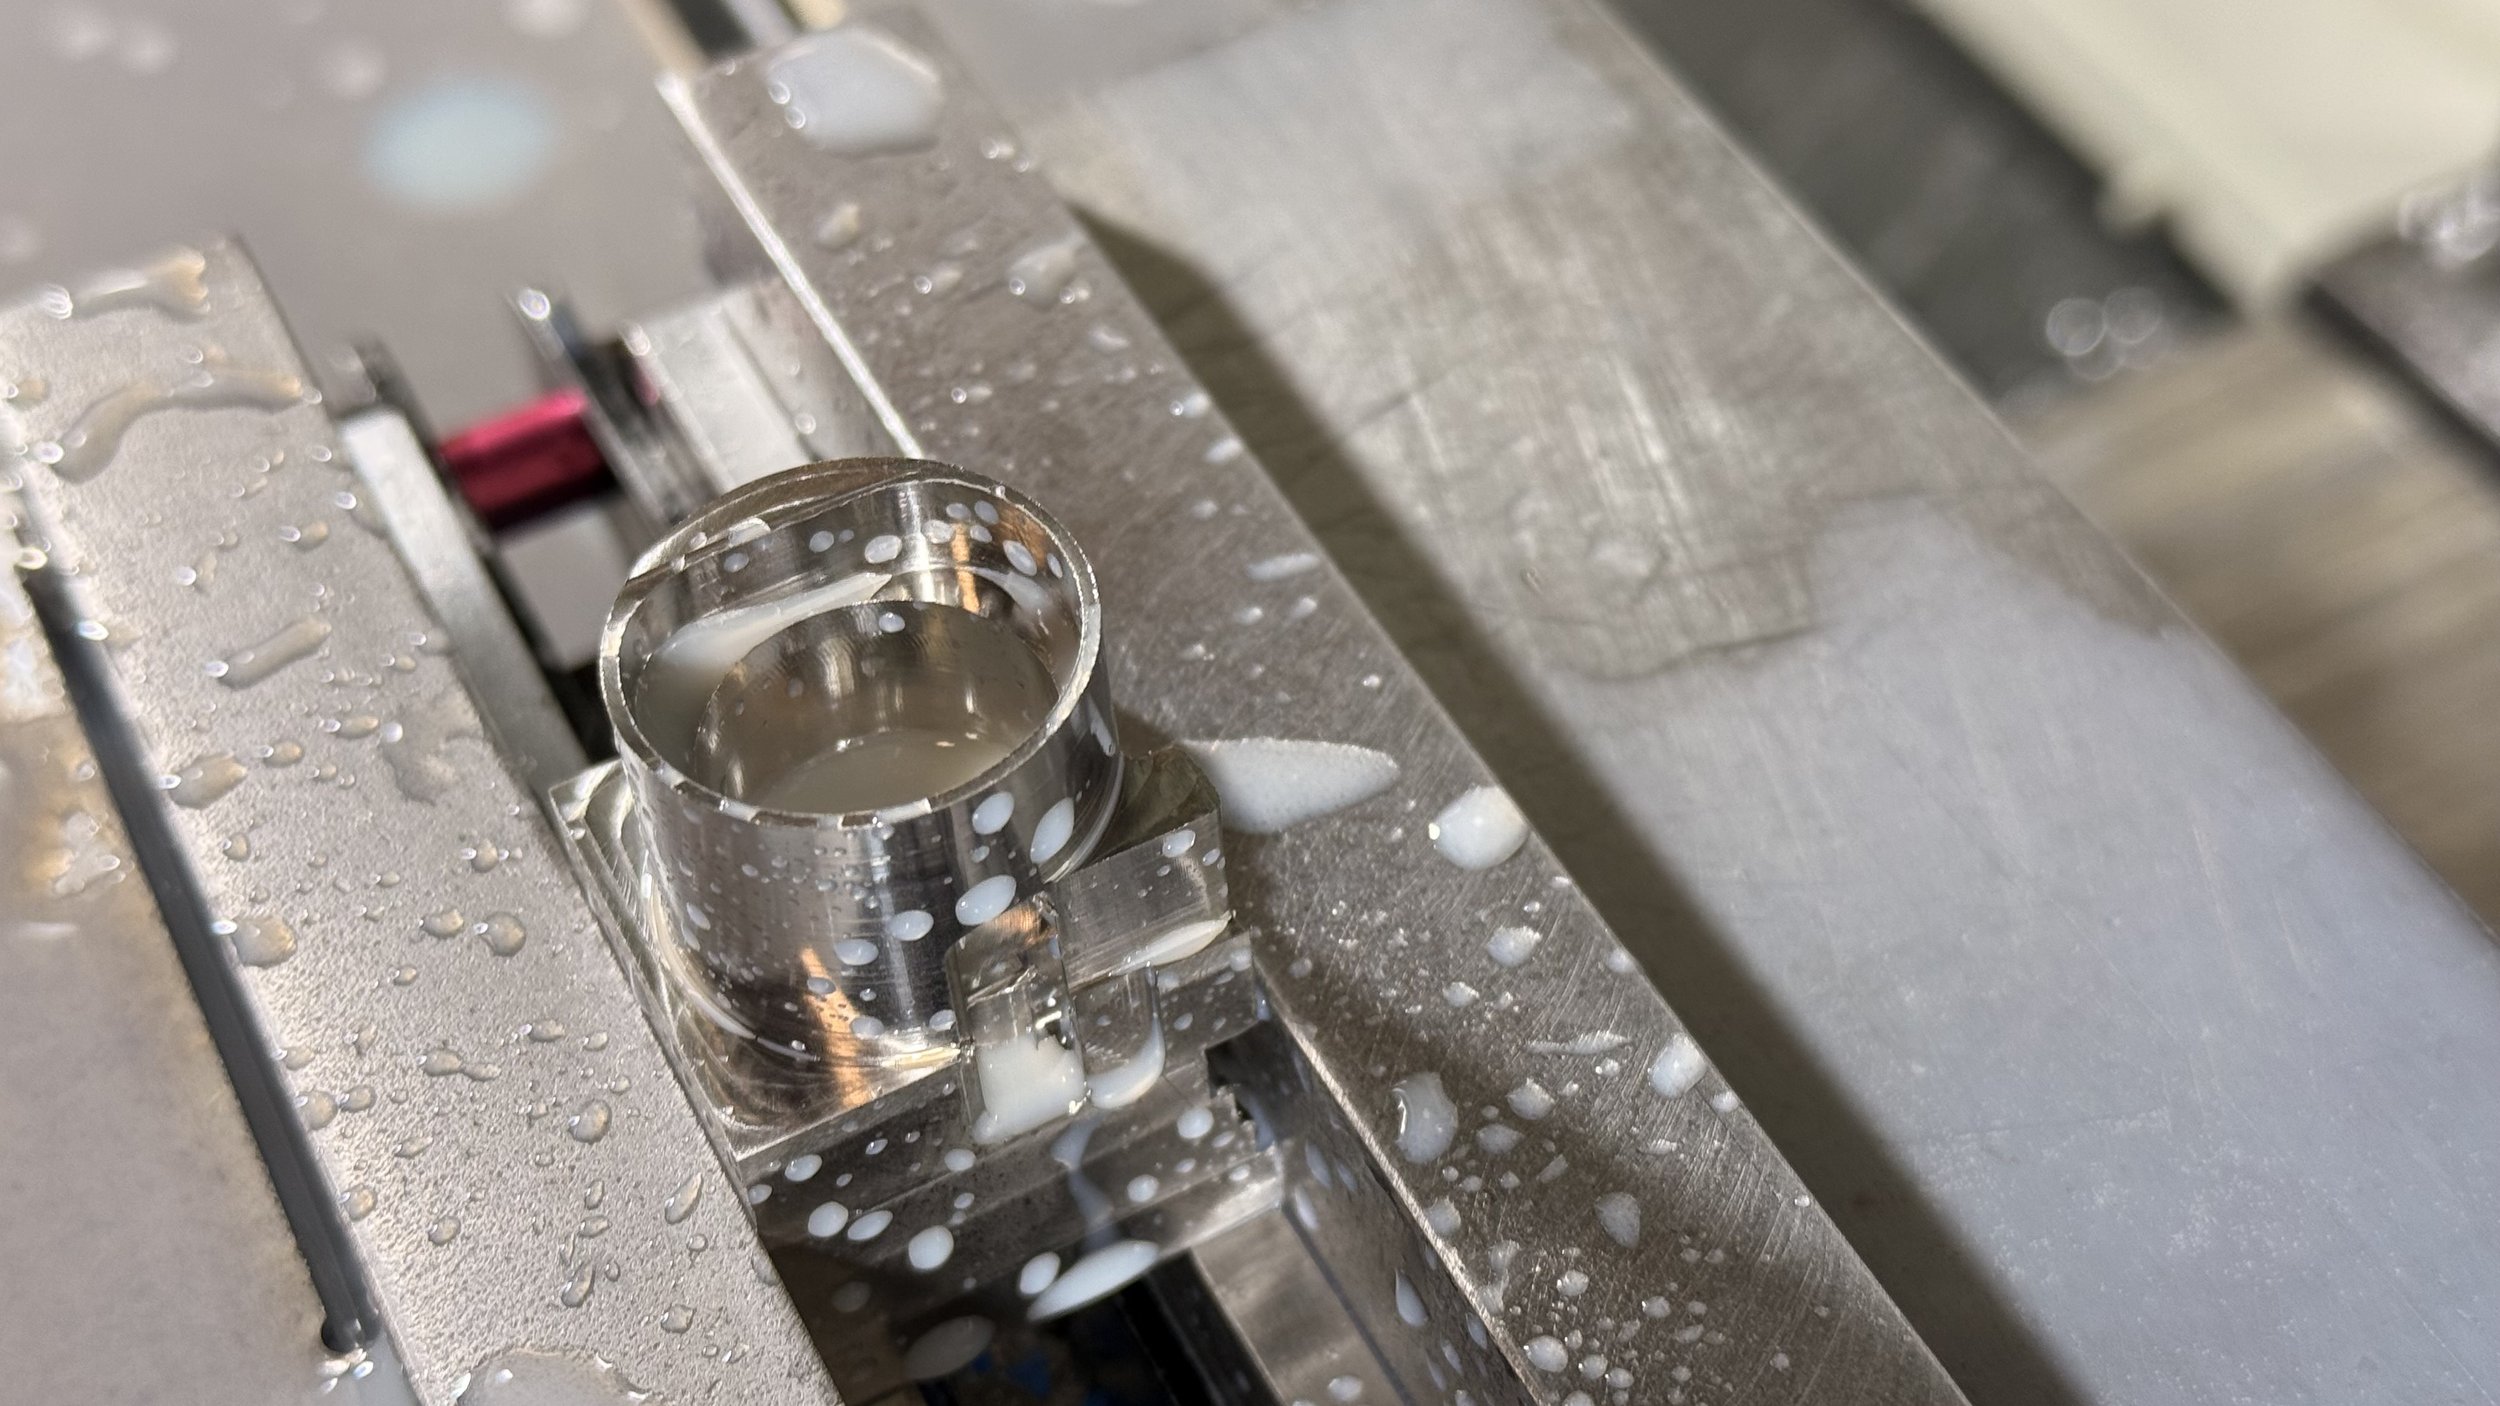
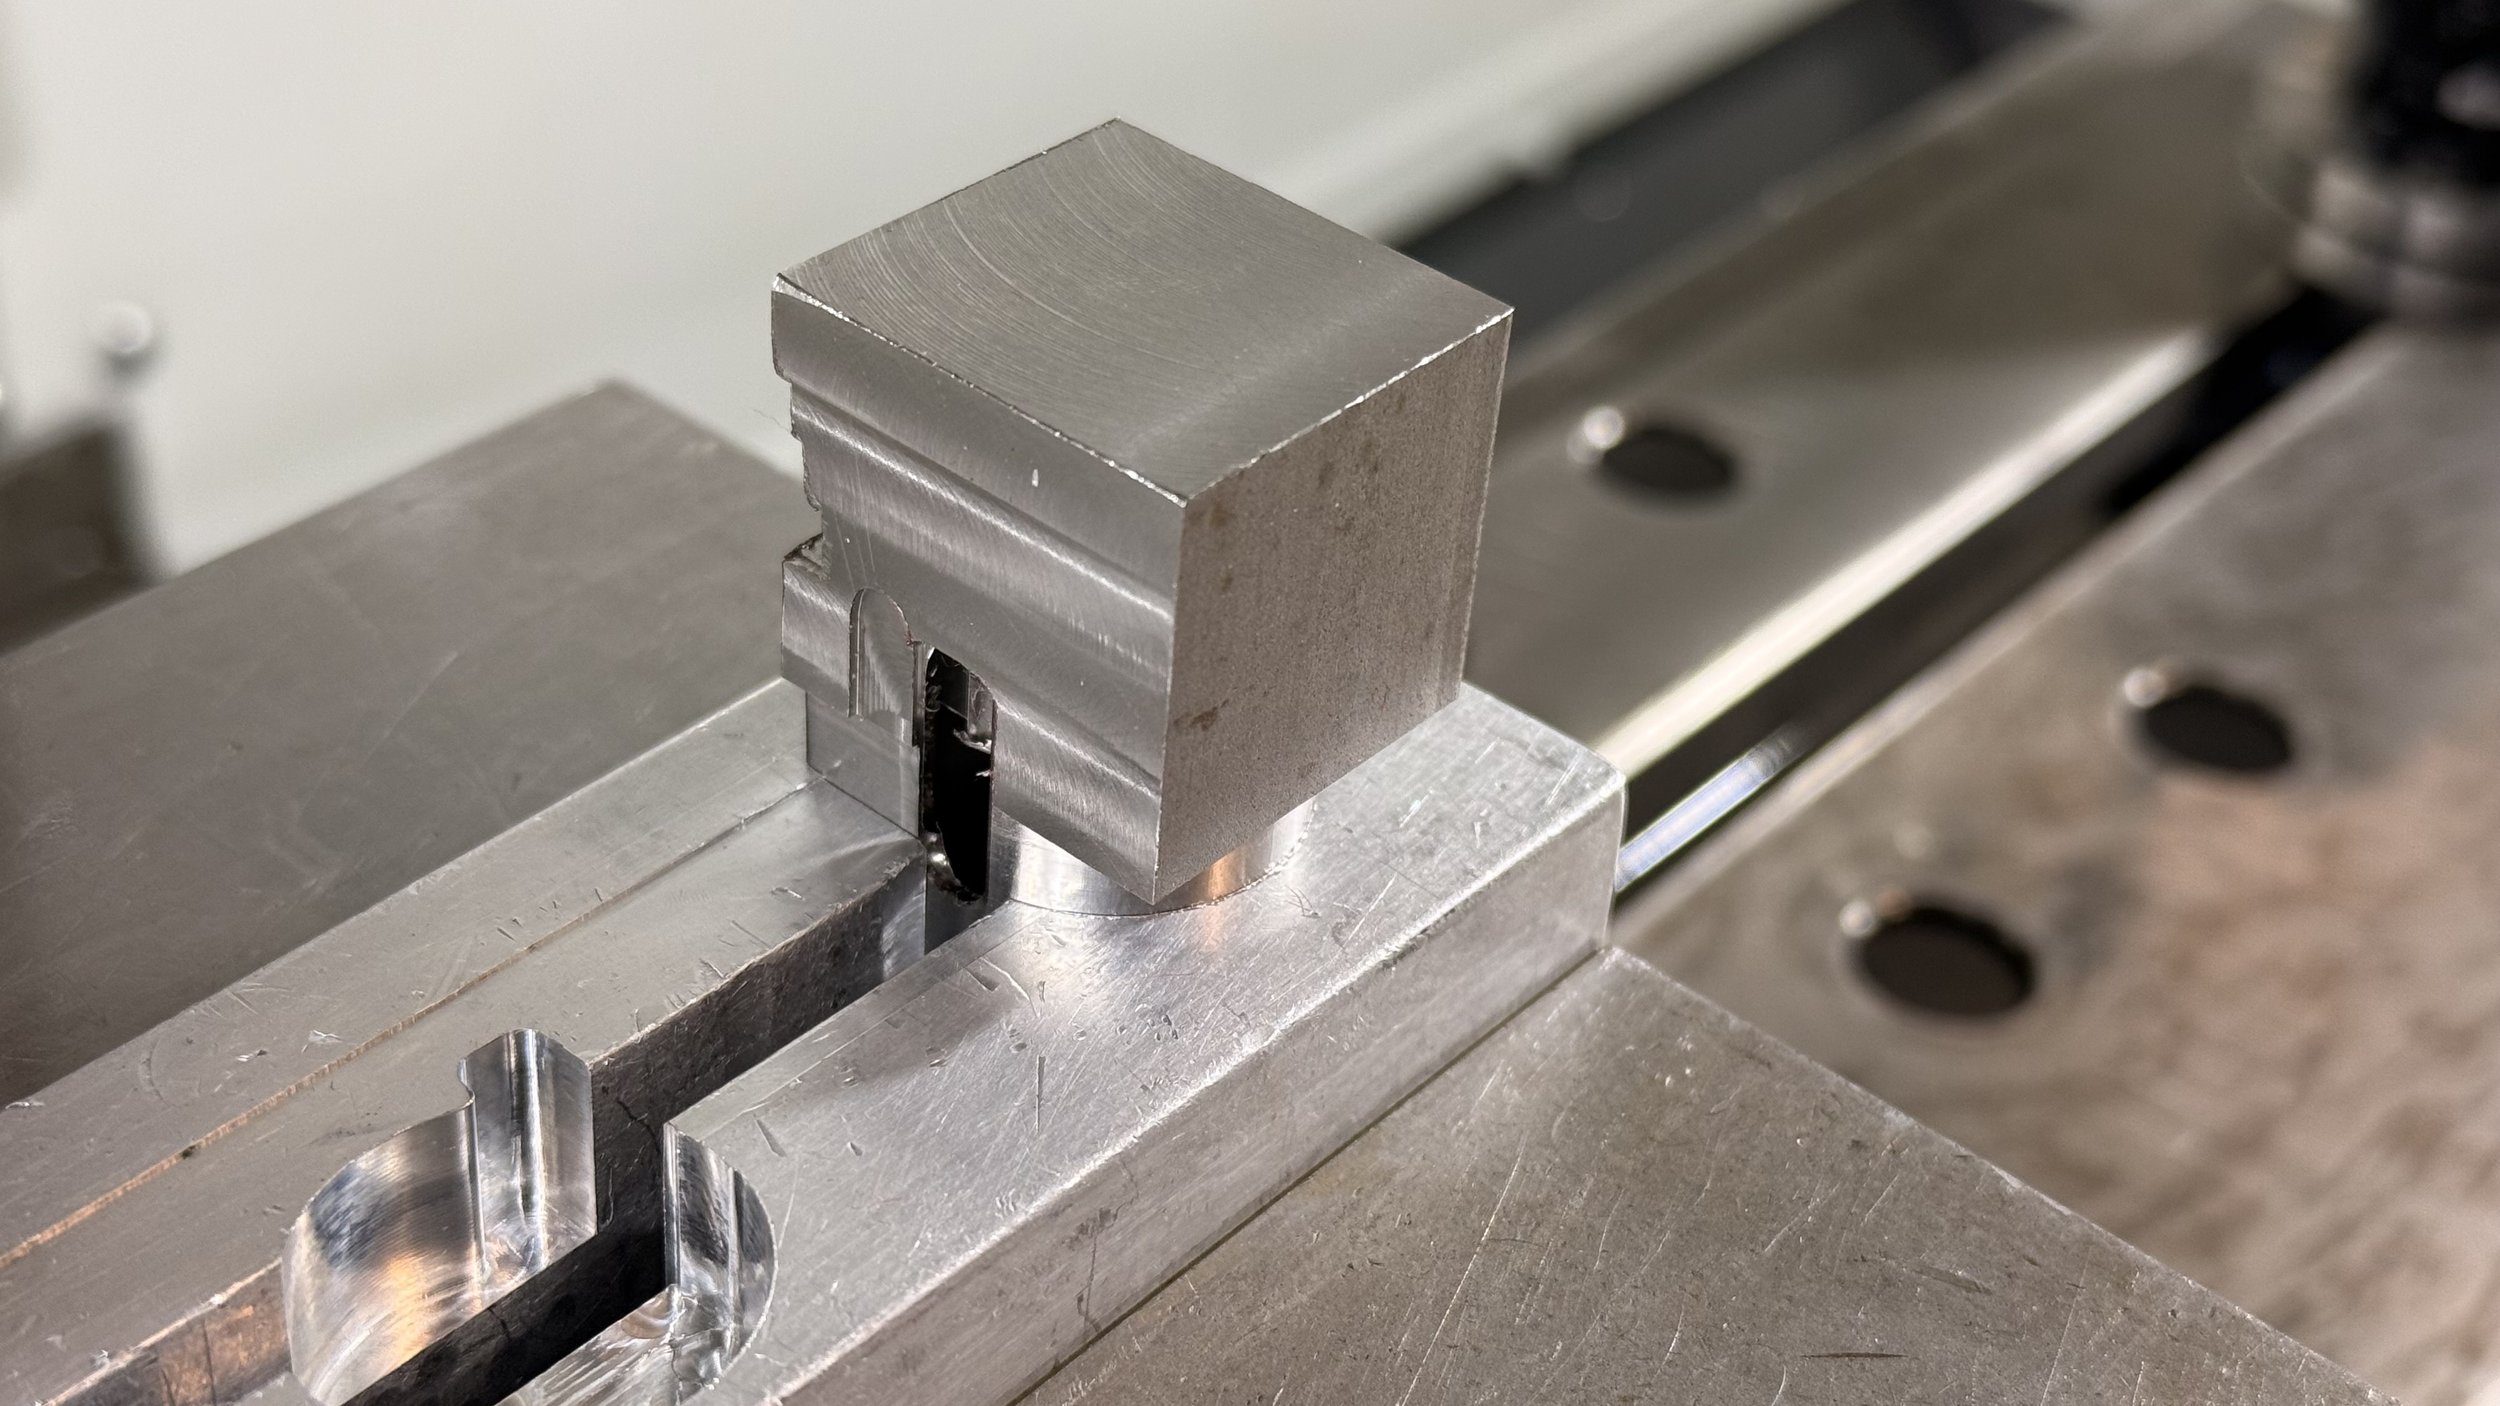
First up was the air seal. 1st setup was good, but after a part flip for the 2nd setup, there was an offset. I decided to move on to the body for now as that was the most important part. It was very tricky to work with. I didn’t realize the flute lengths on the end mills for steel were shorter than that for aluminum and brass and had to verify a lot of features to make sure they reached and didn’t interfere.
Machining mishaps
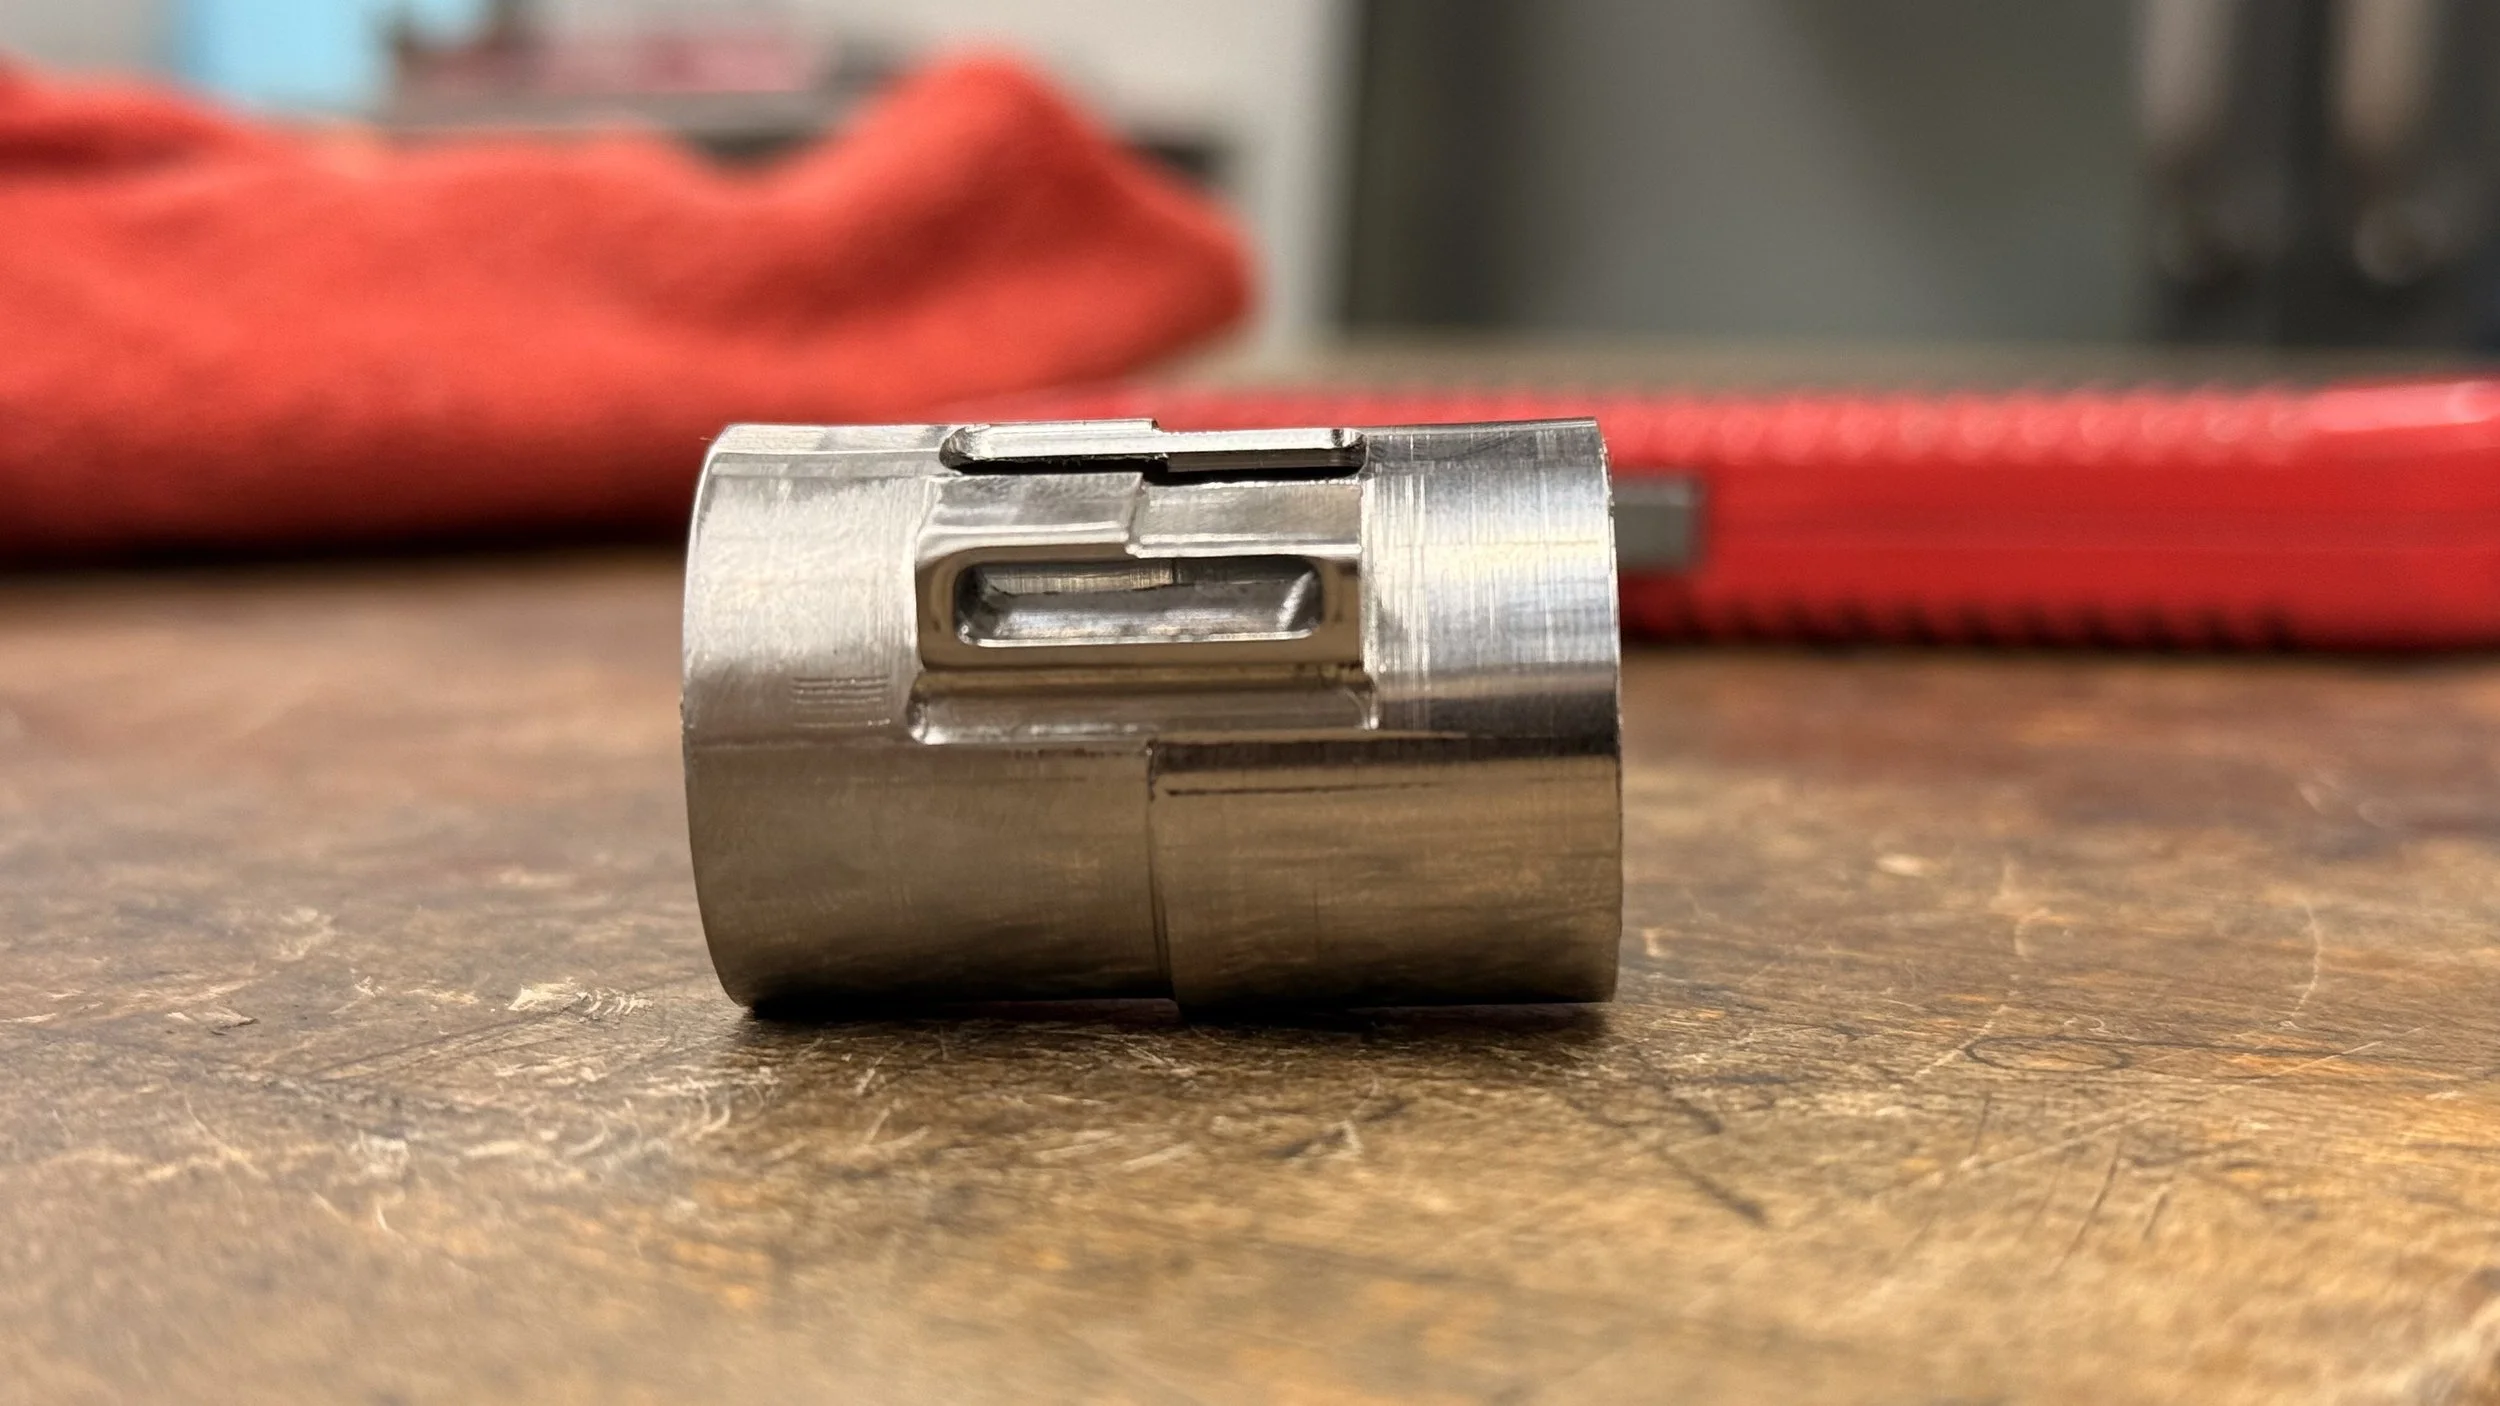
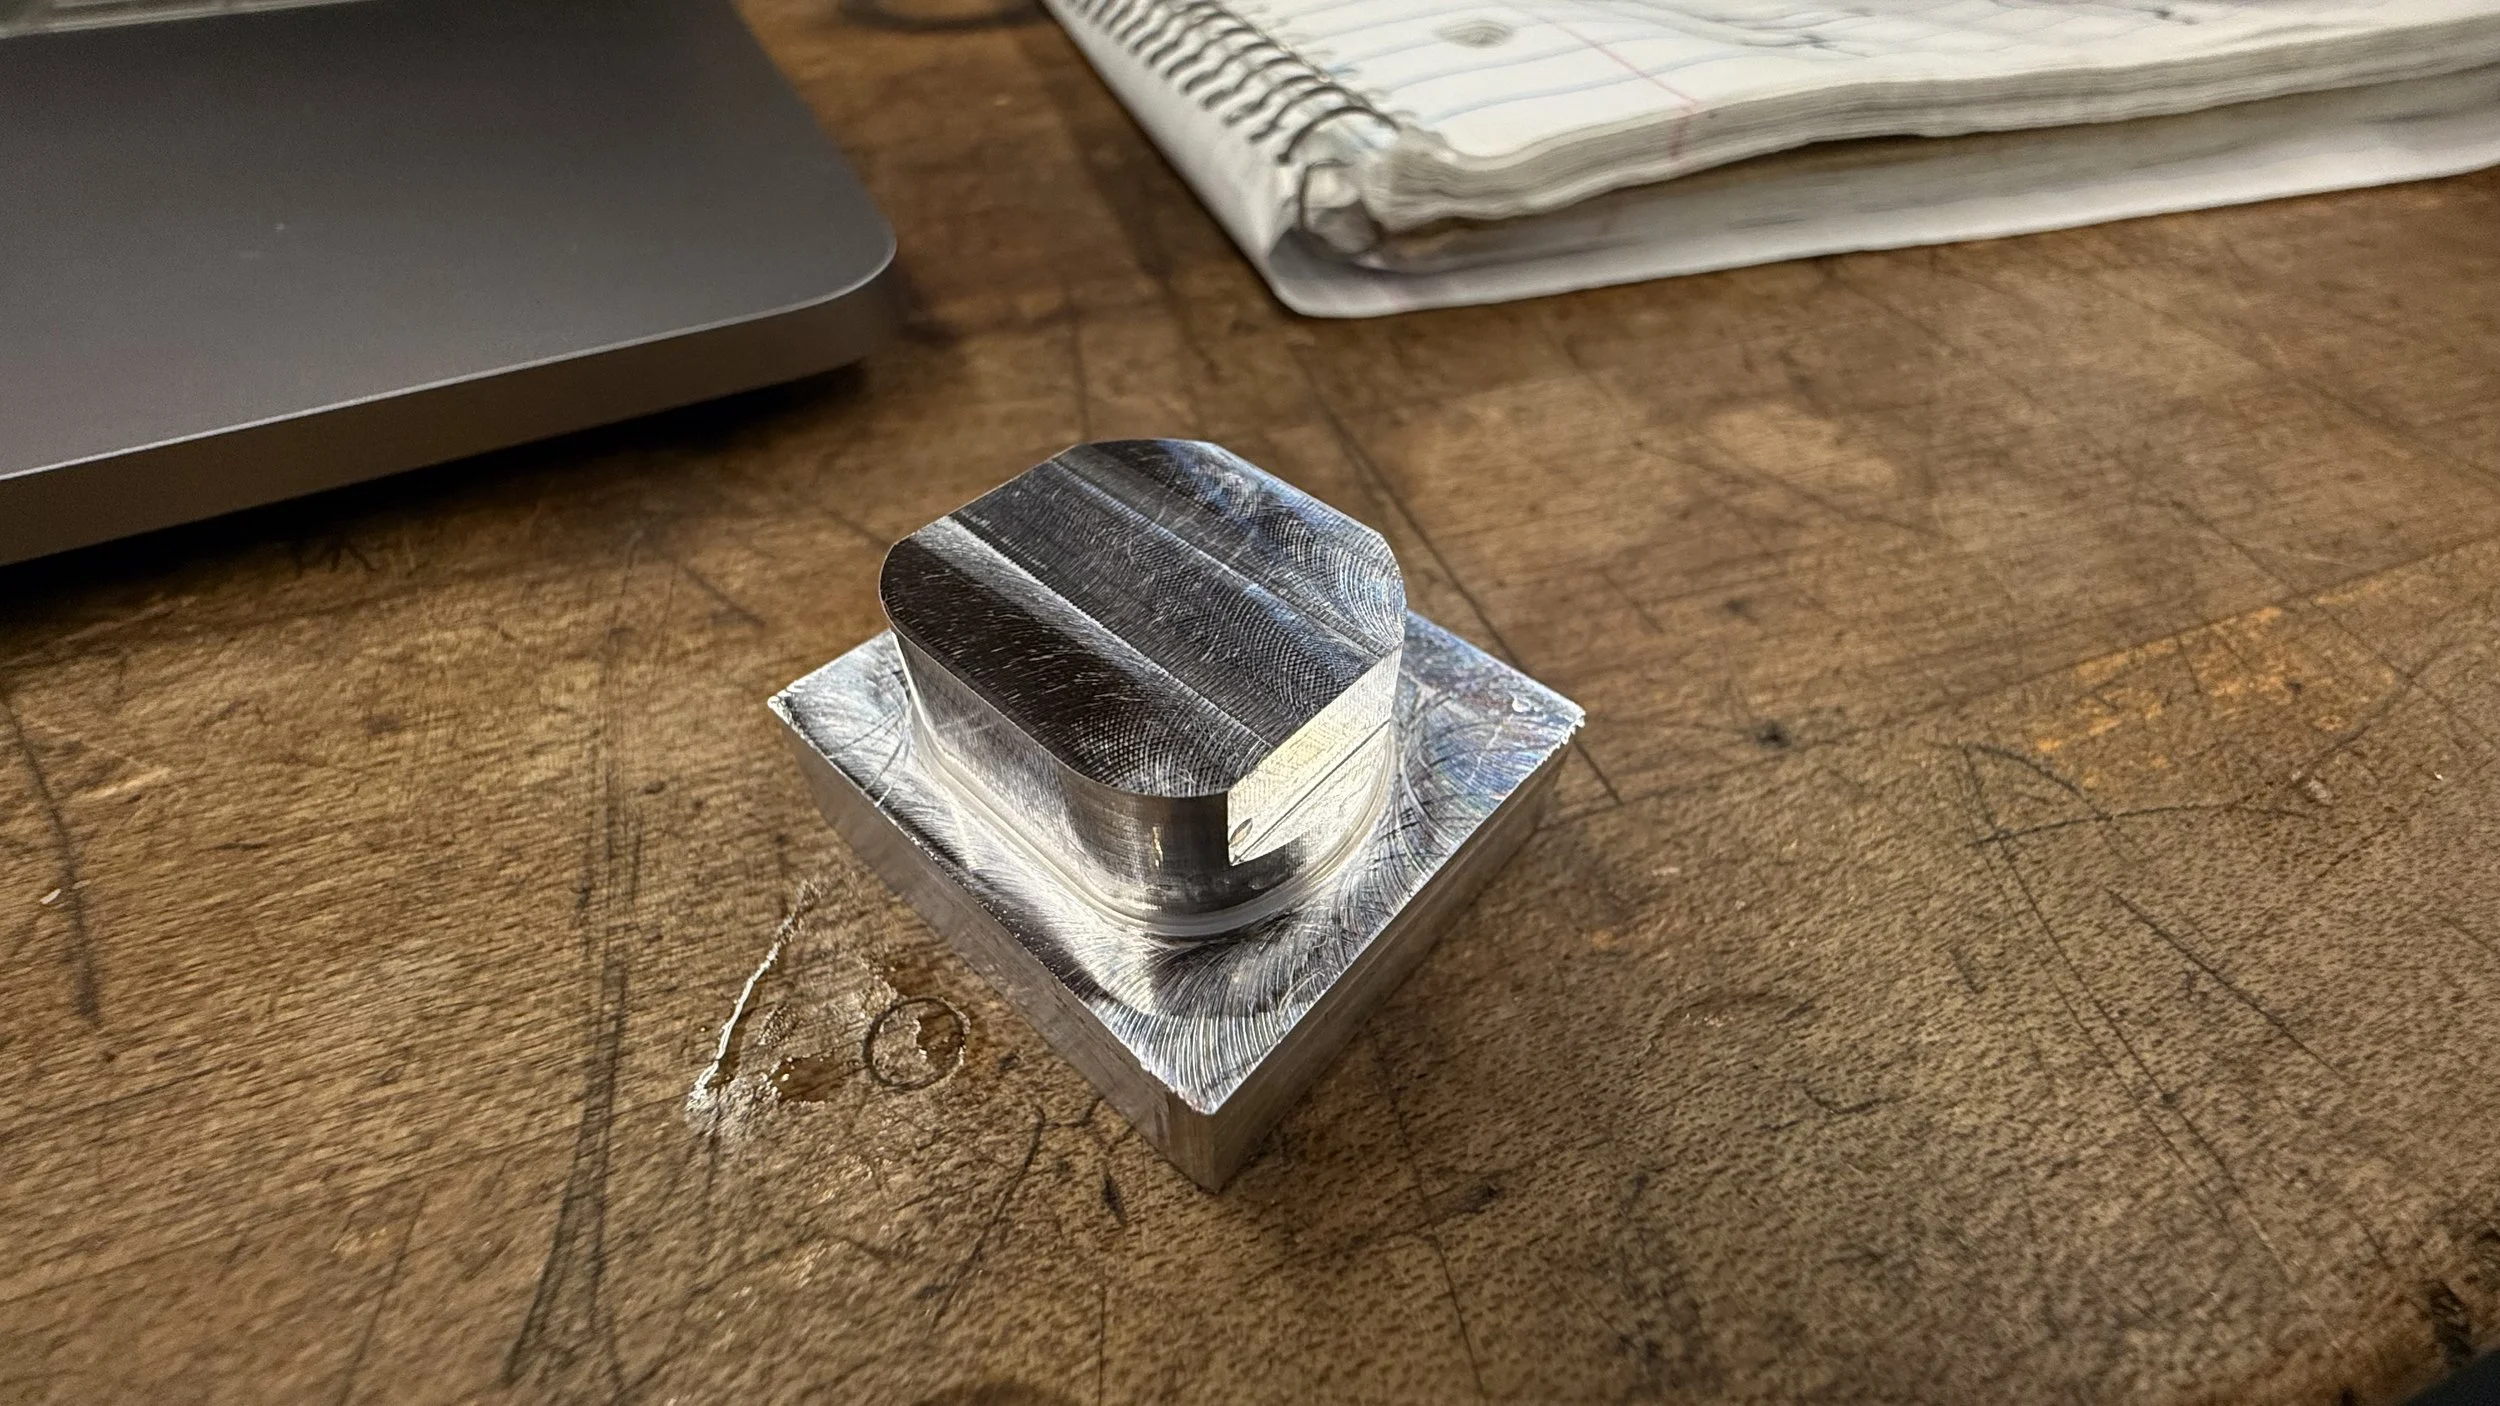
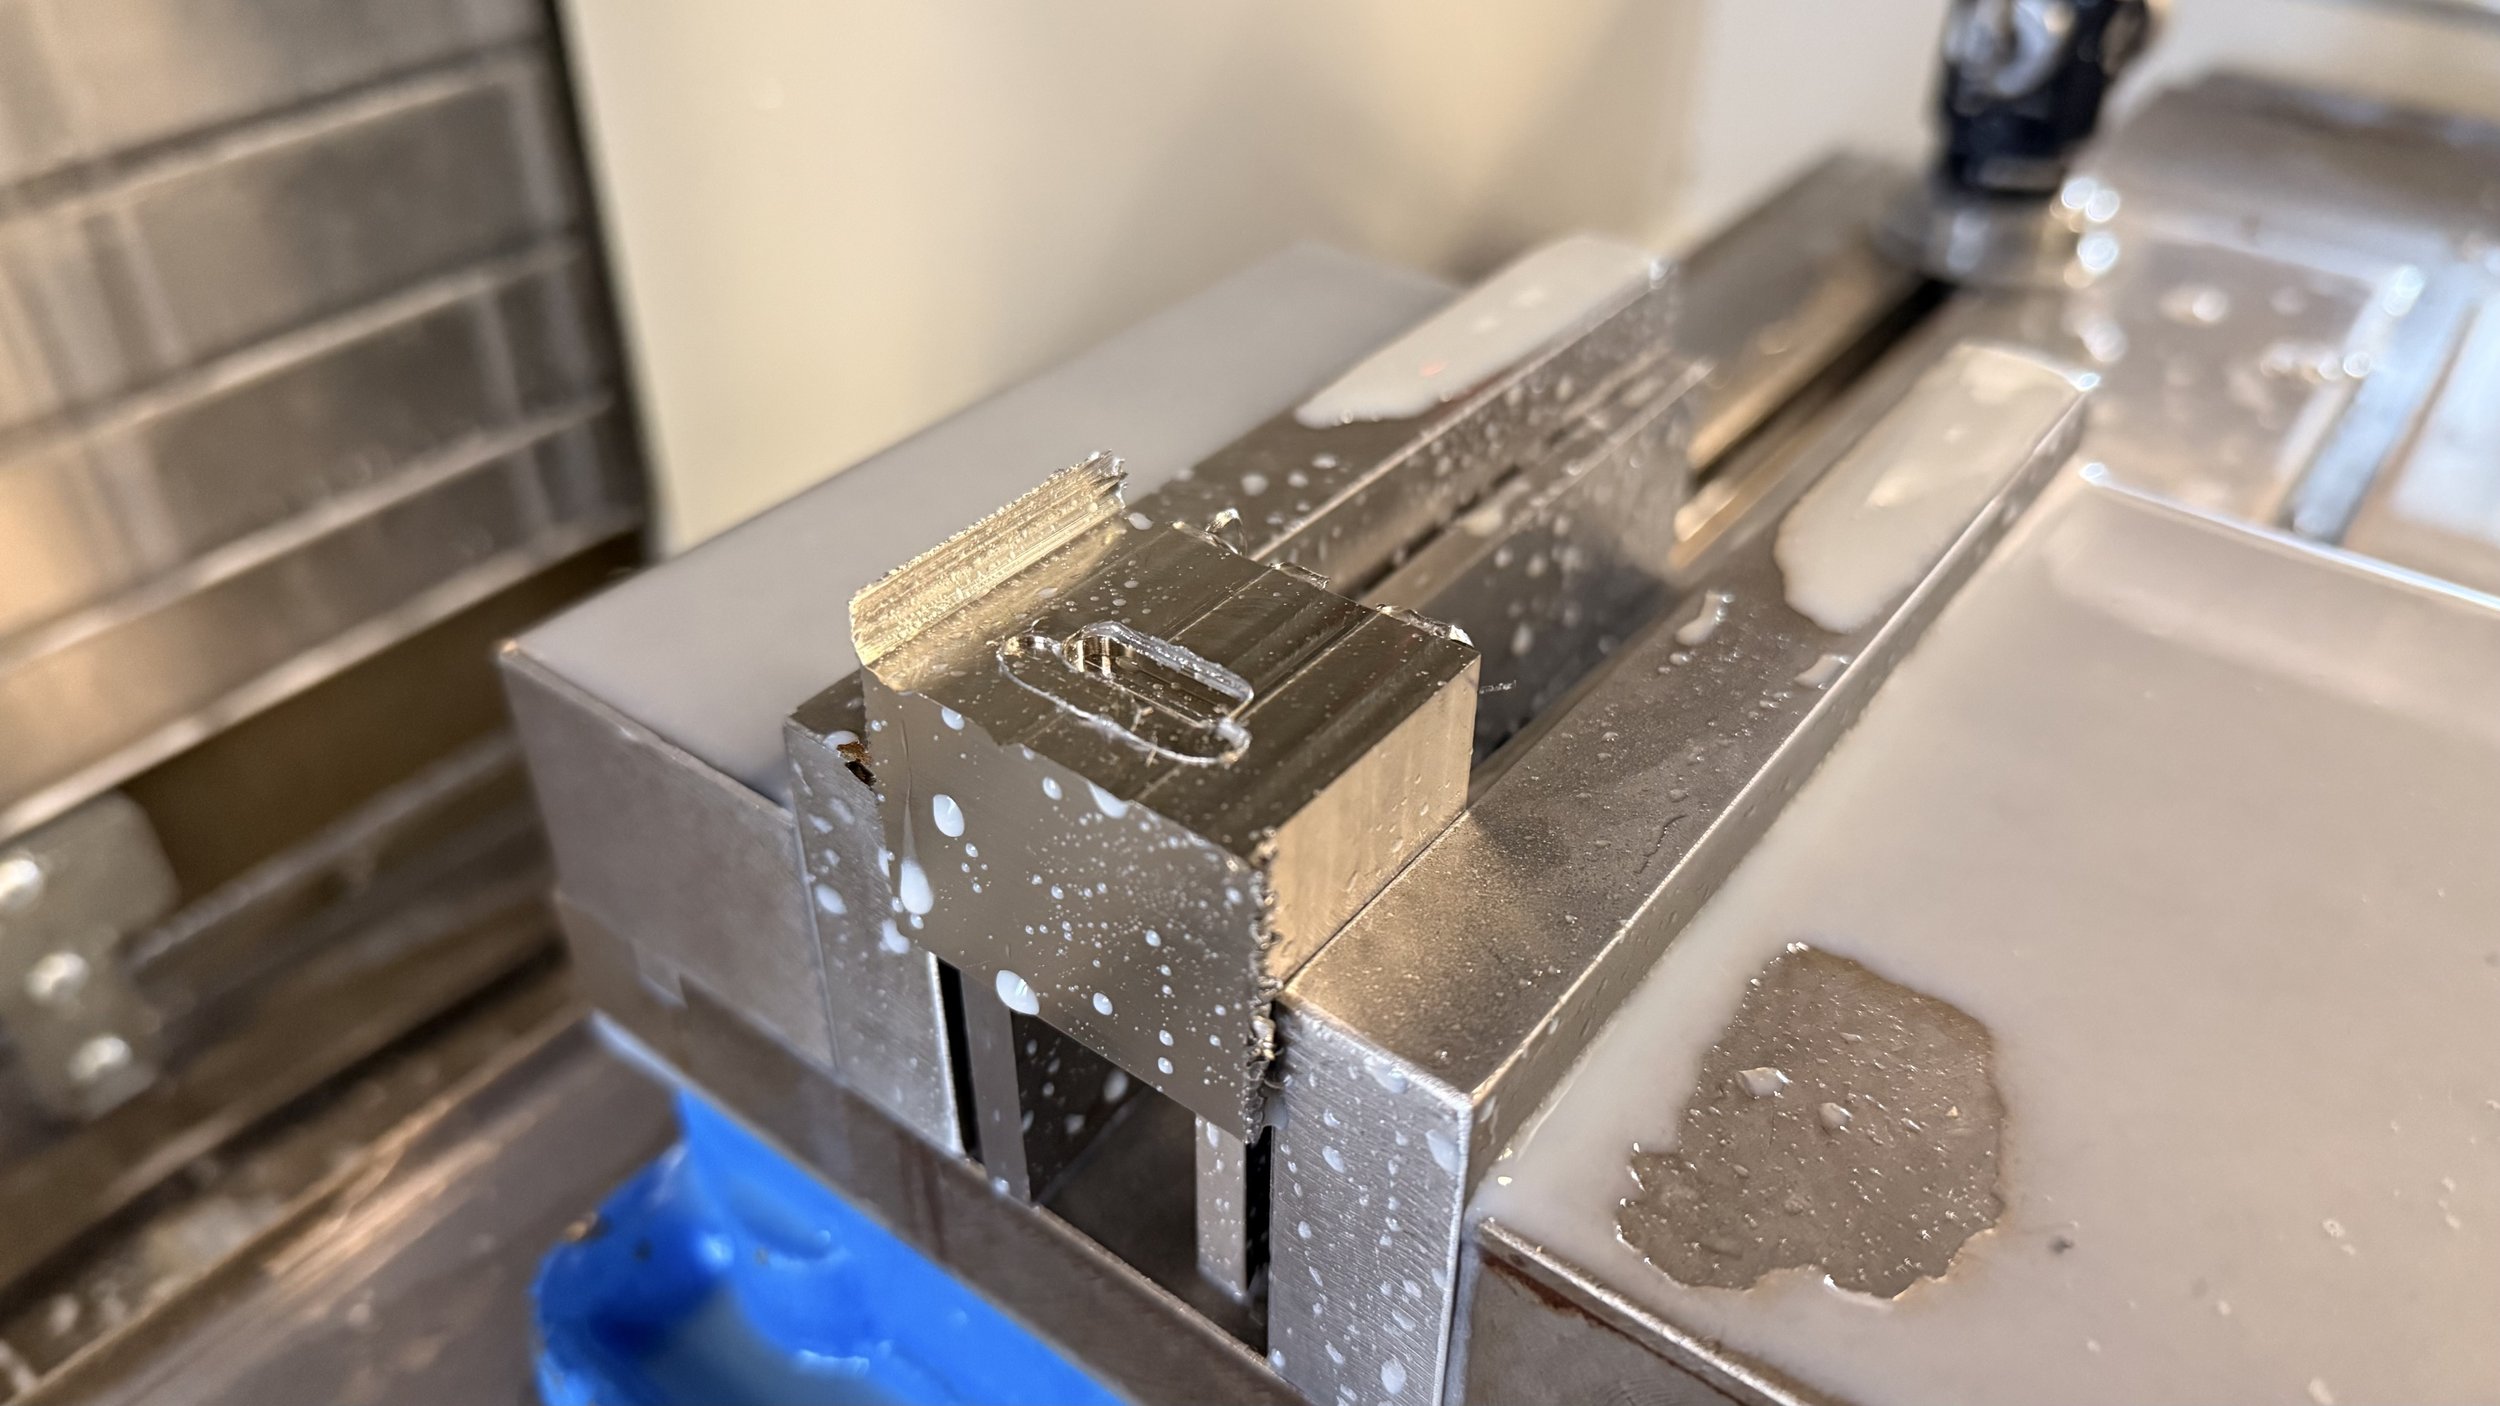
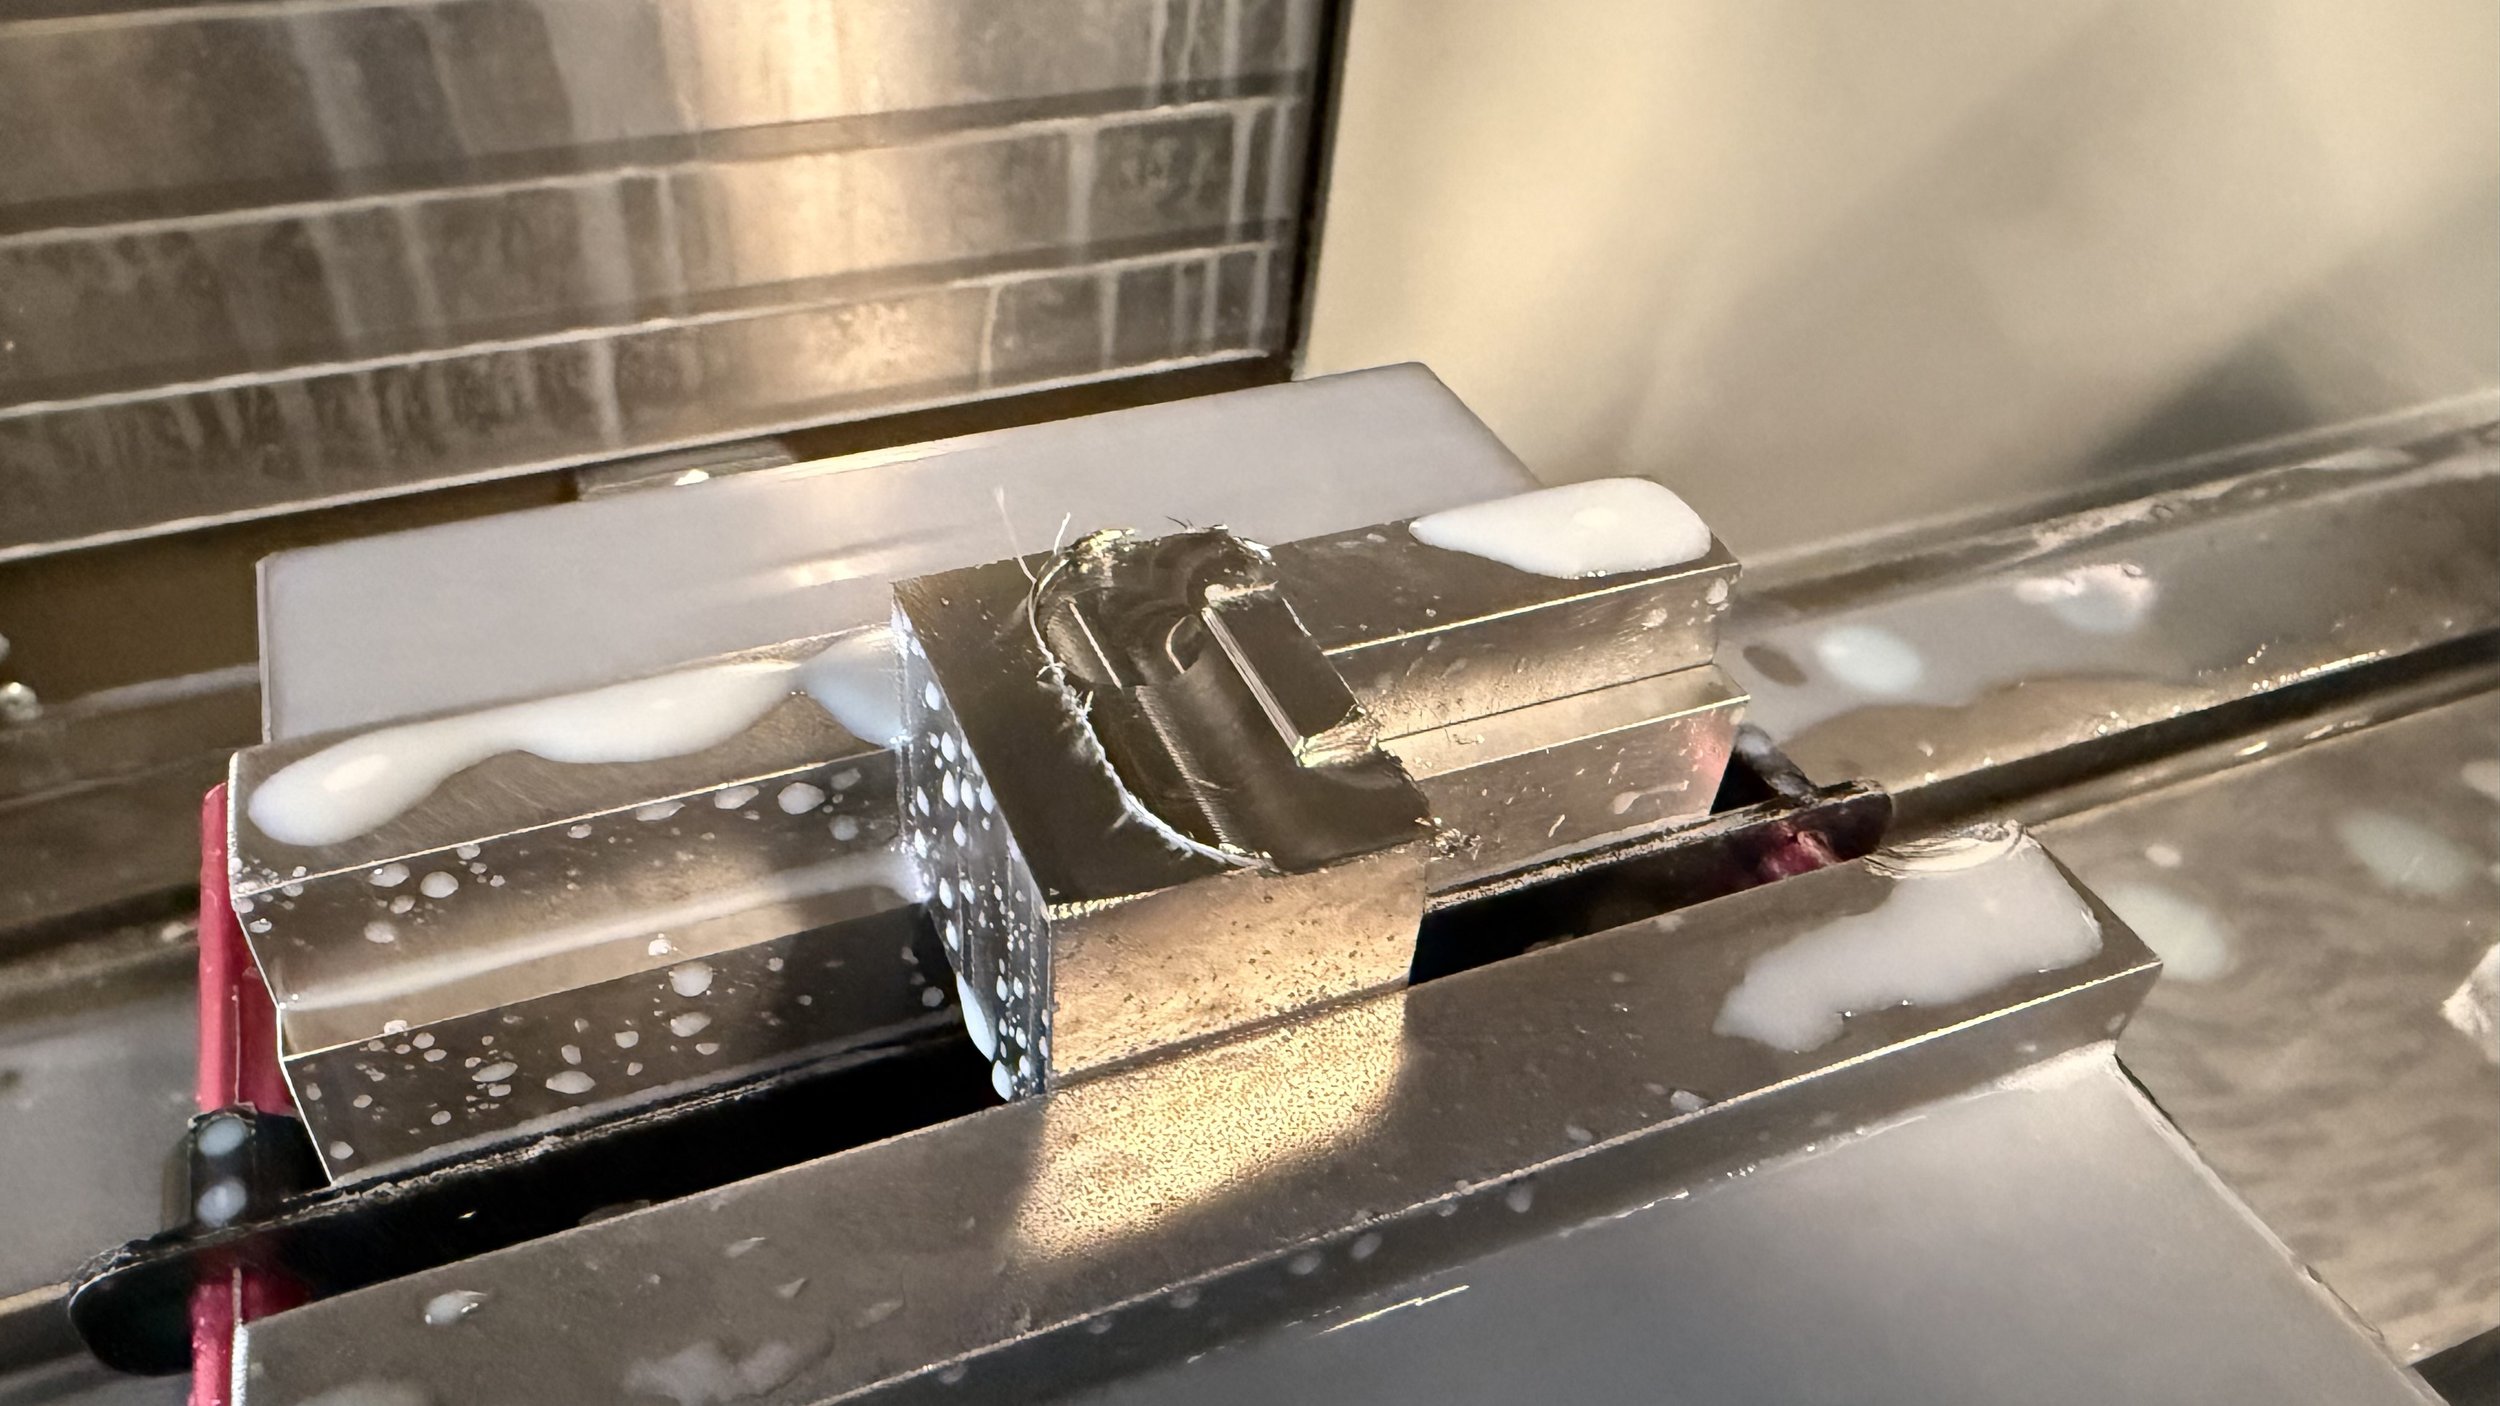
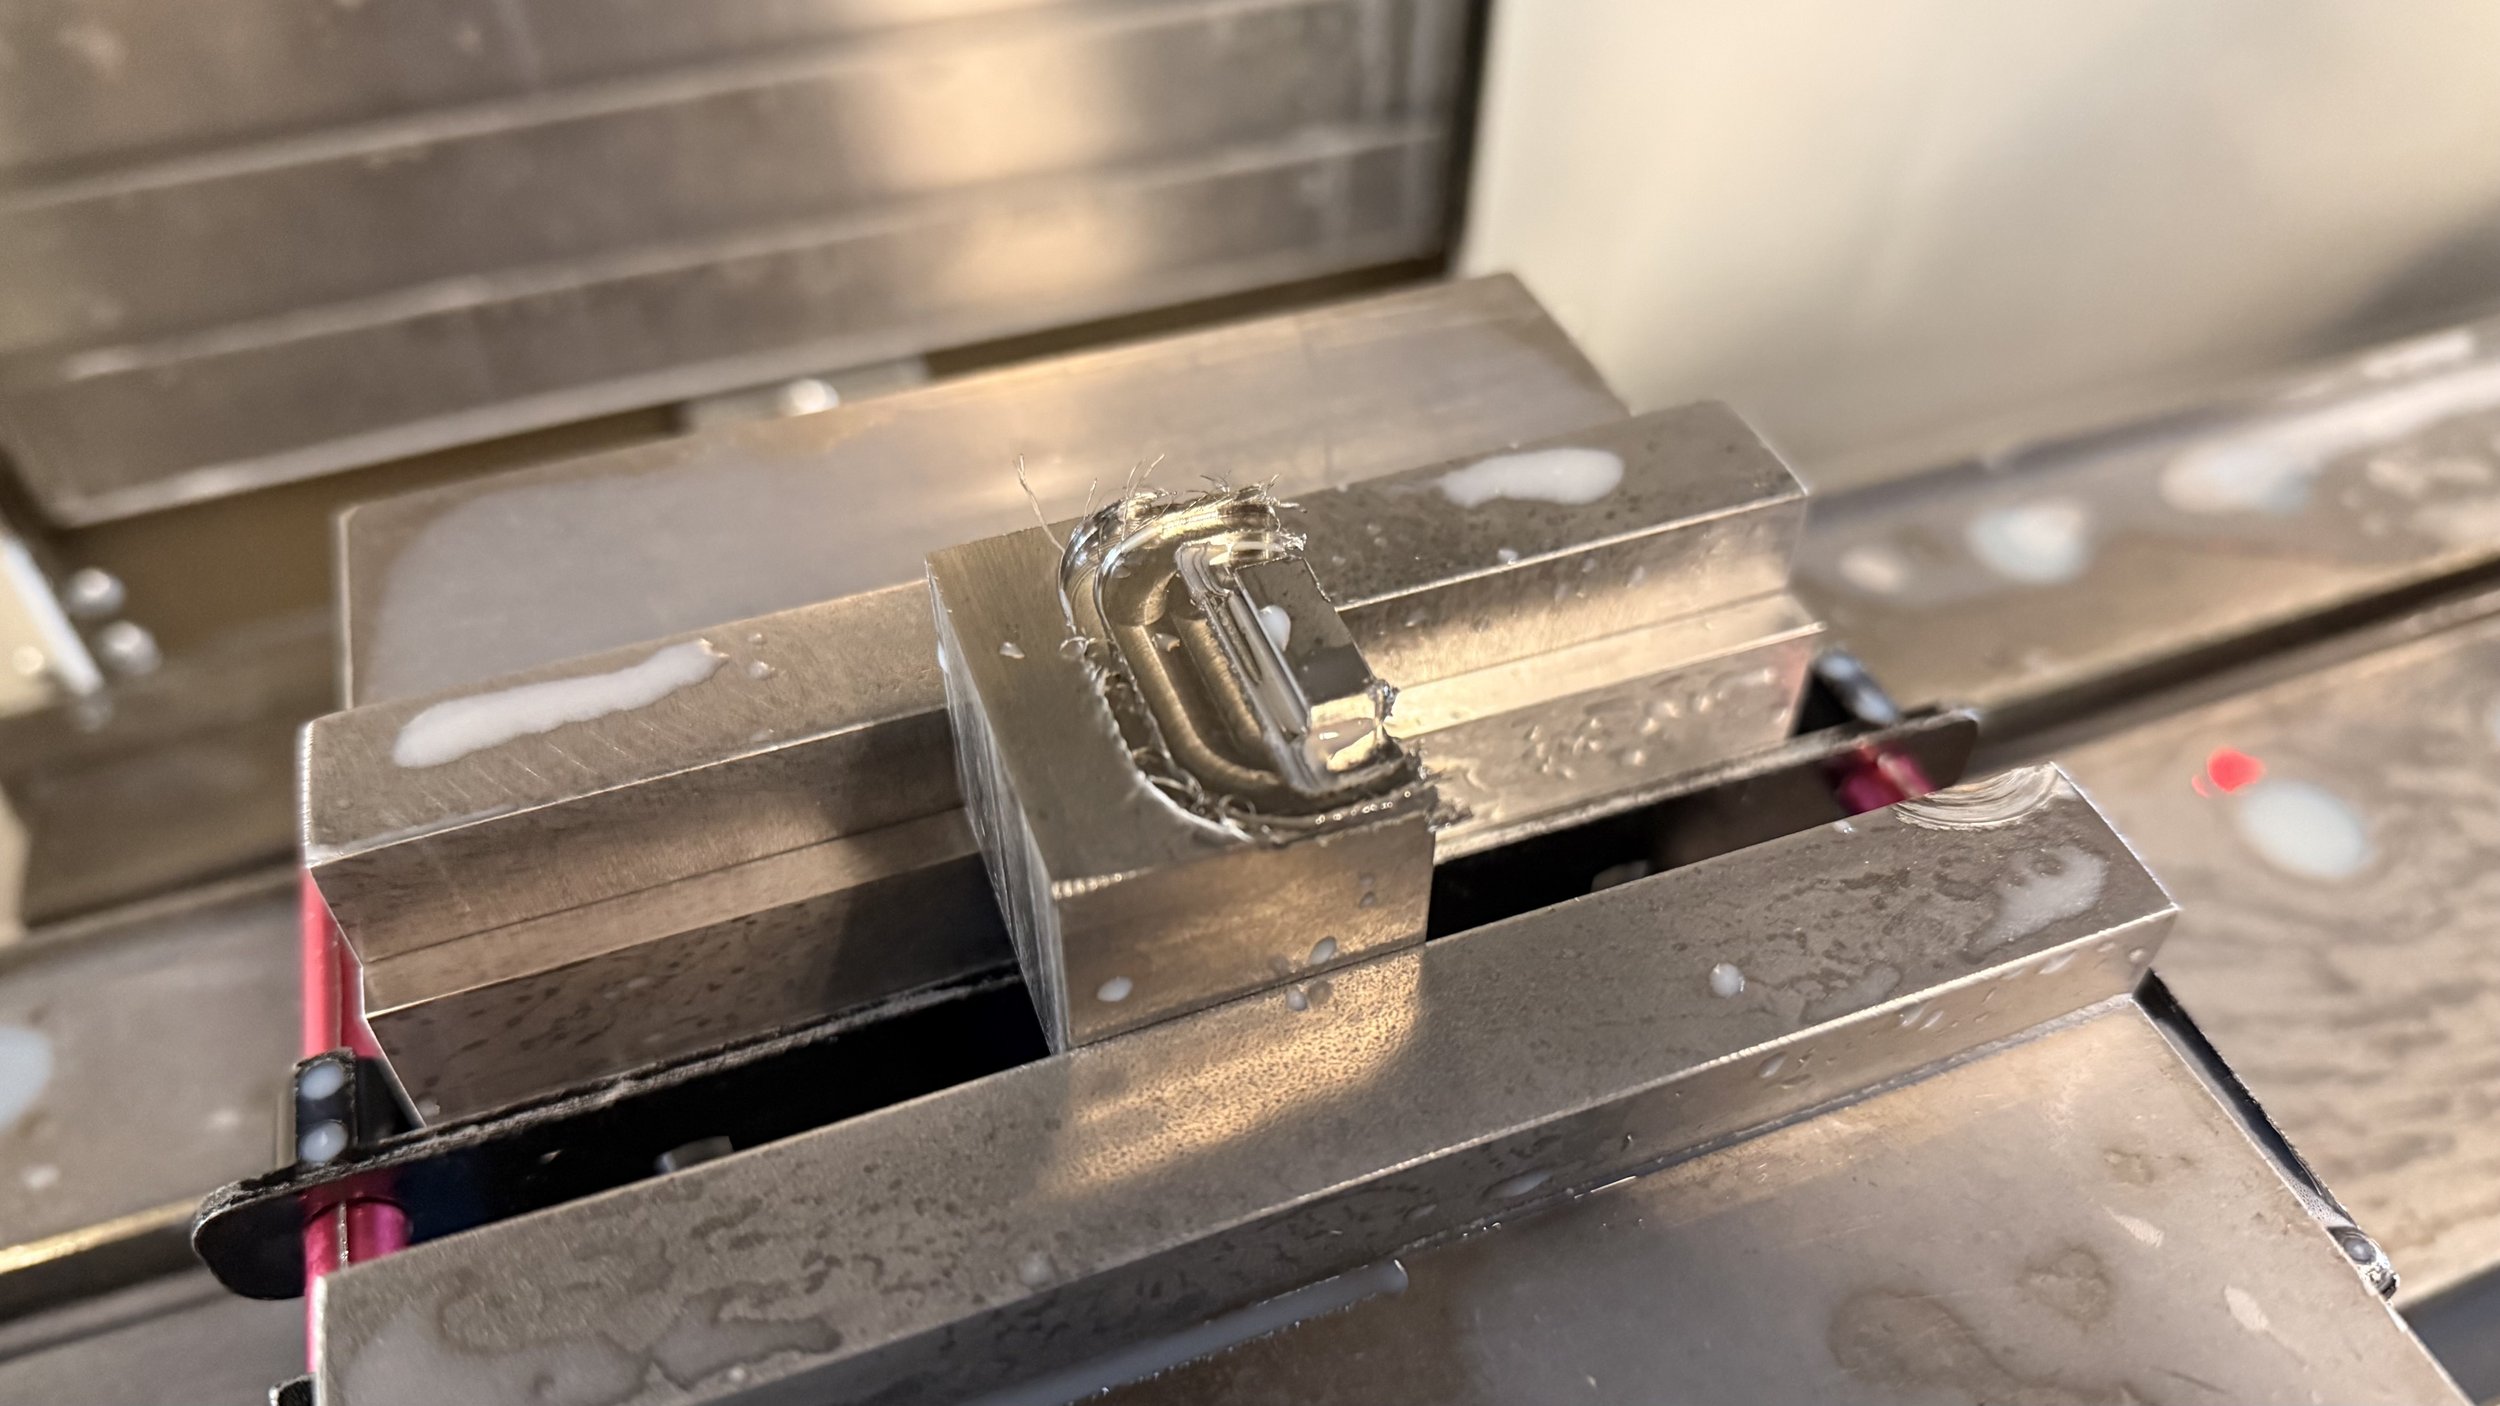
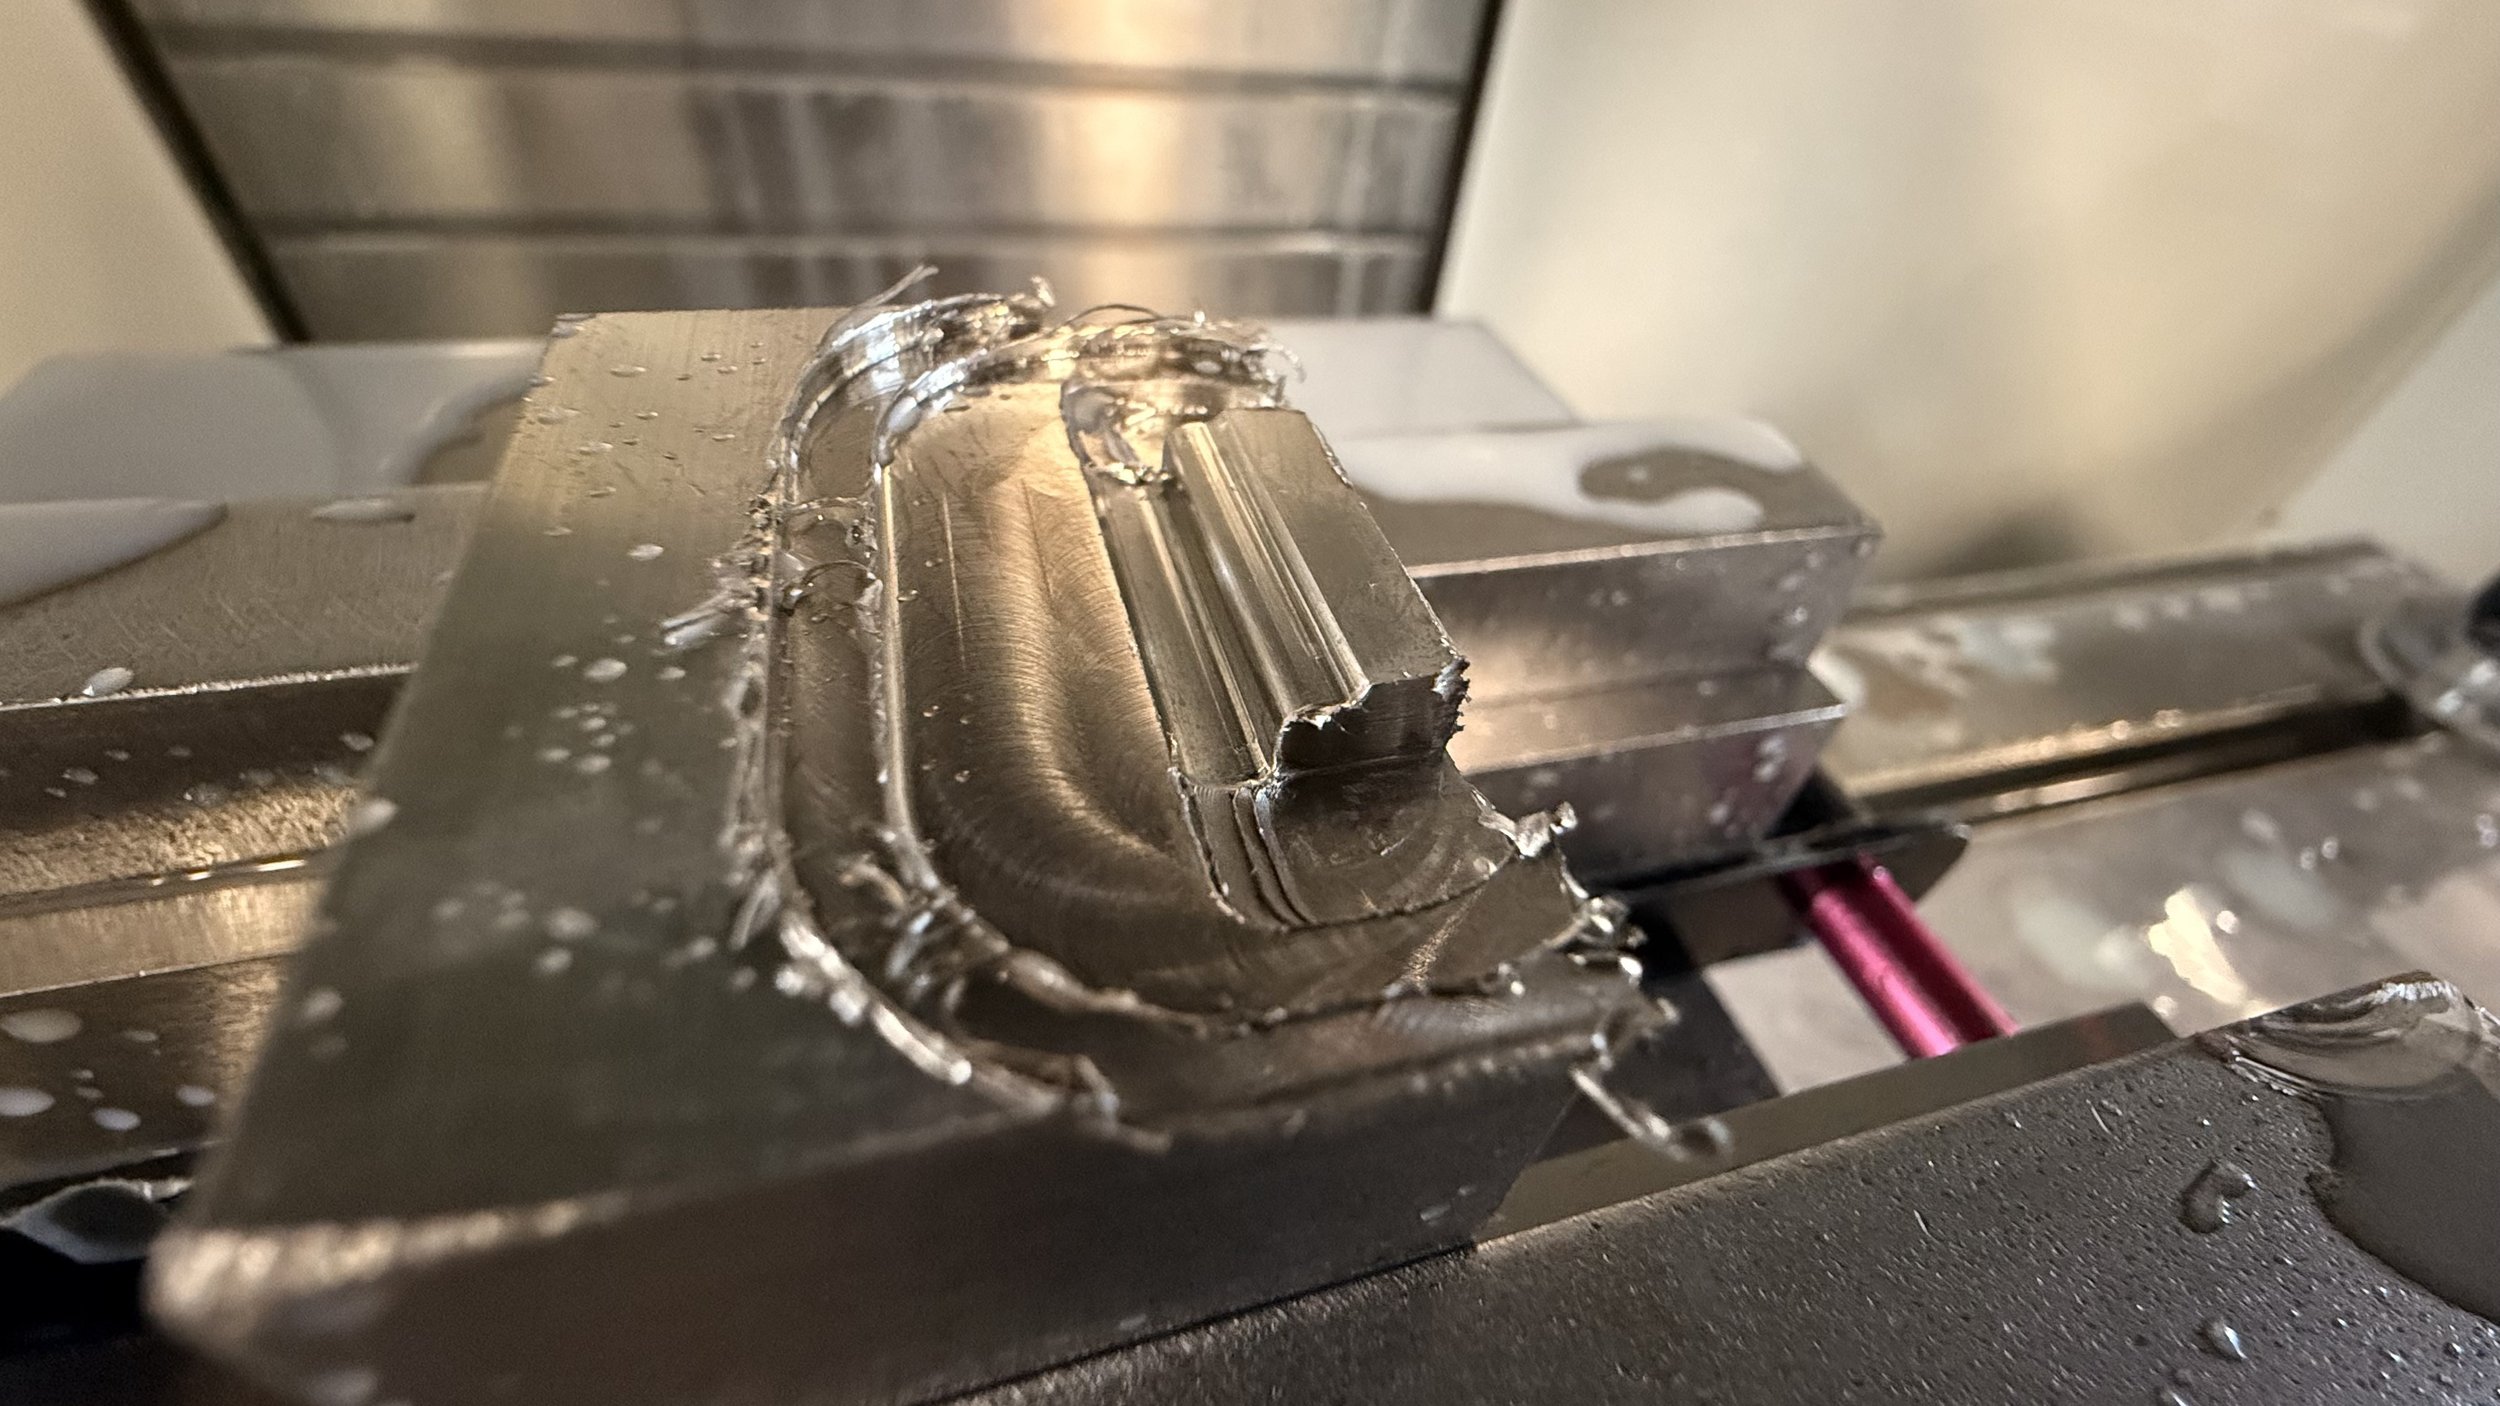
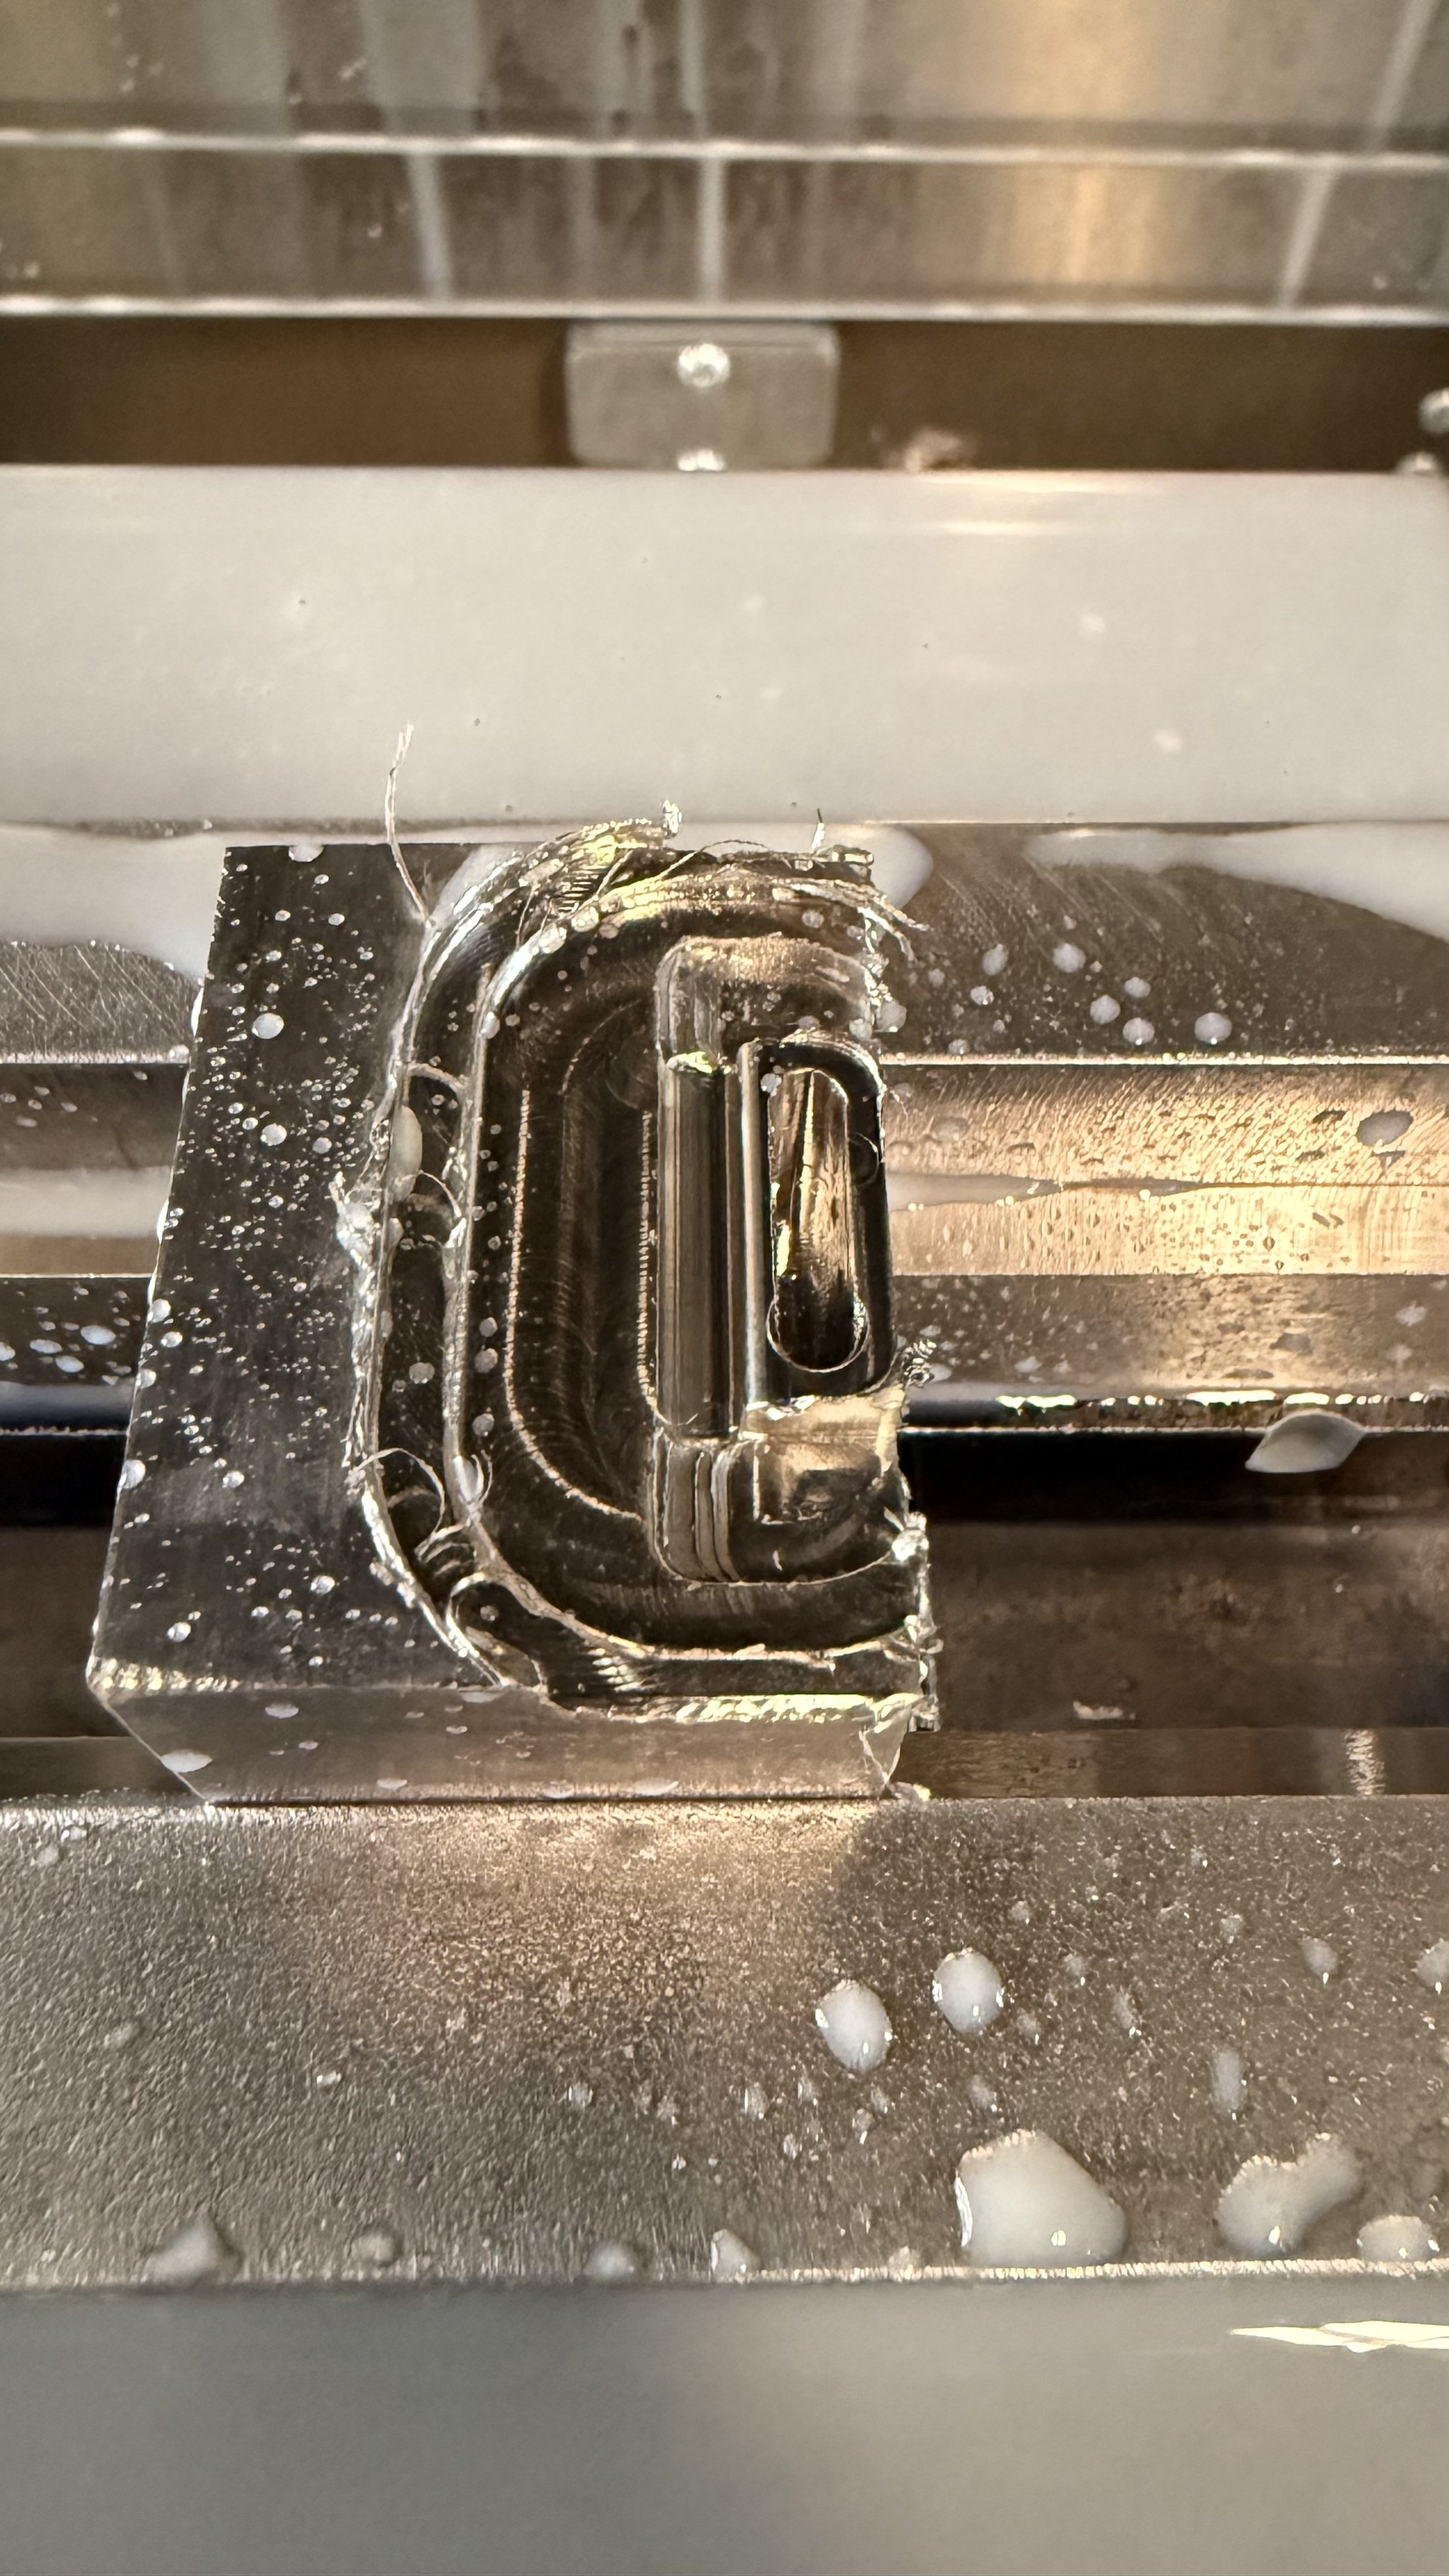
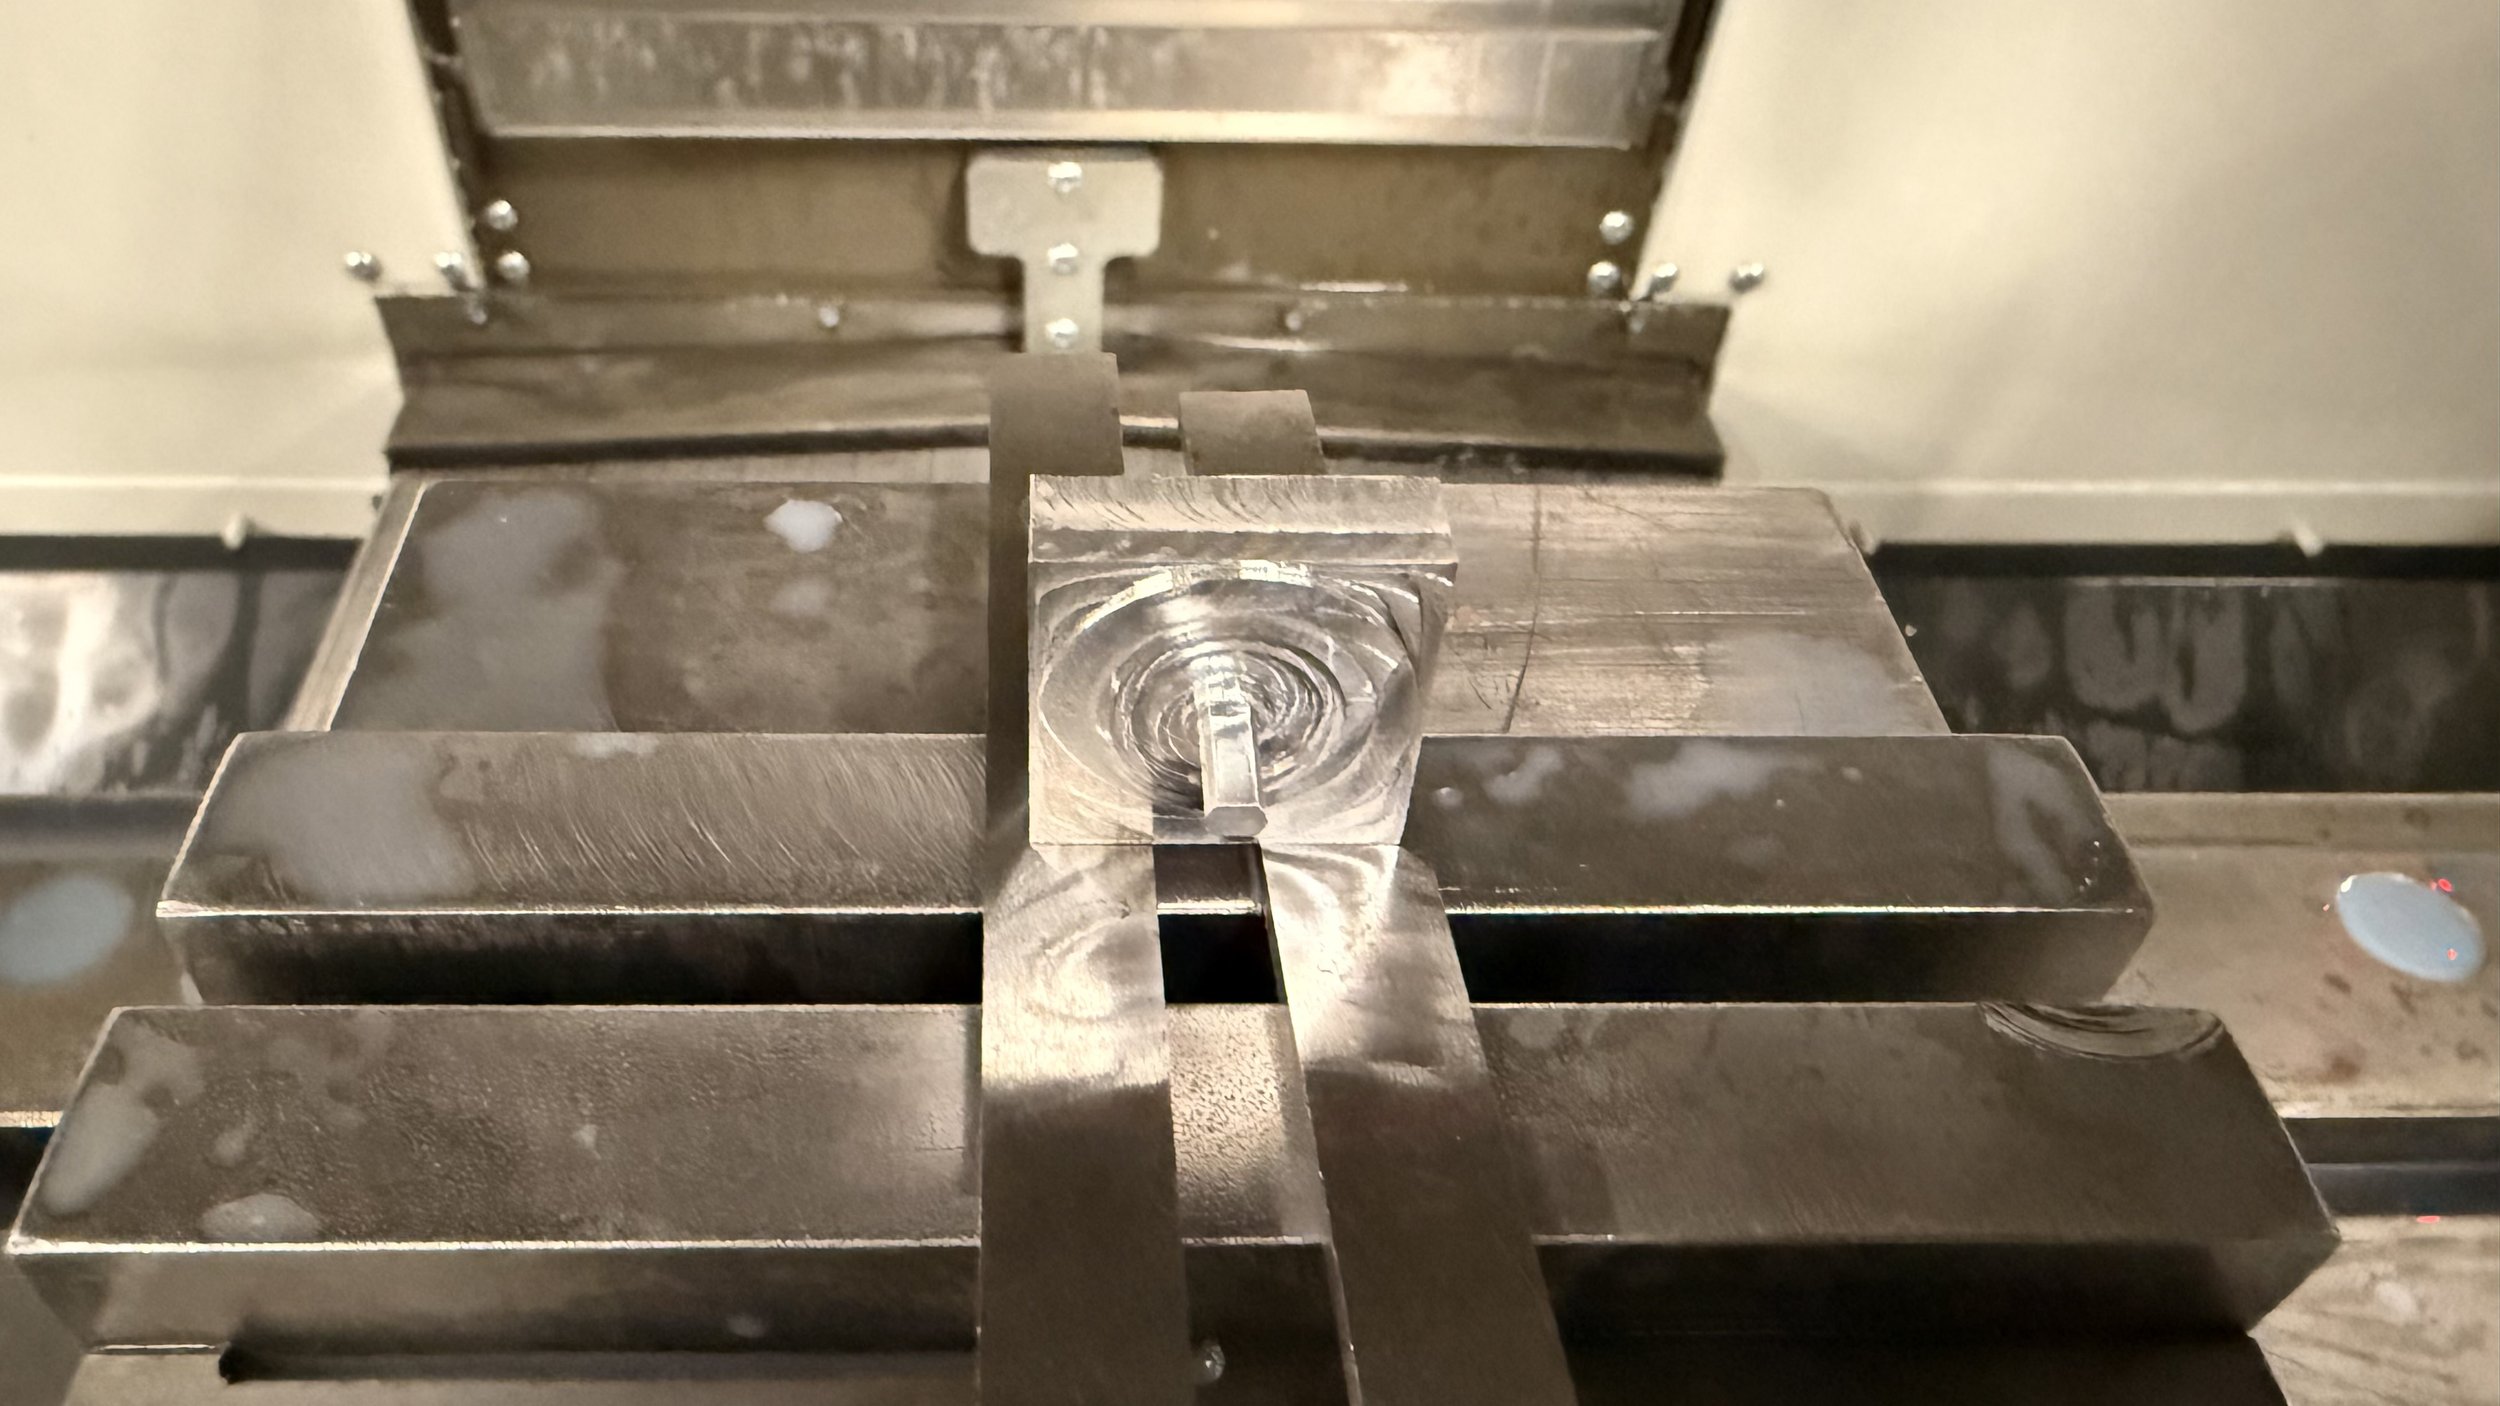
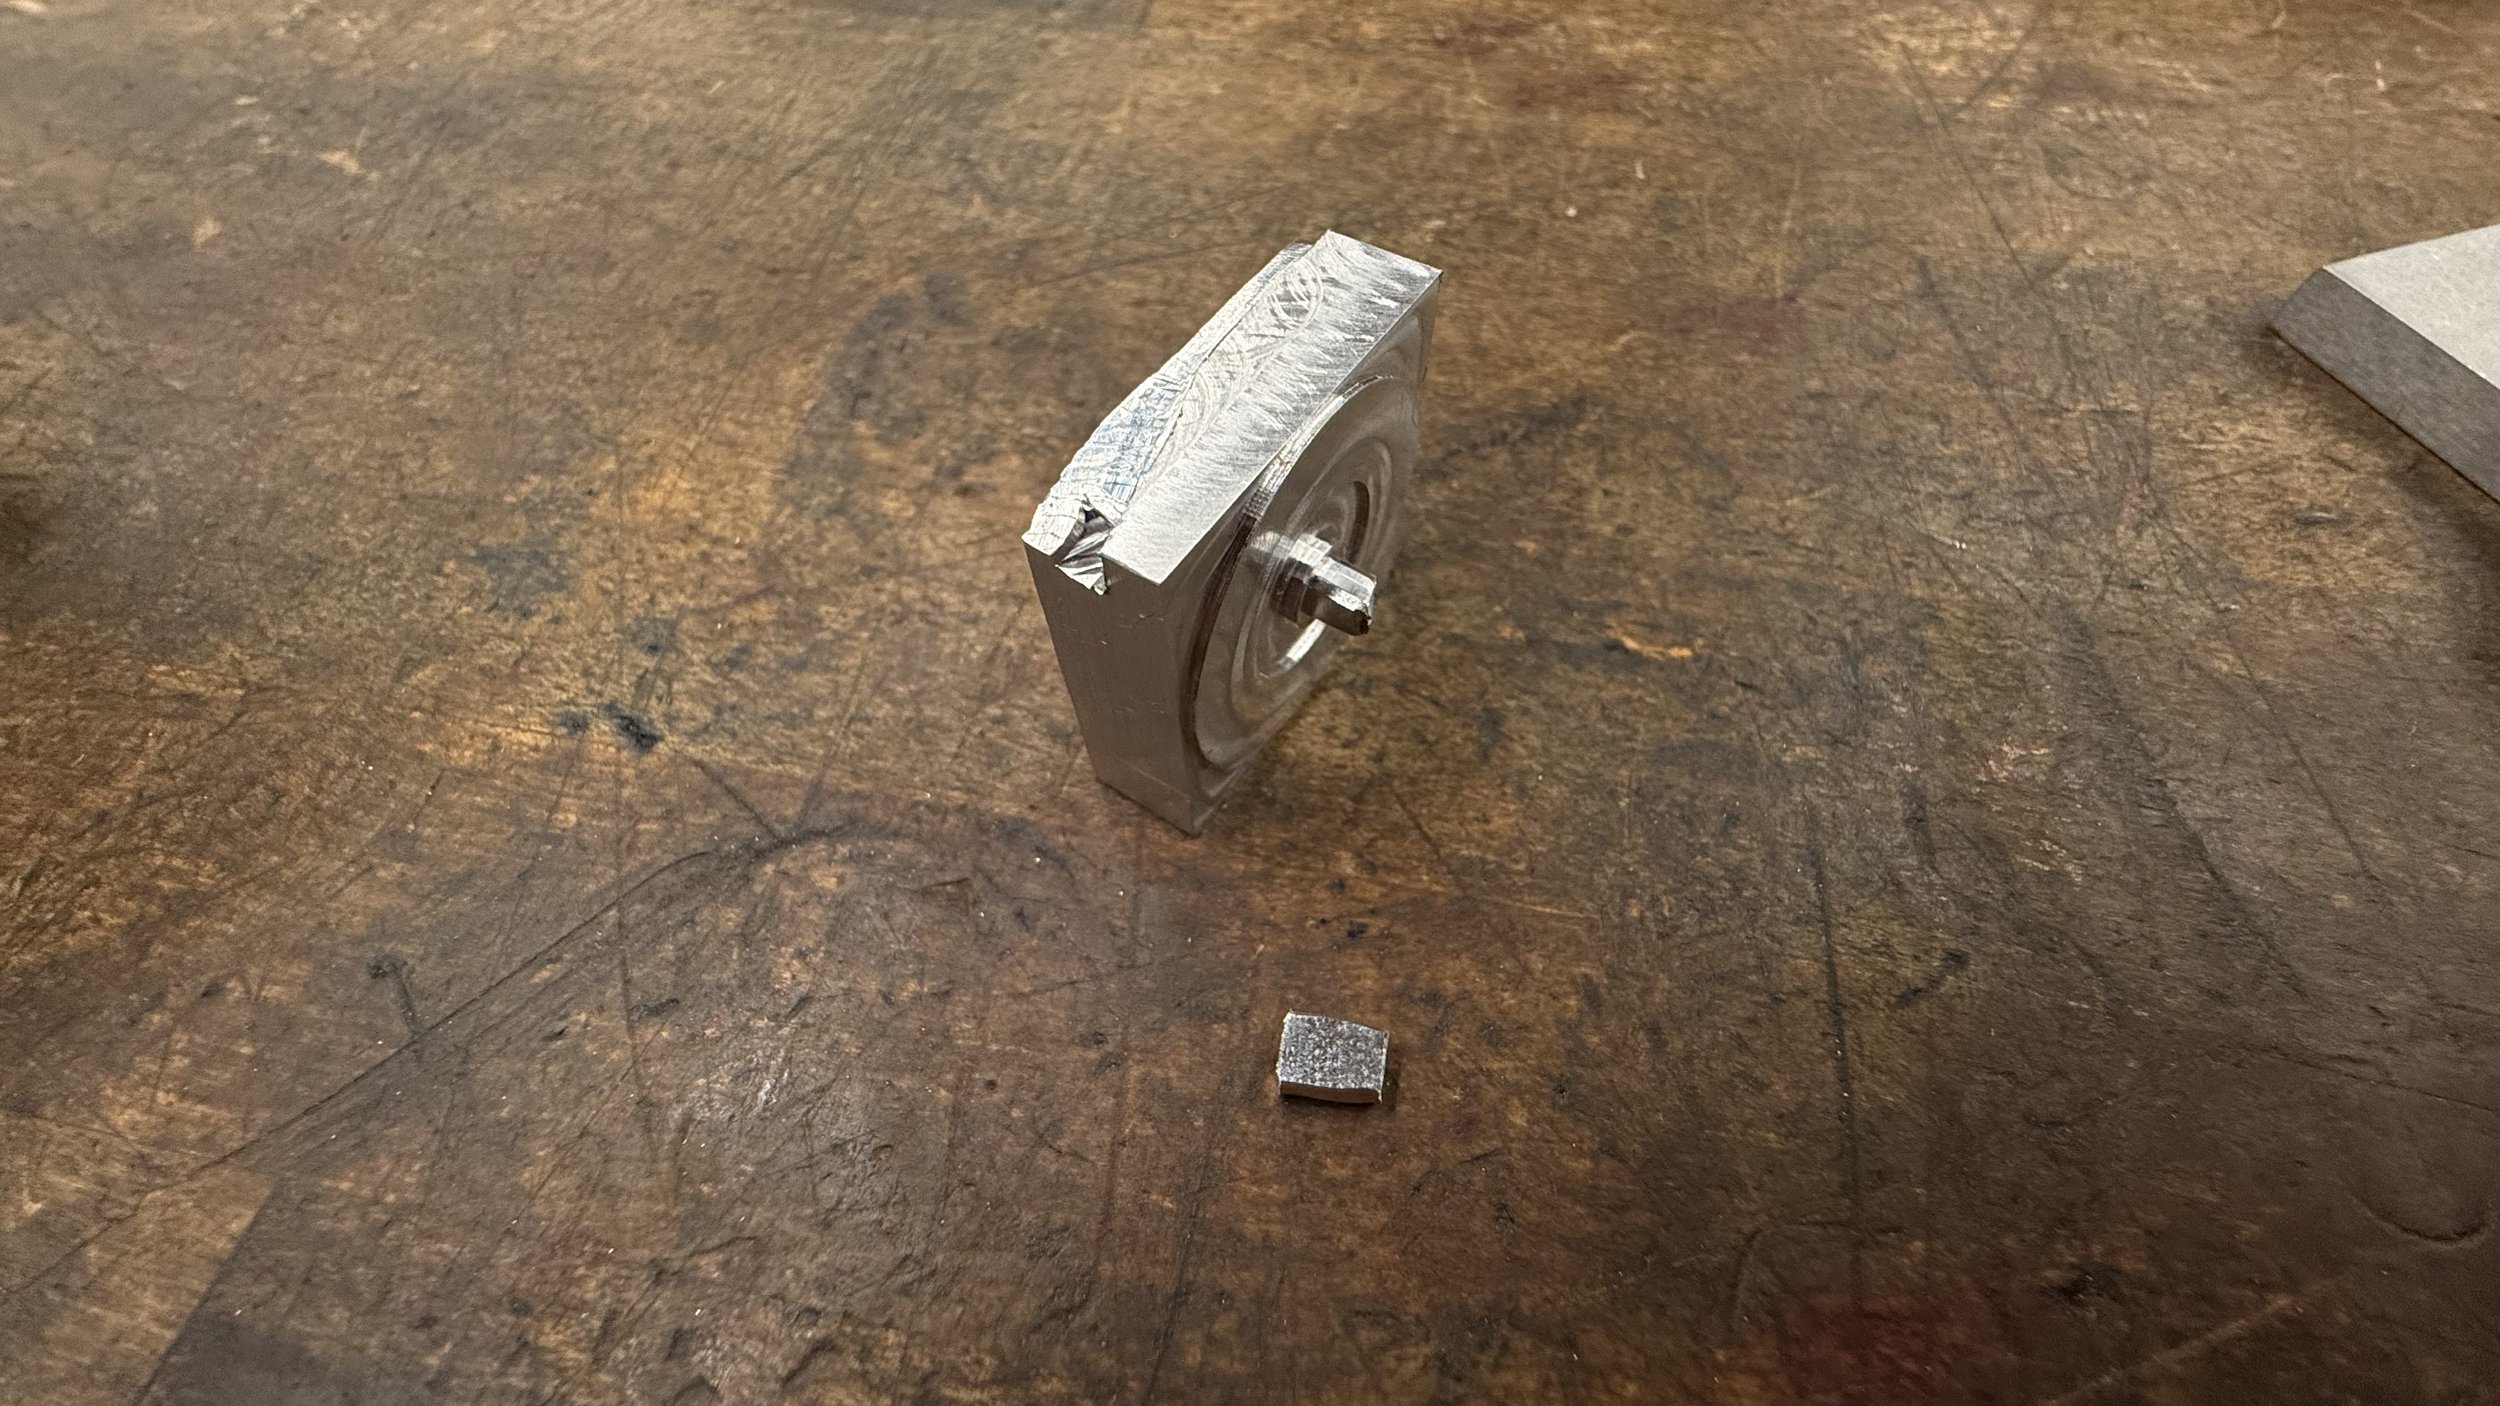
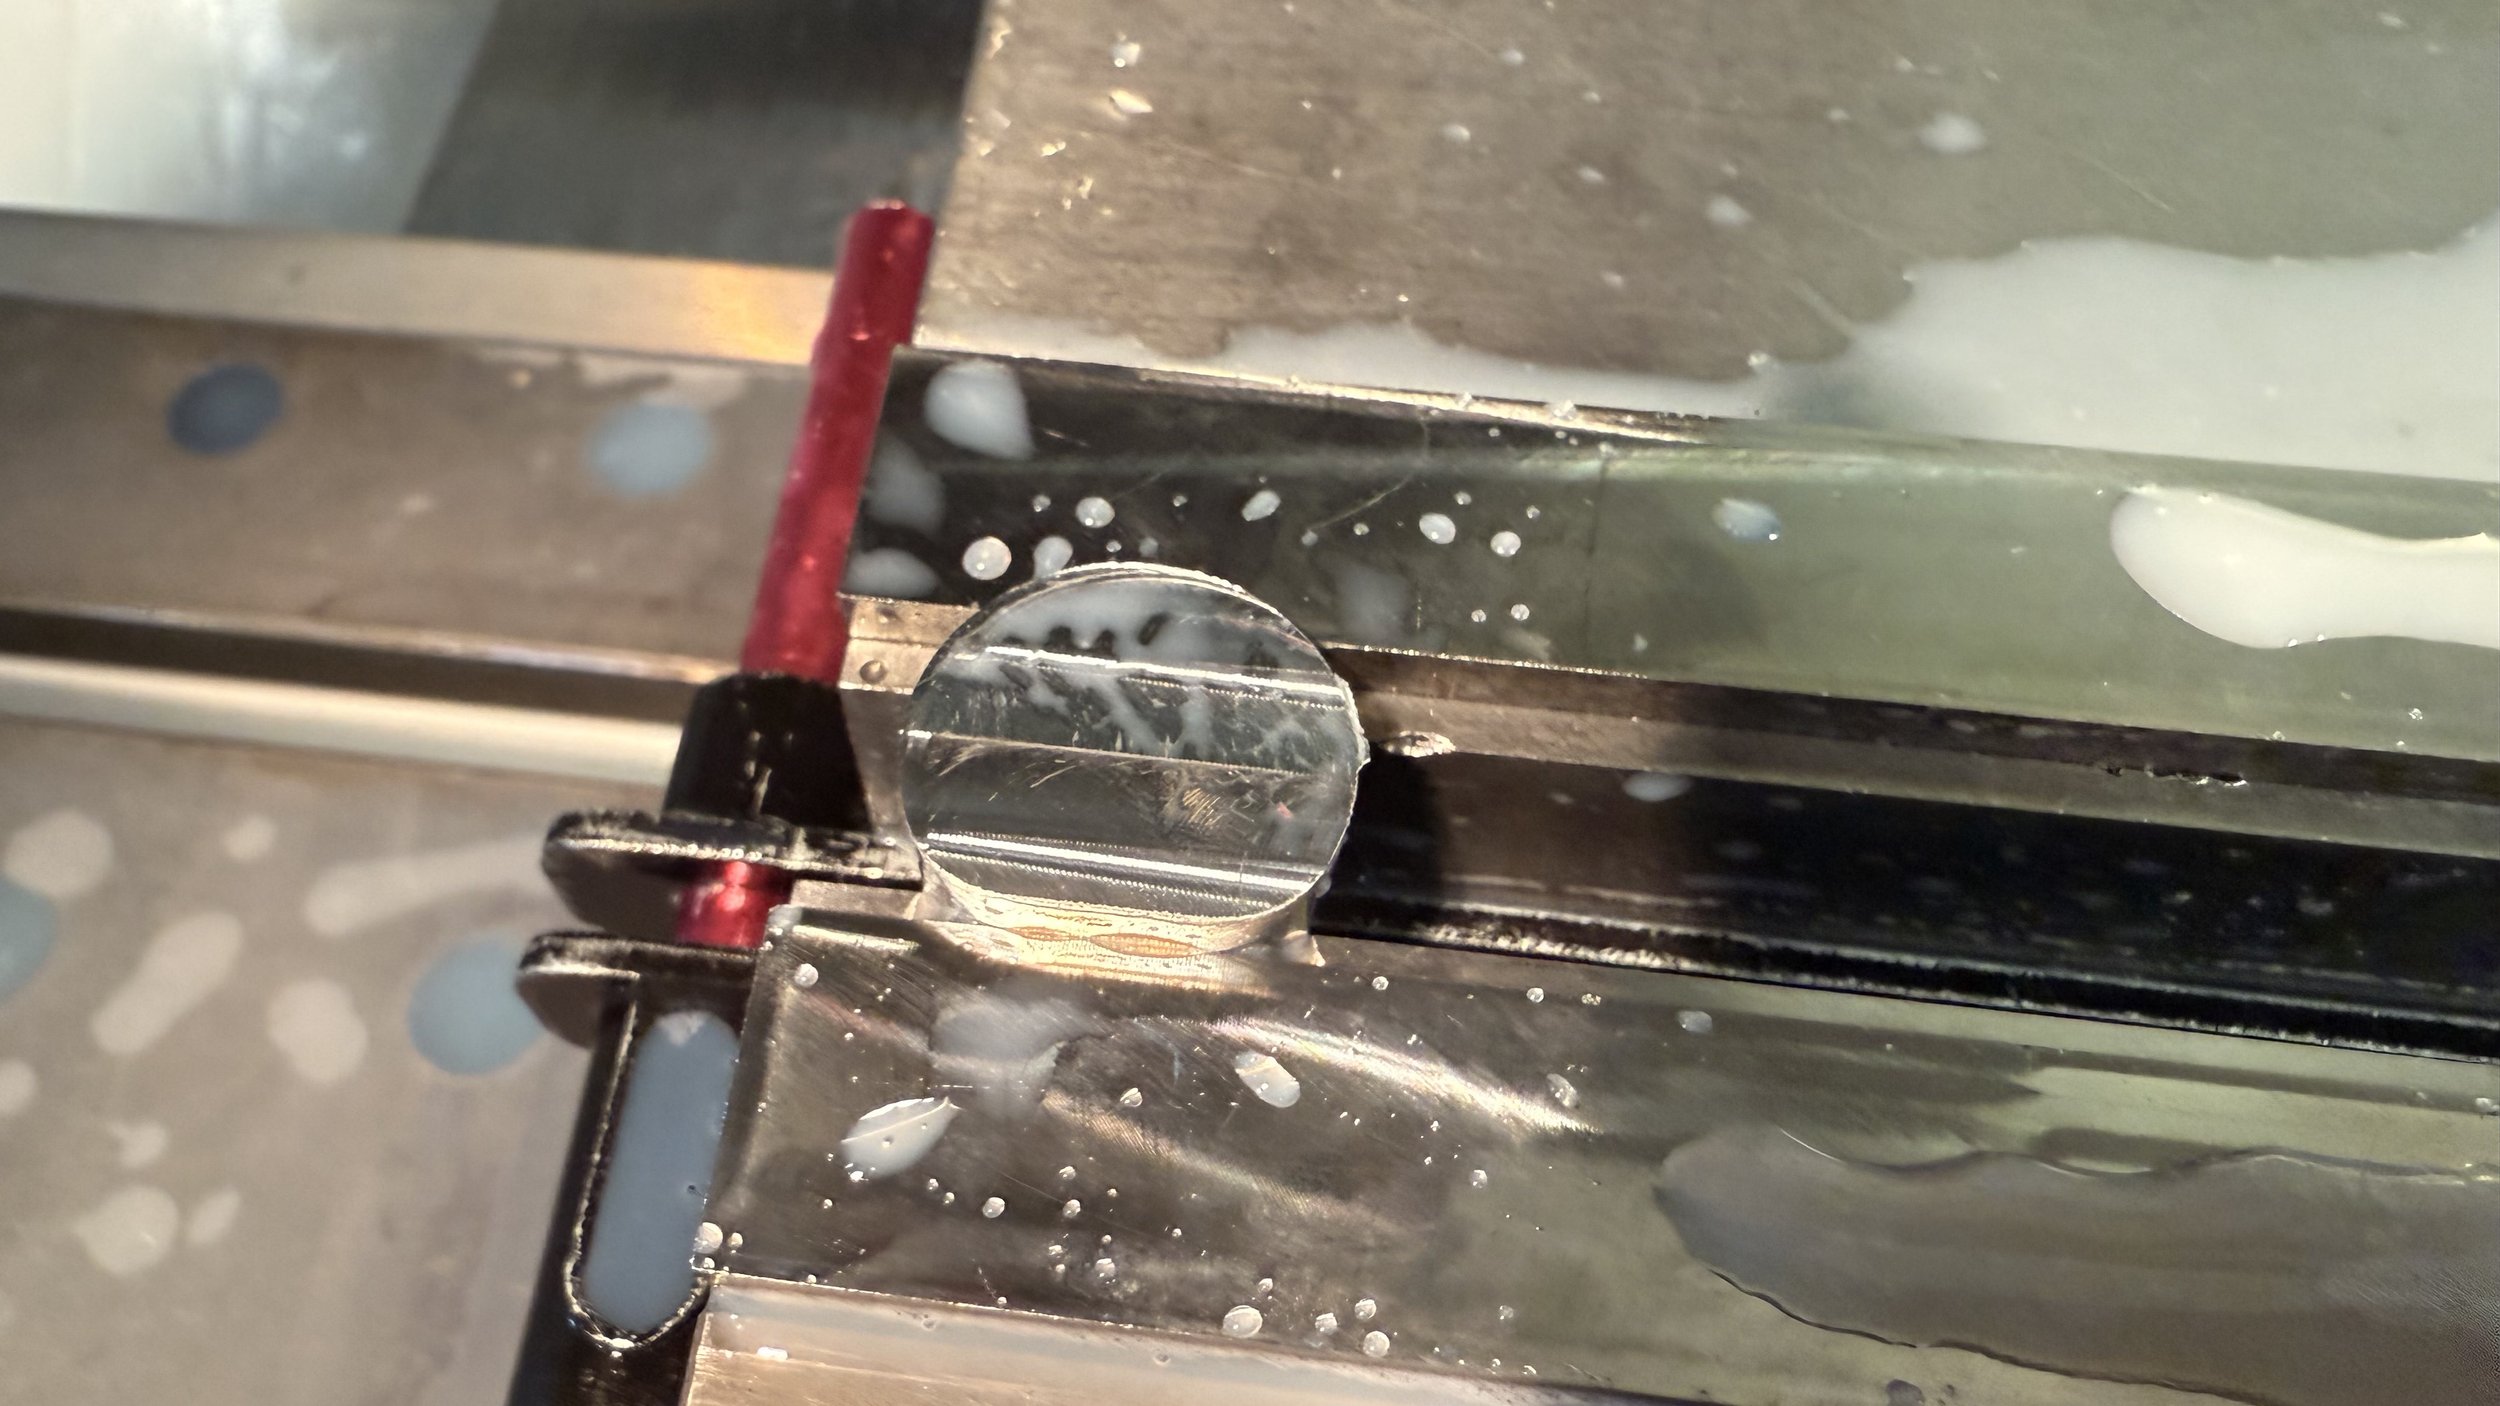
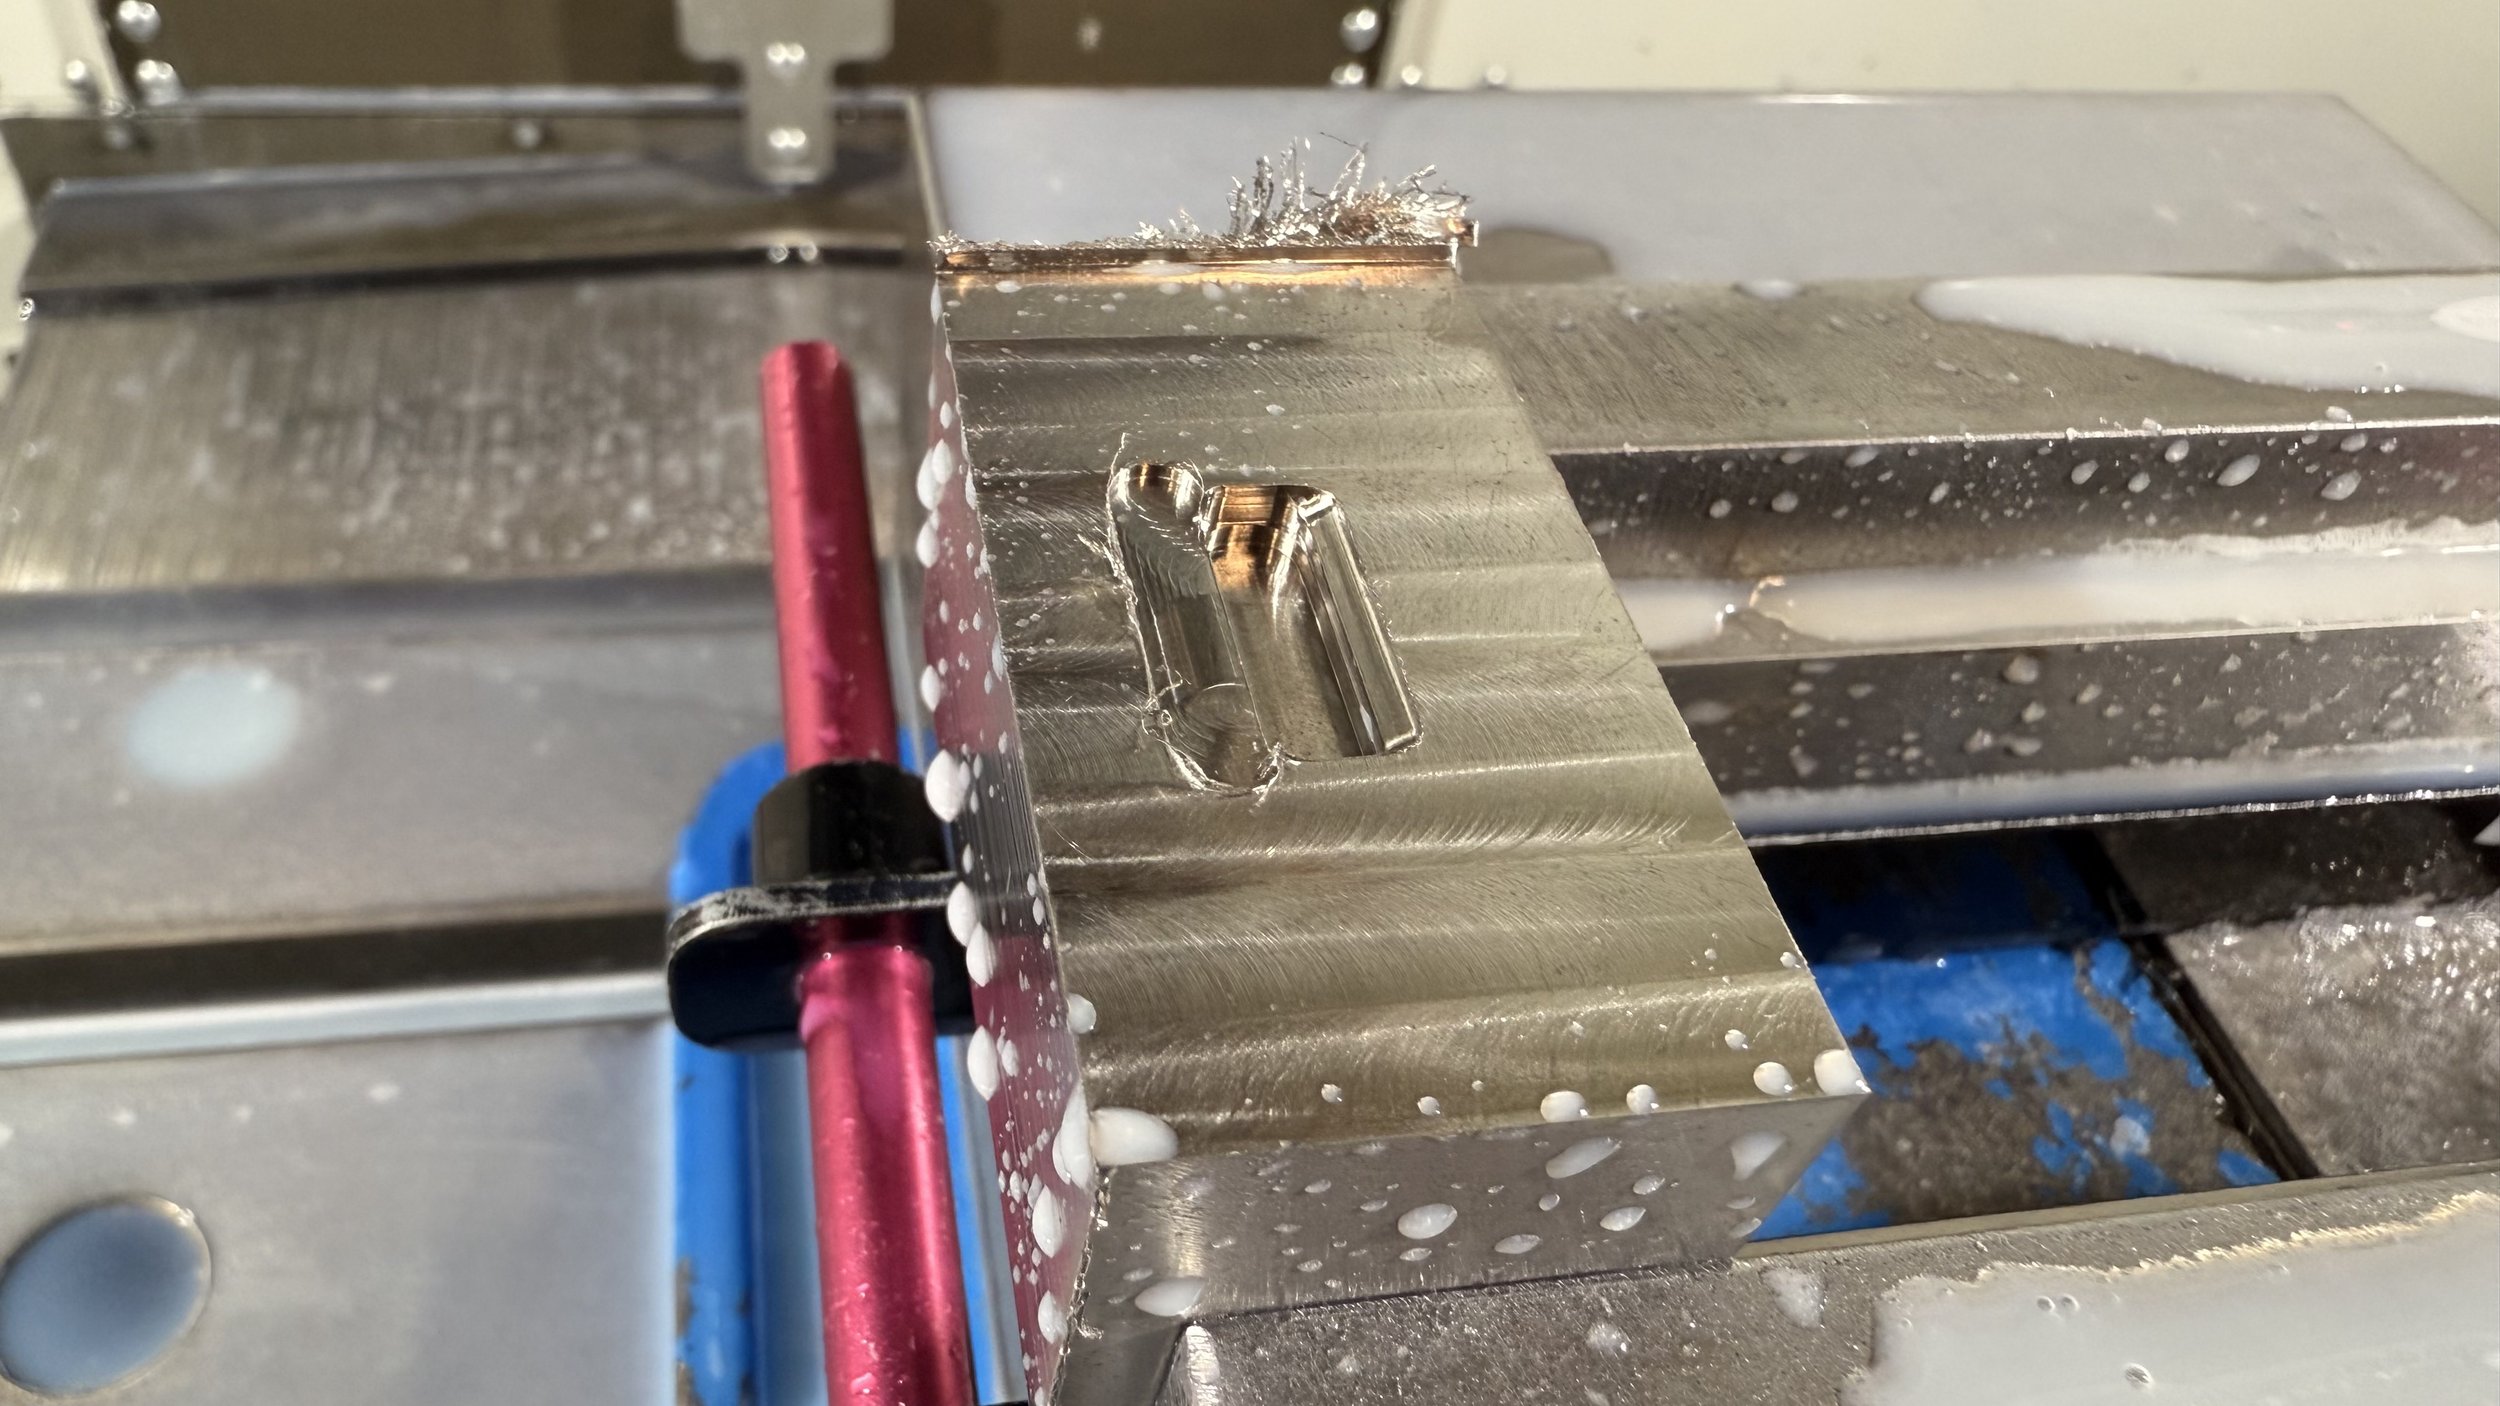
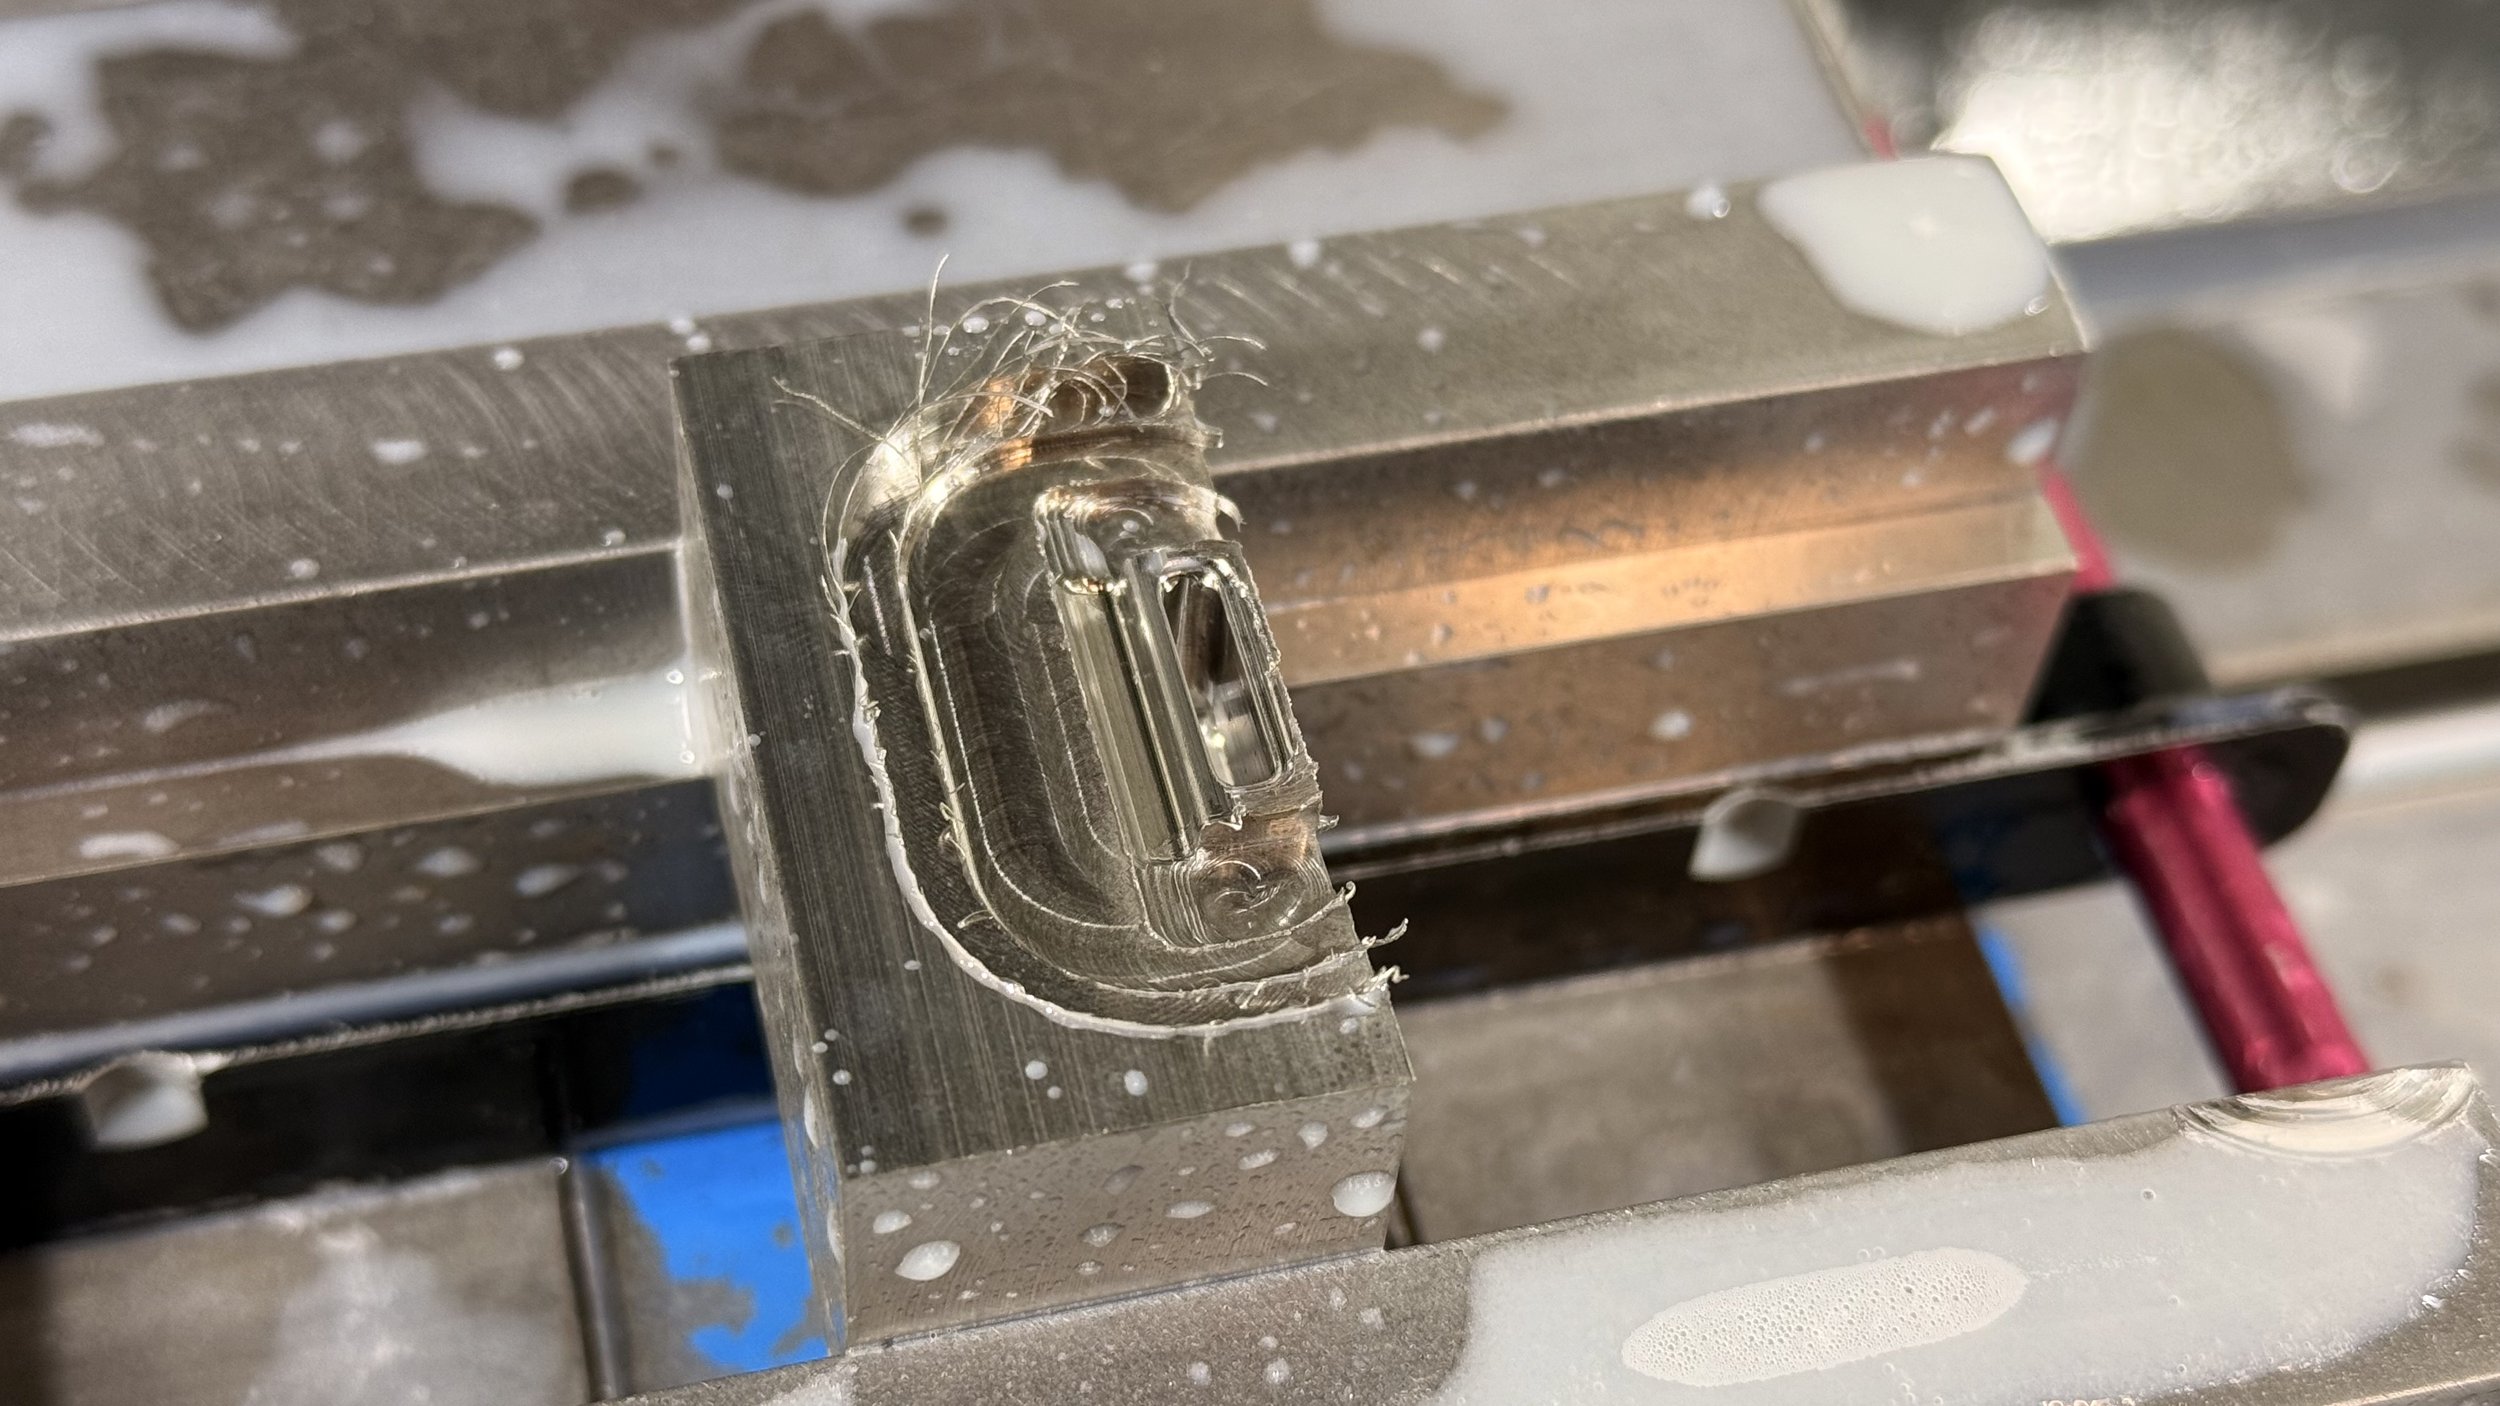
Everything was going well so far. Unfortunately during the 3rd setup, I selected the wrong profile for the outer contour and didn’t notice it ripped off the fipple until the operation was over. I didn’t even get a chance to verify the fit in the soft jaws, which I had to machine multiple times due to tool breaks and miscalculated dimensions. It was painful to see.
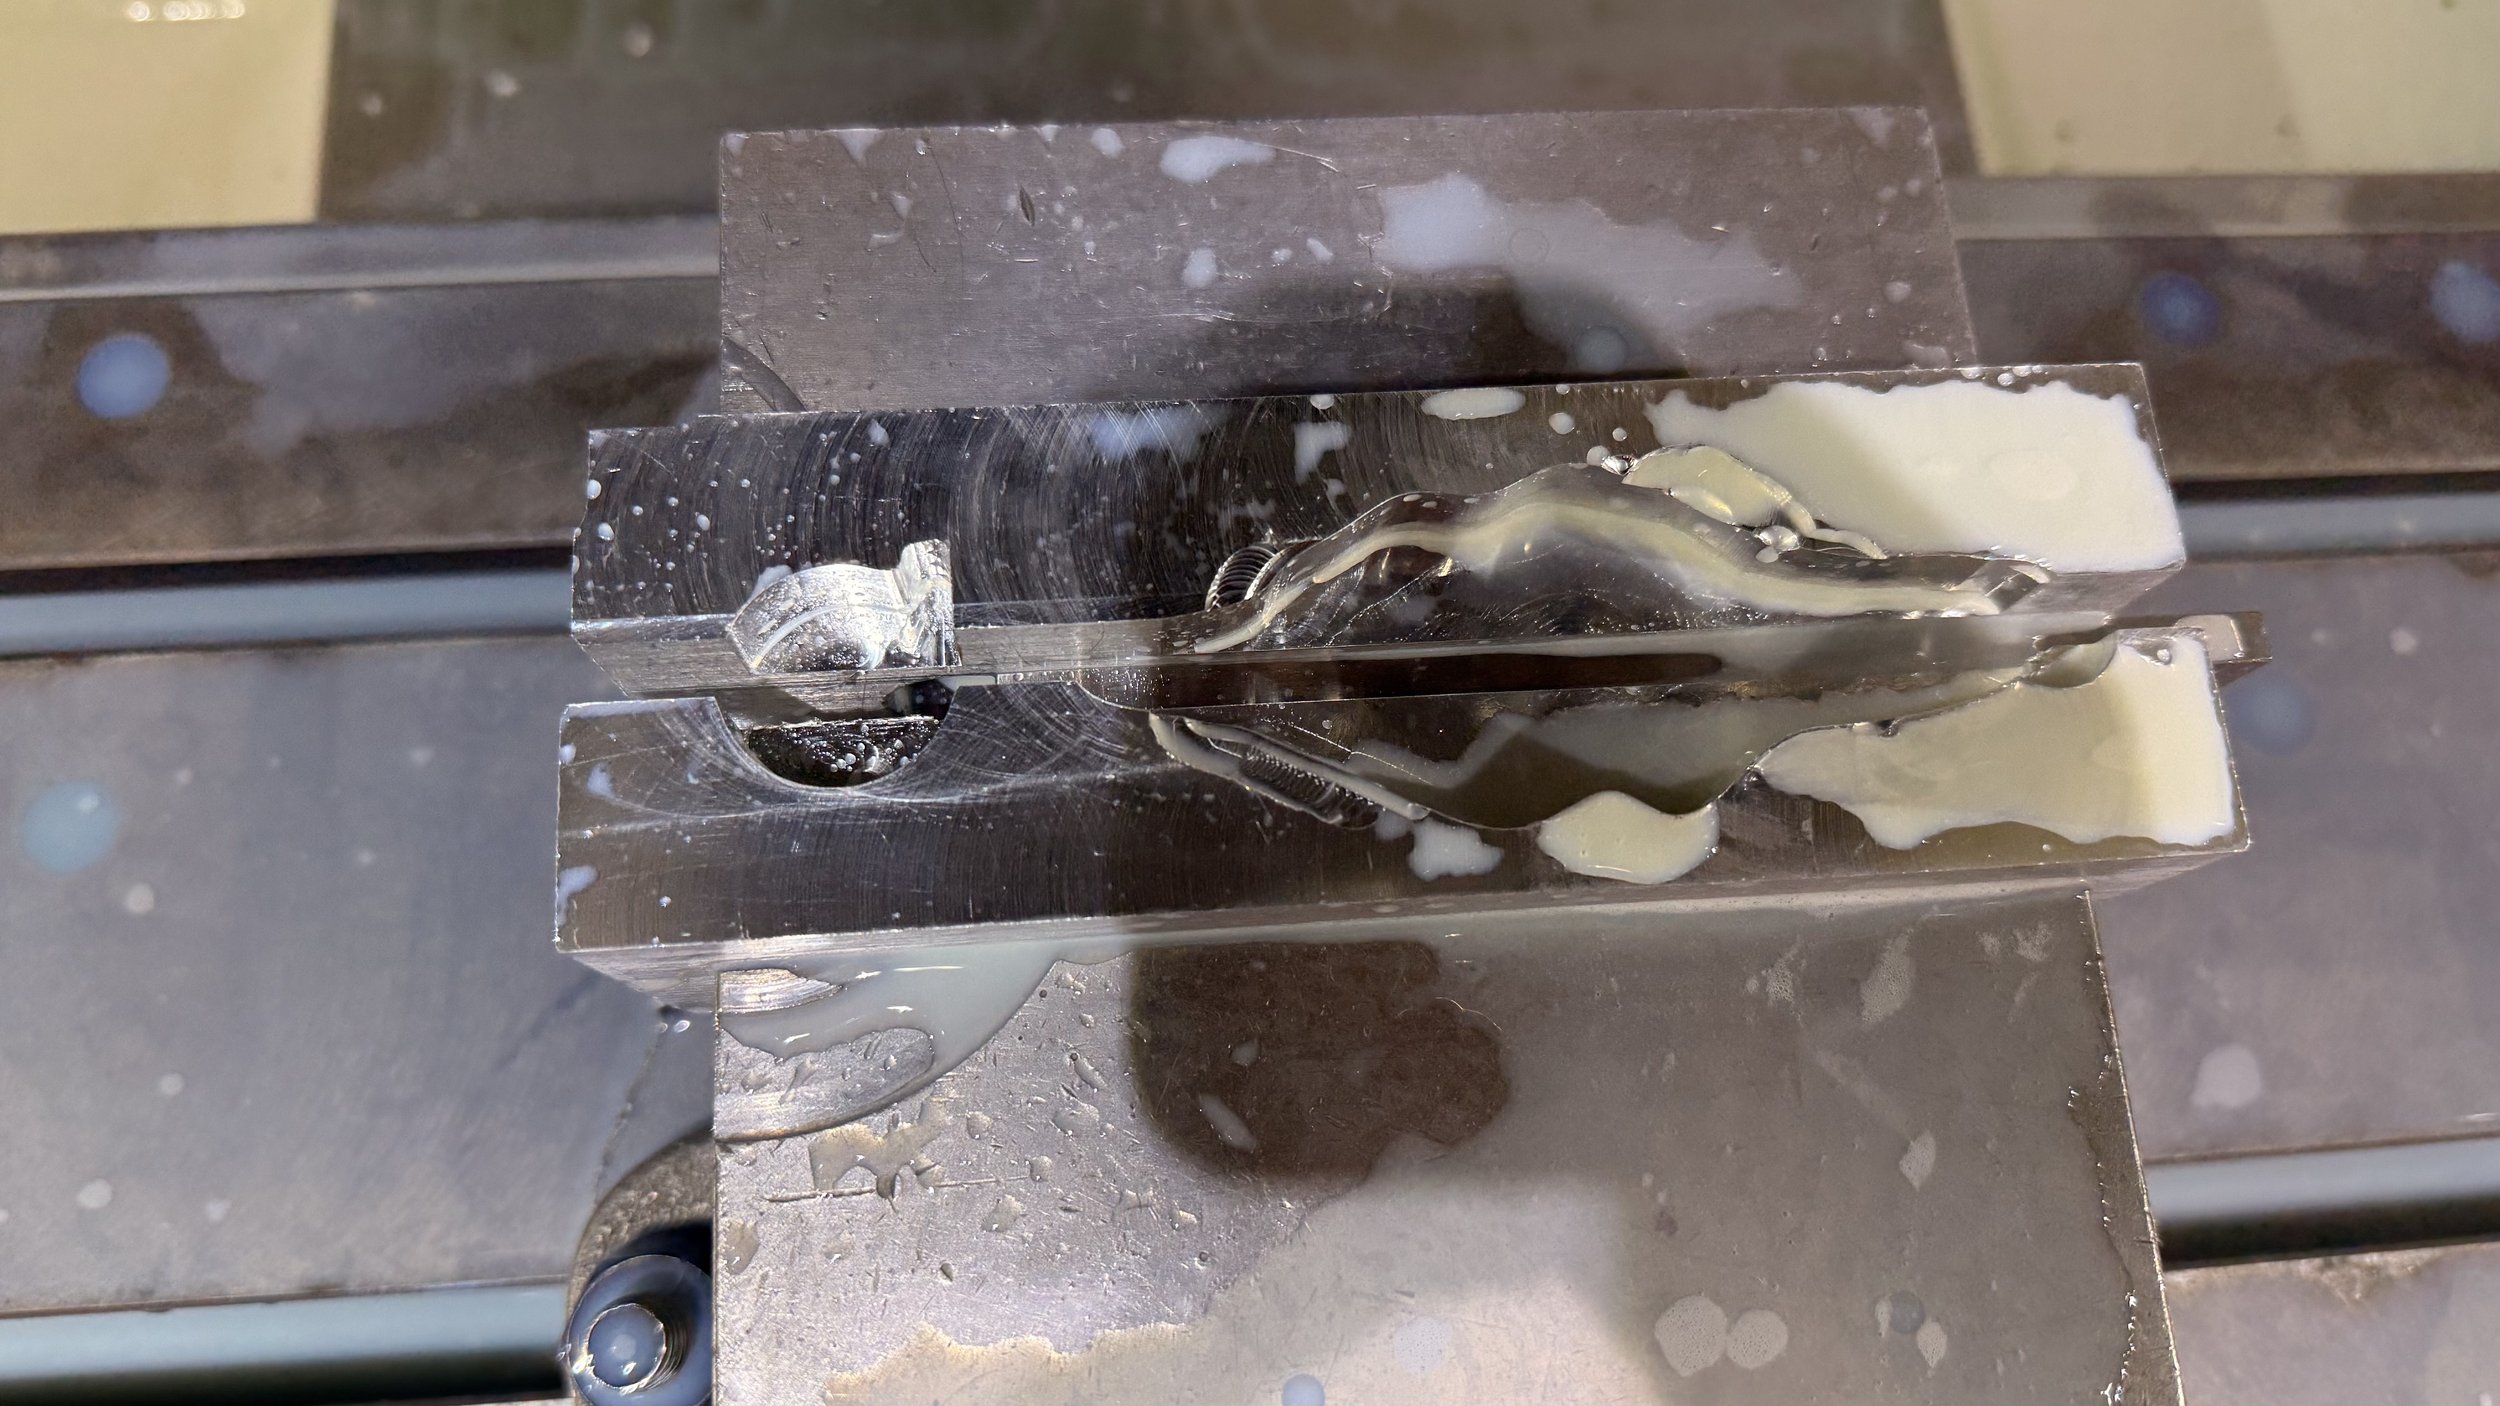
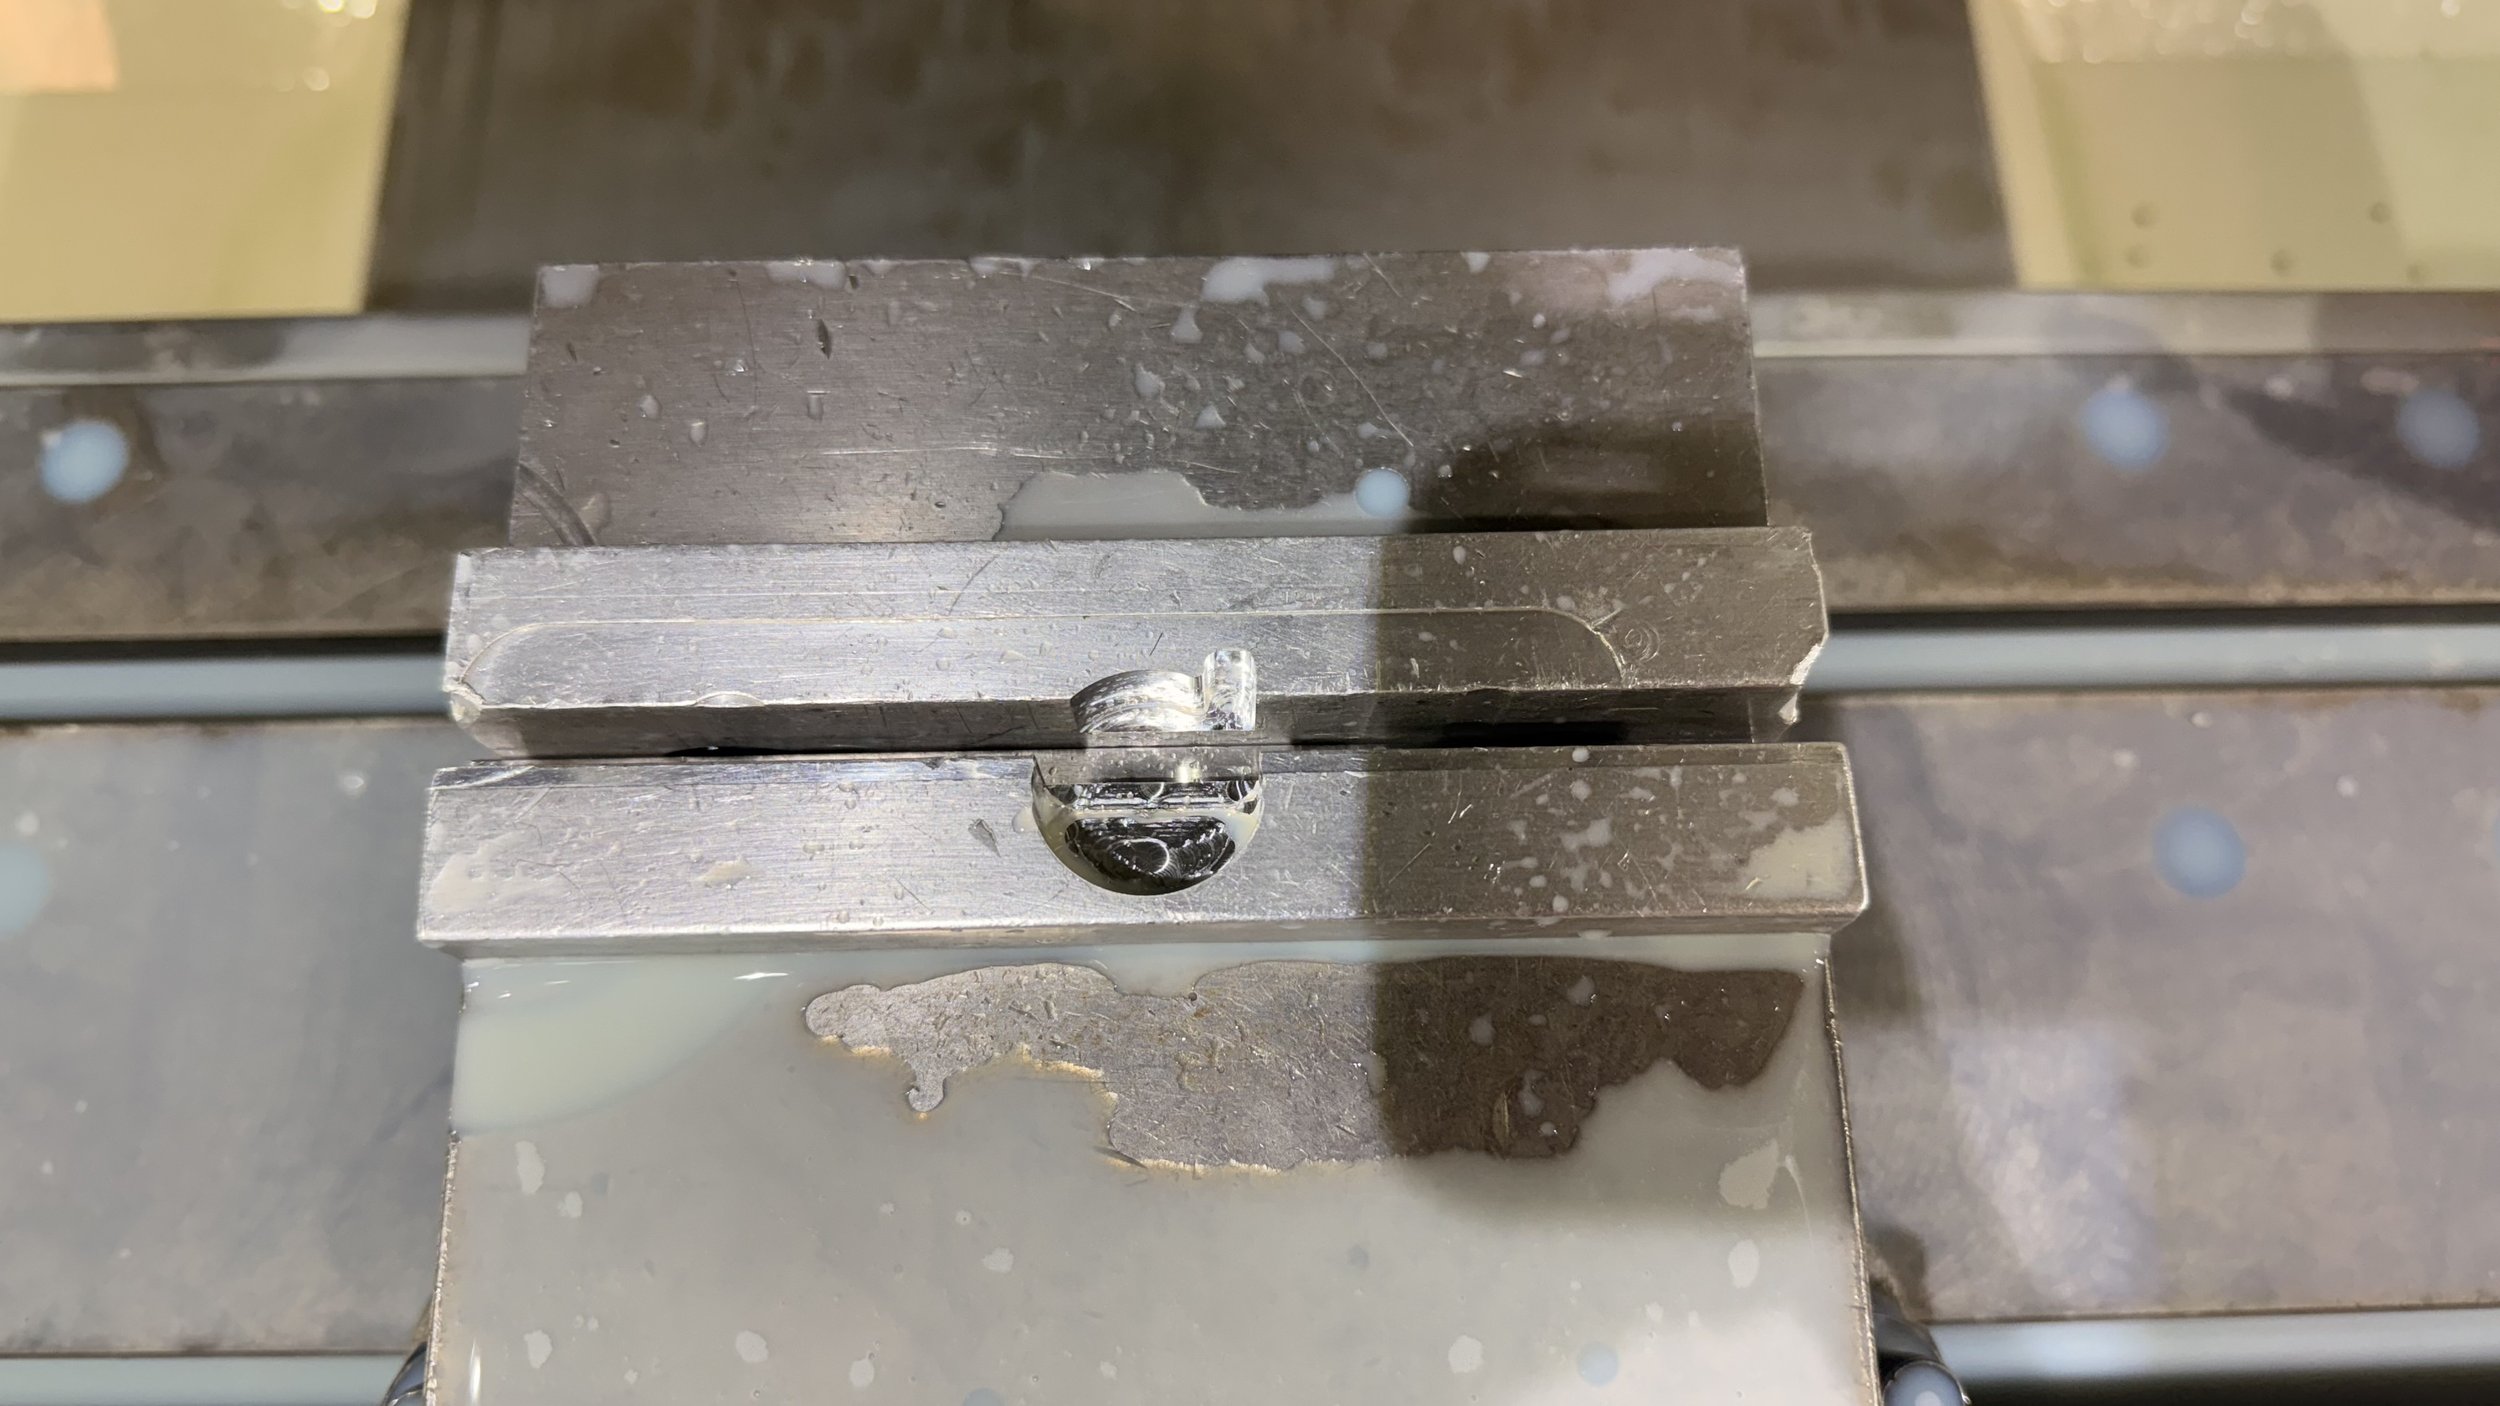
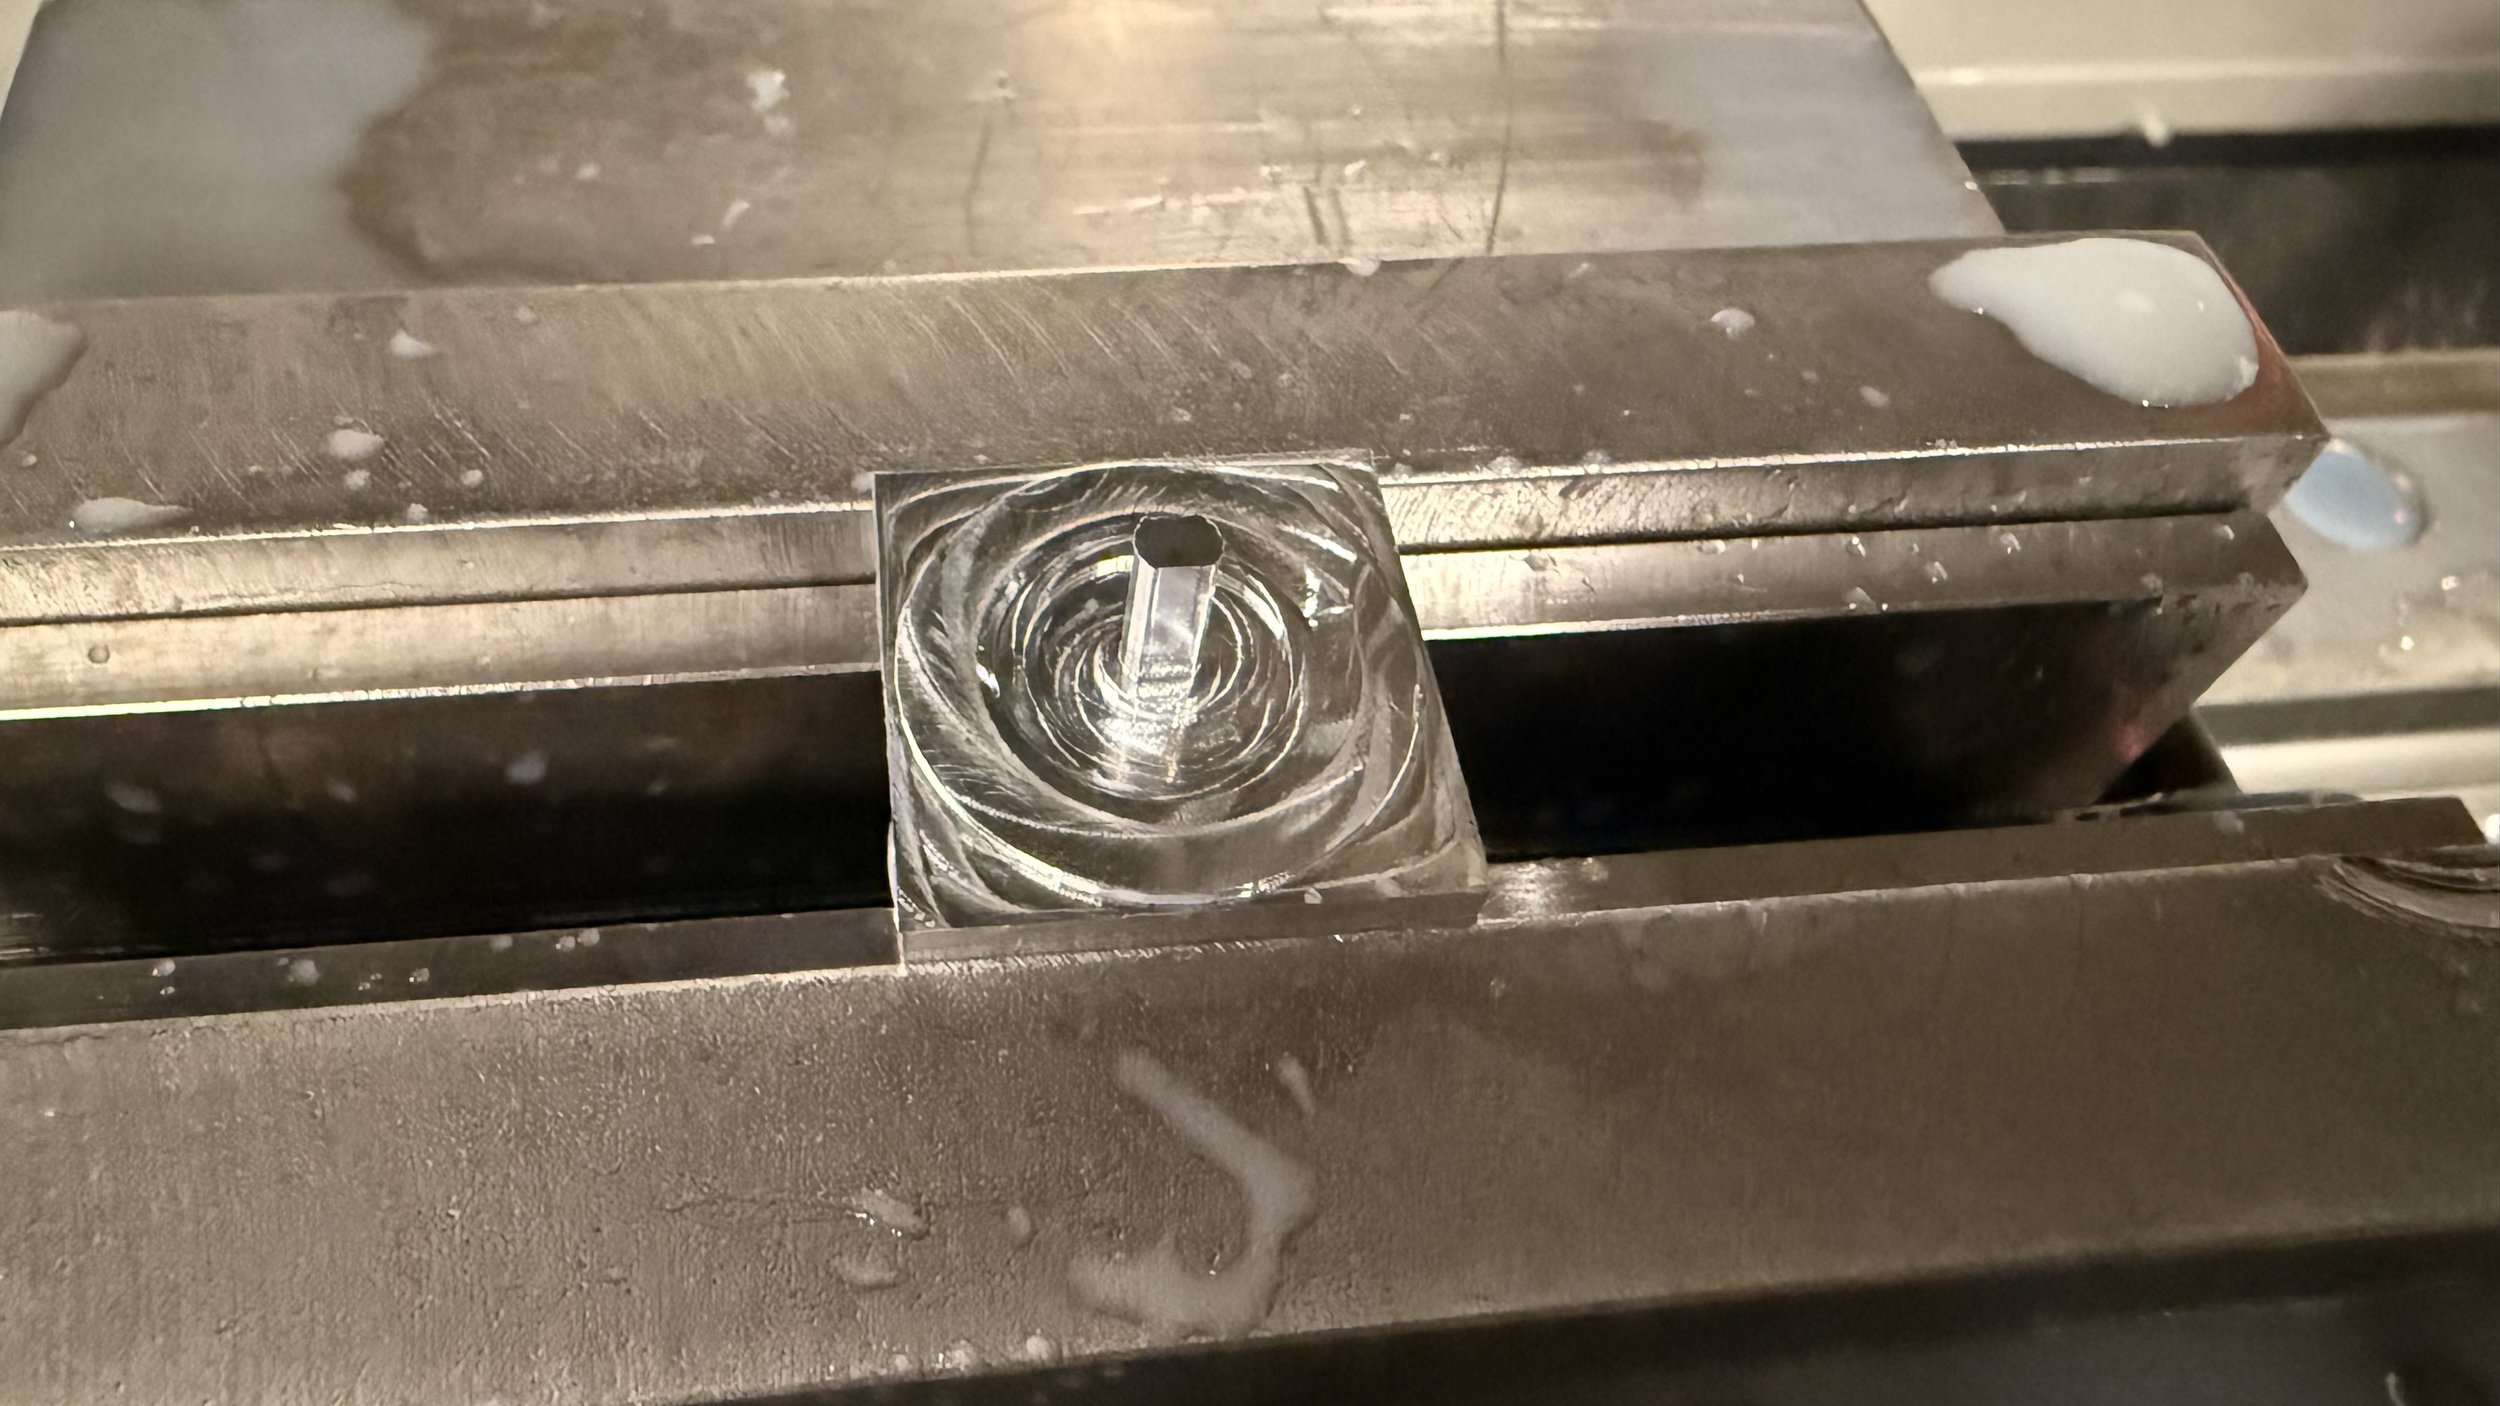
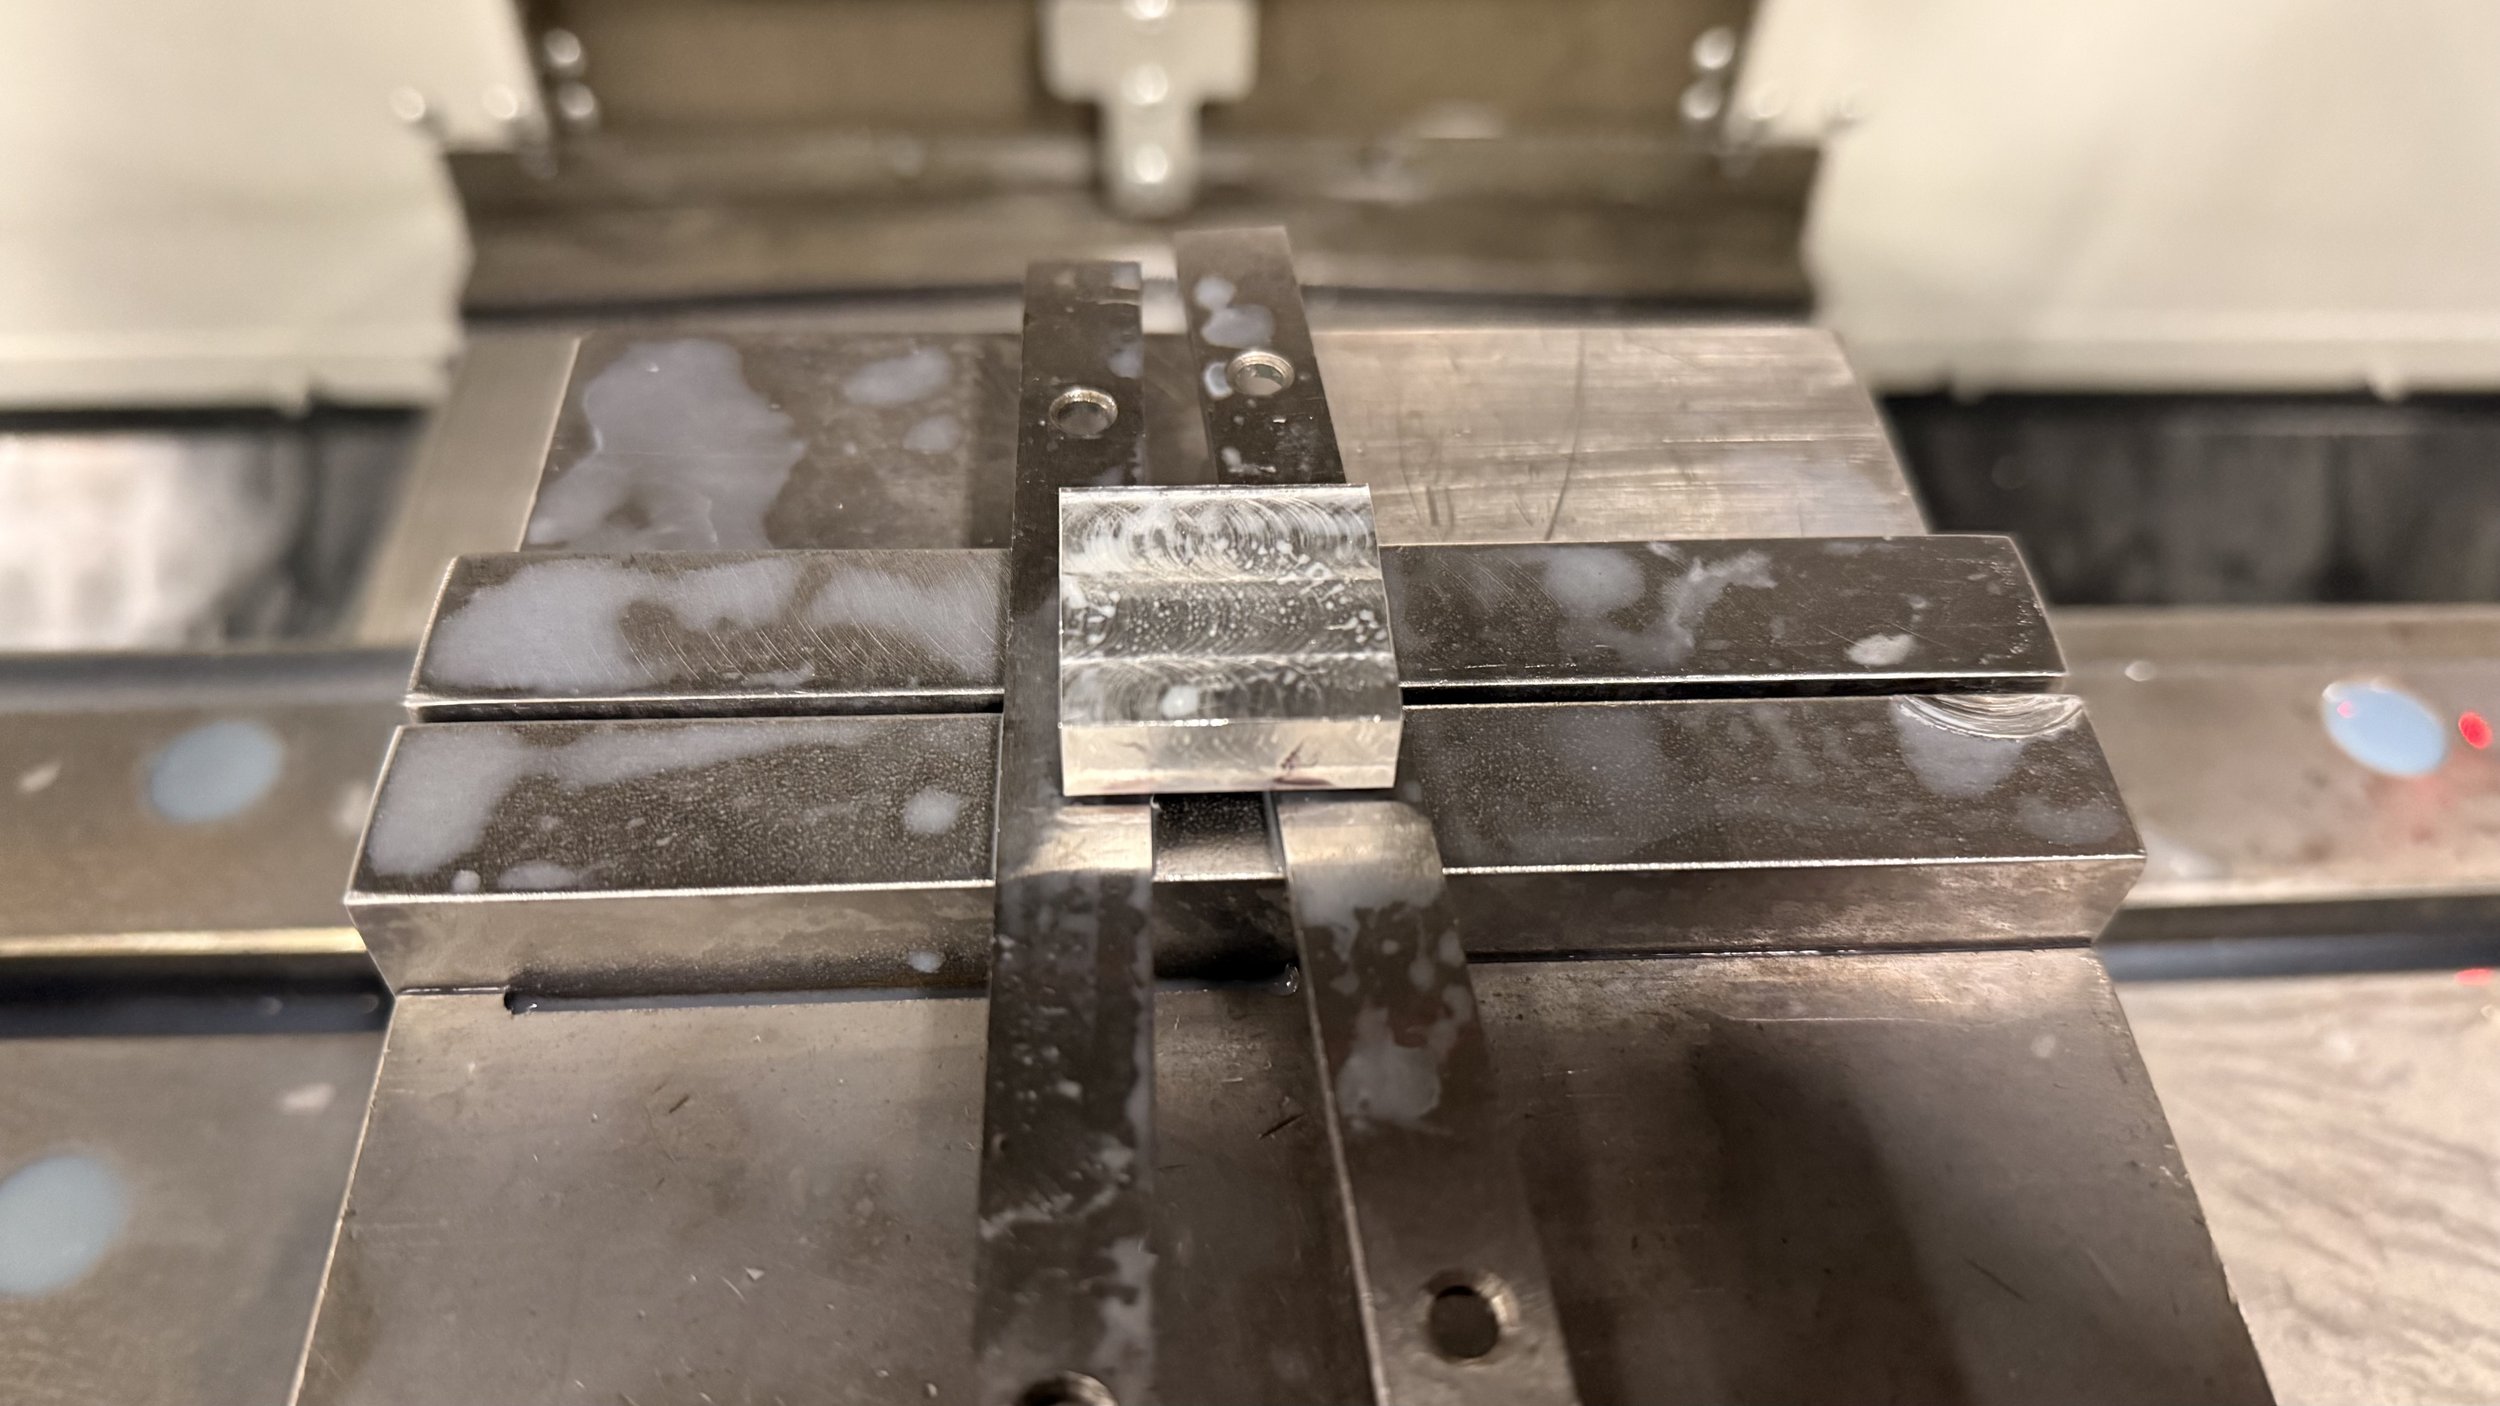
Nothing could be done about it so I moved onto machining the caps. Going into this operation, I anticipated that there would be a high chance this part would fail since the stem was so thin. As I tightened the vise onto the stem for the 2nd setup, I felt the vise keep going as it proceeded to squish the stem. I let it stay squished as is and started the cycle. My prediction came to pass as the top snapped right off as soon as the end mill touched the workpiece.
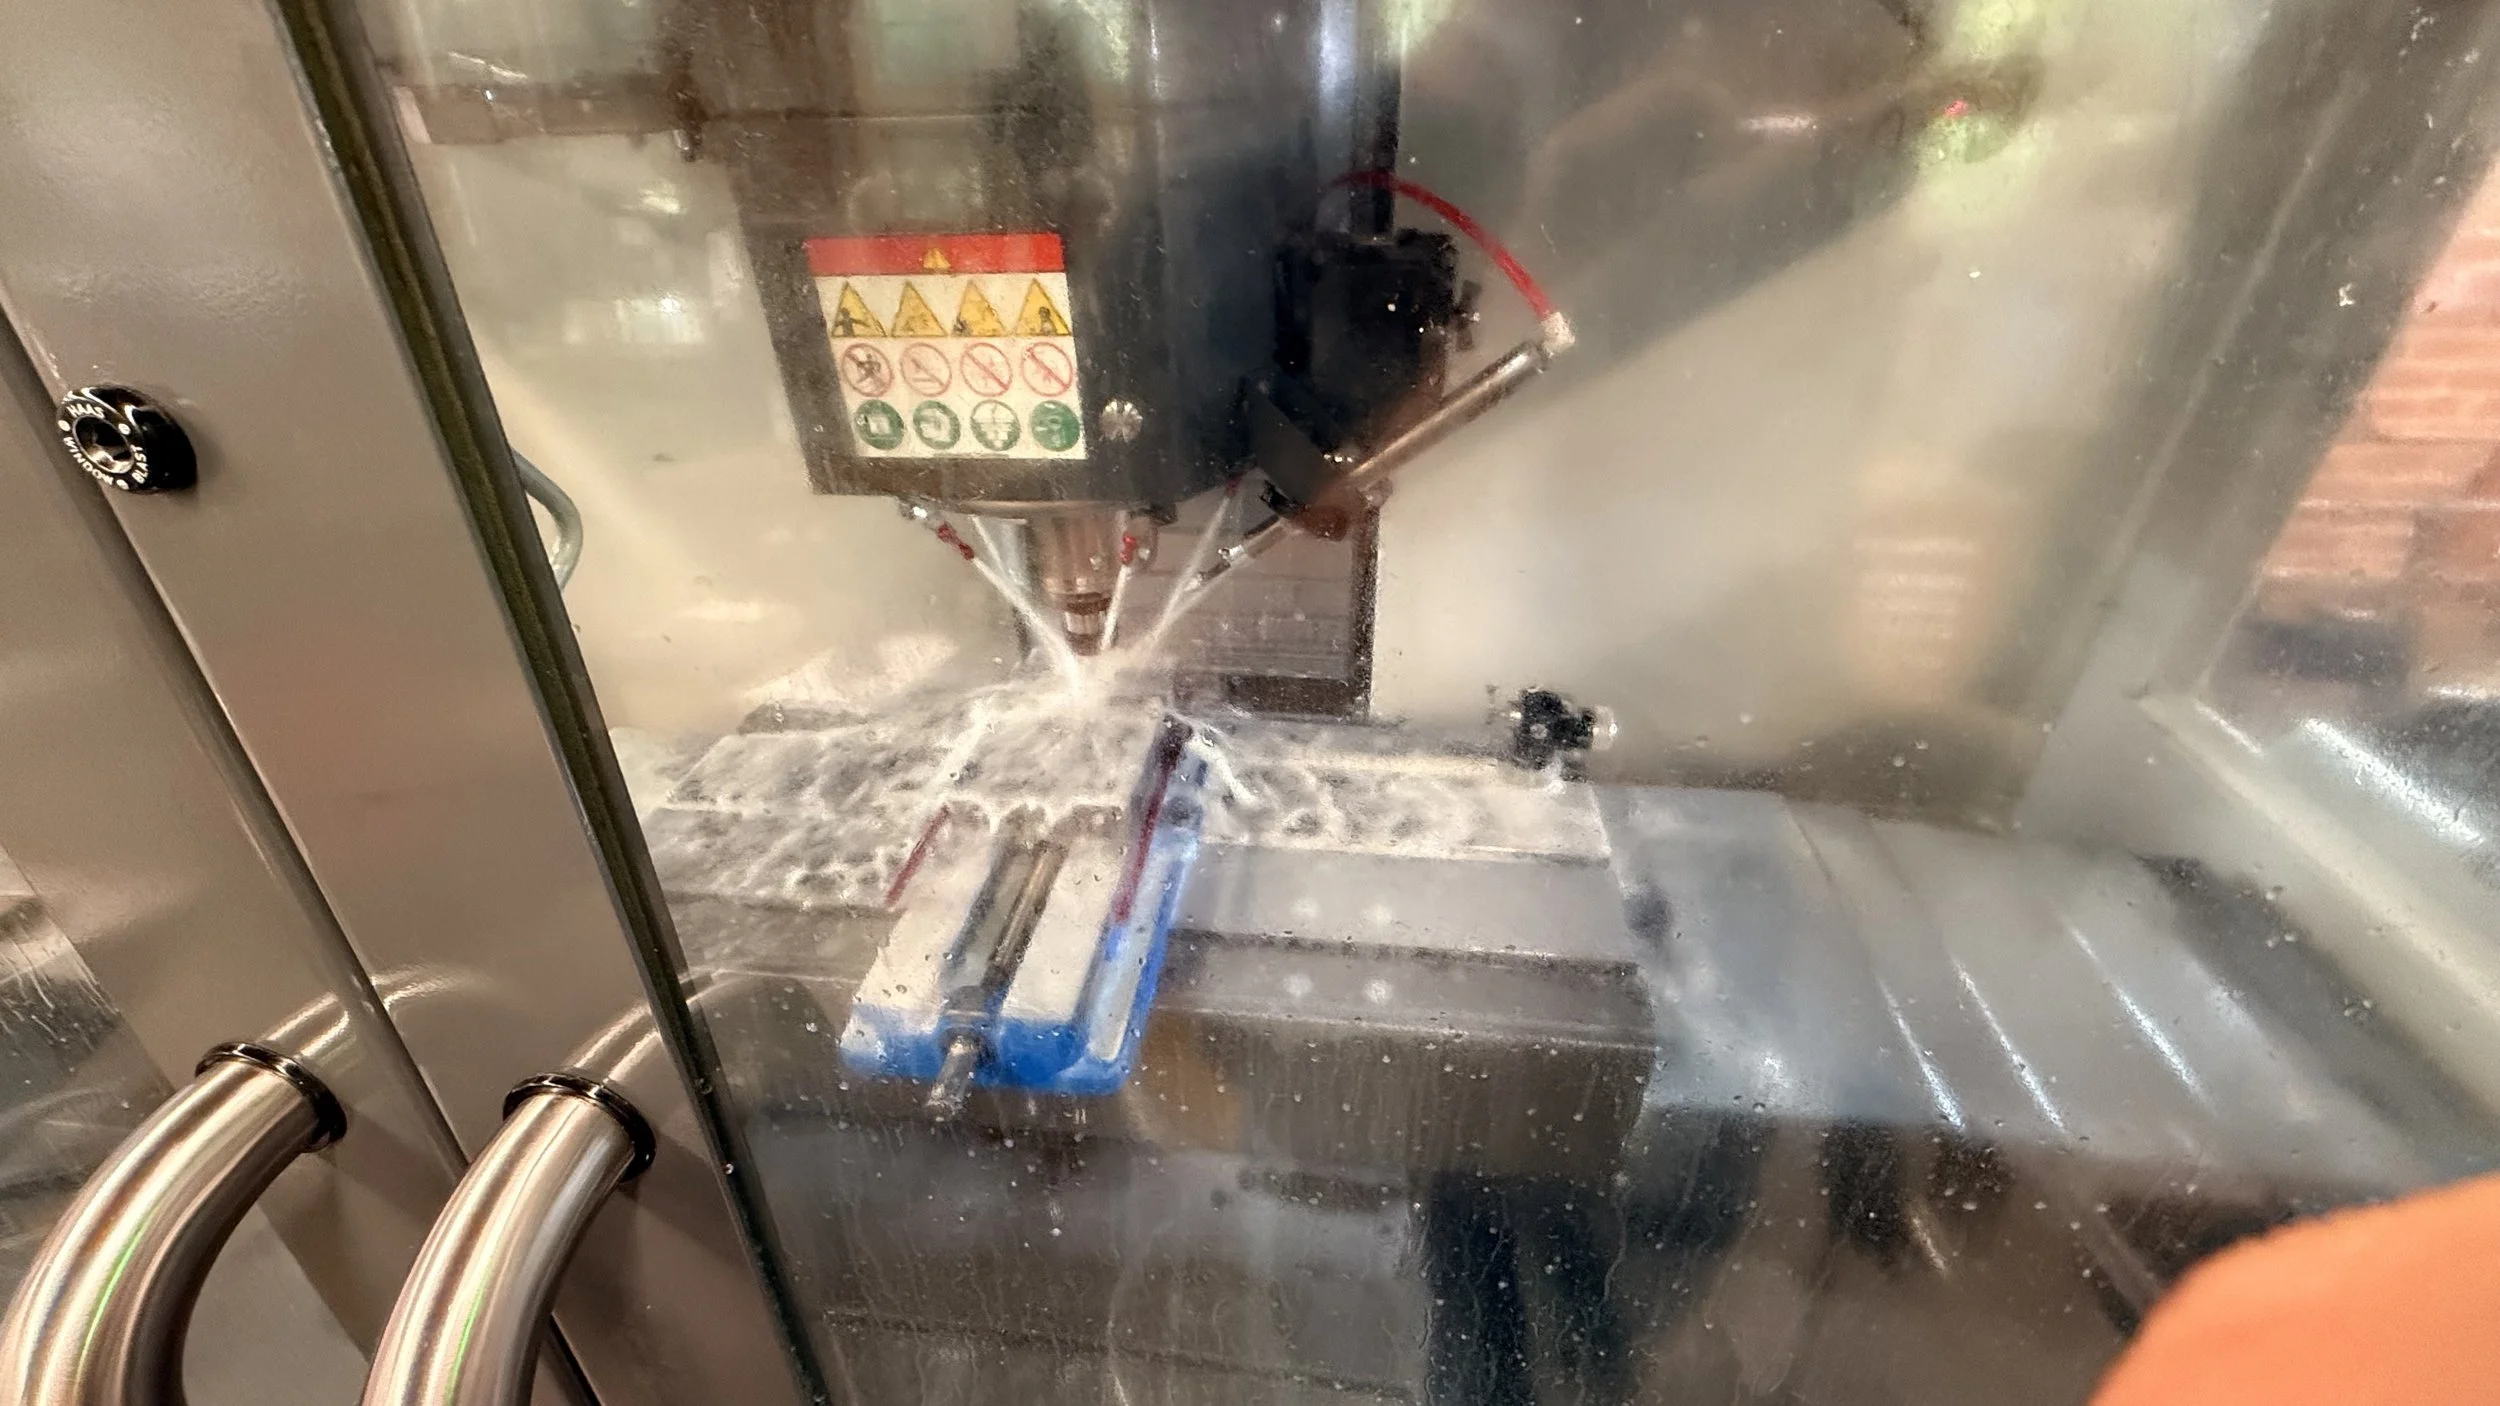
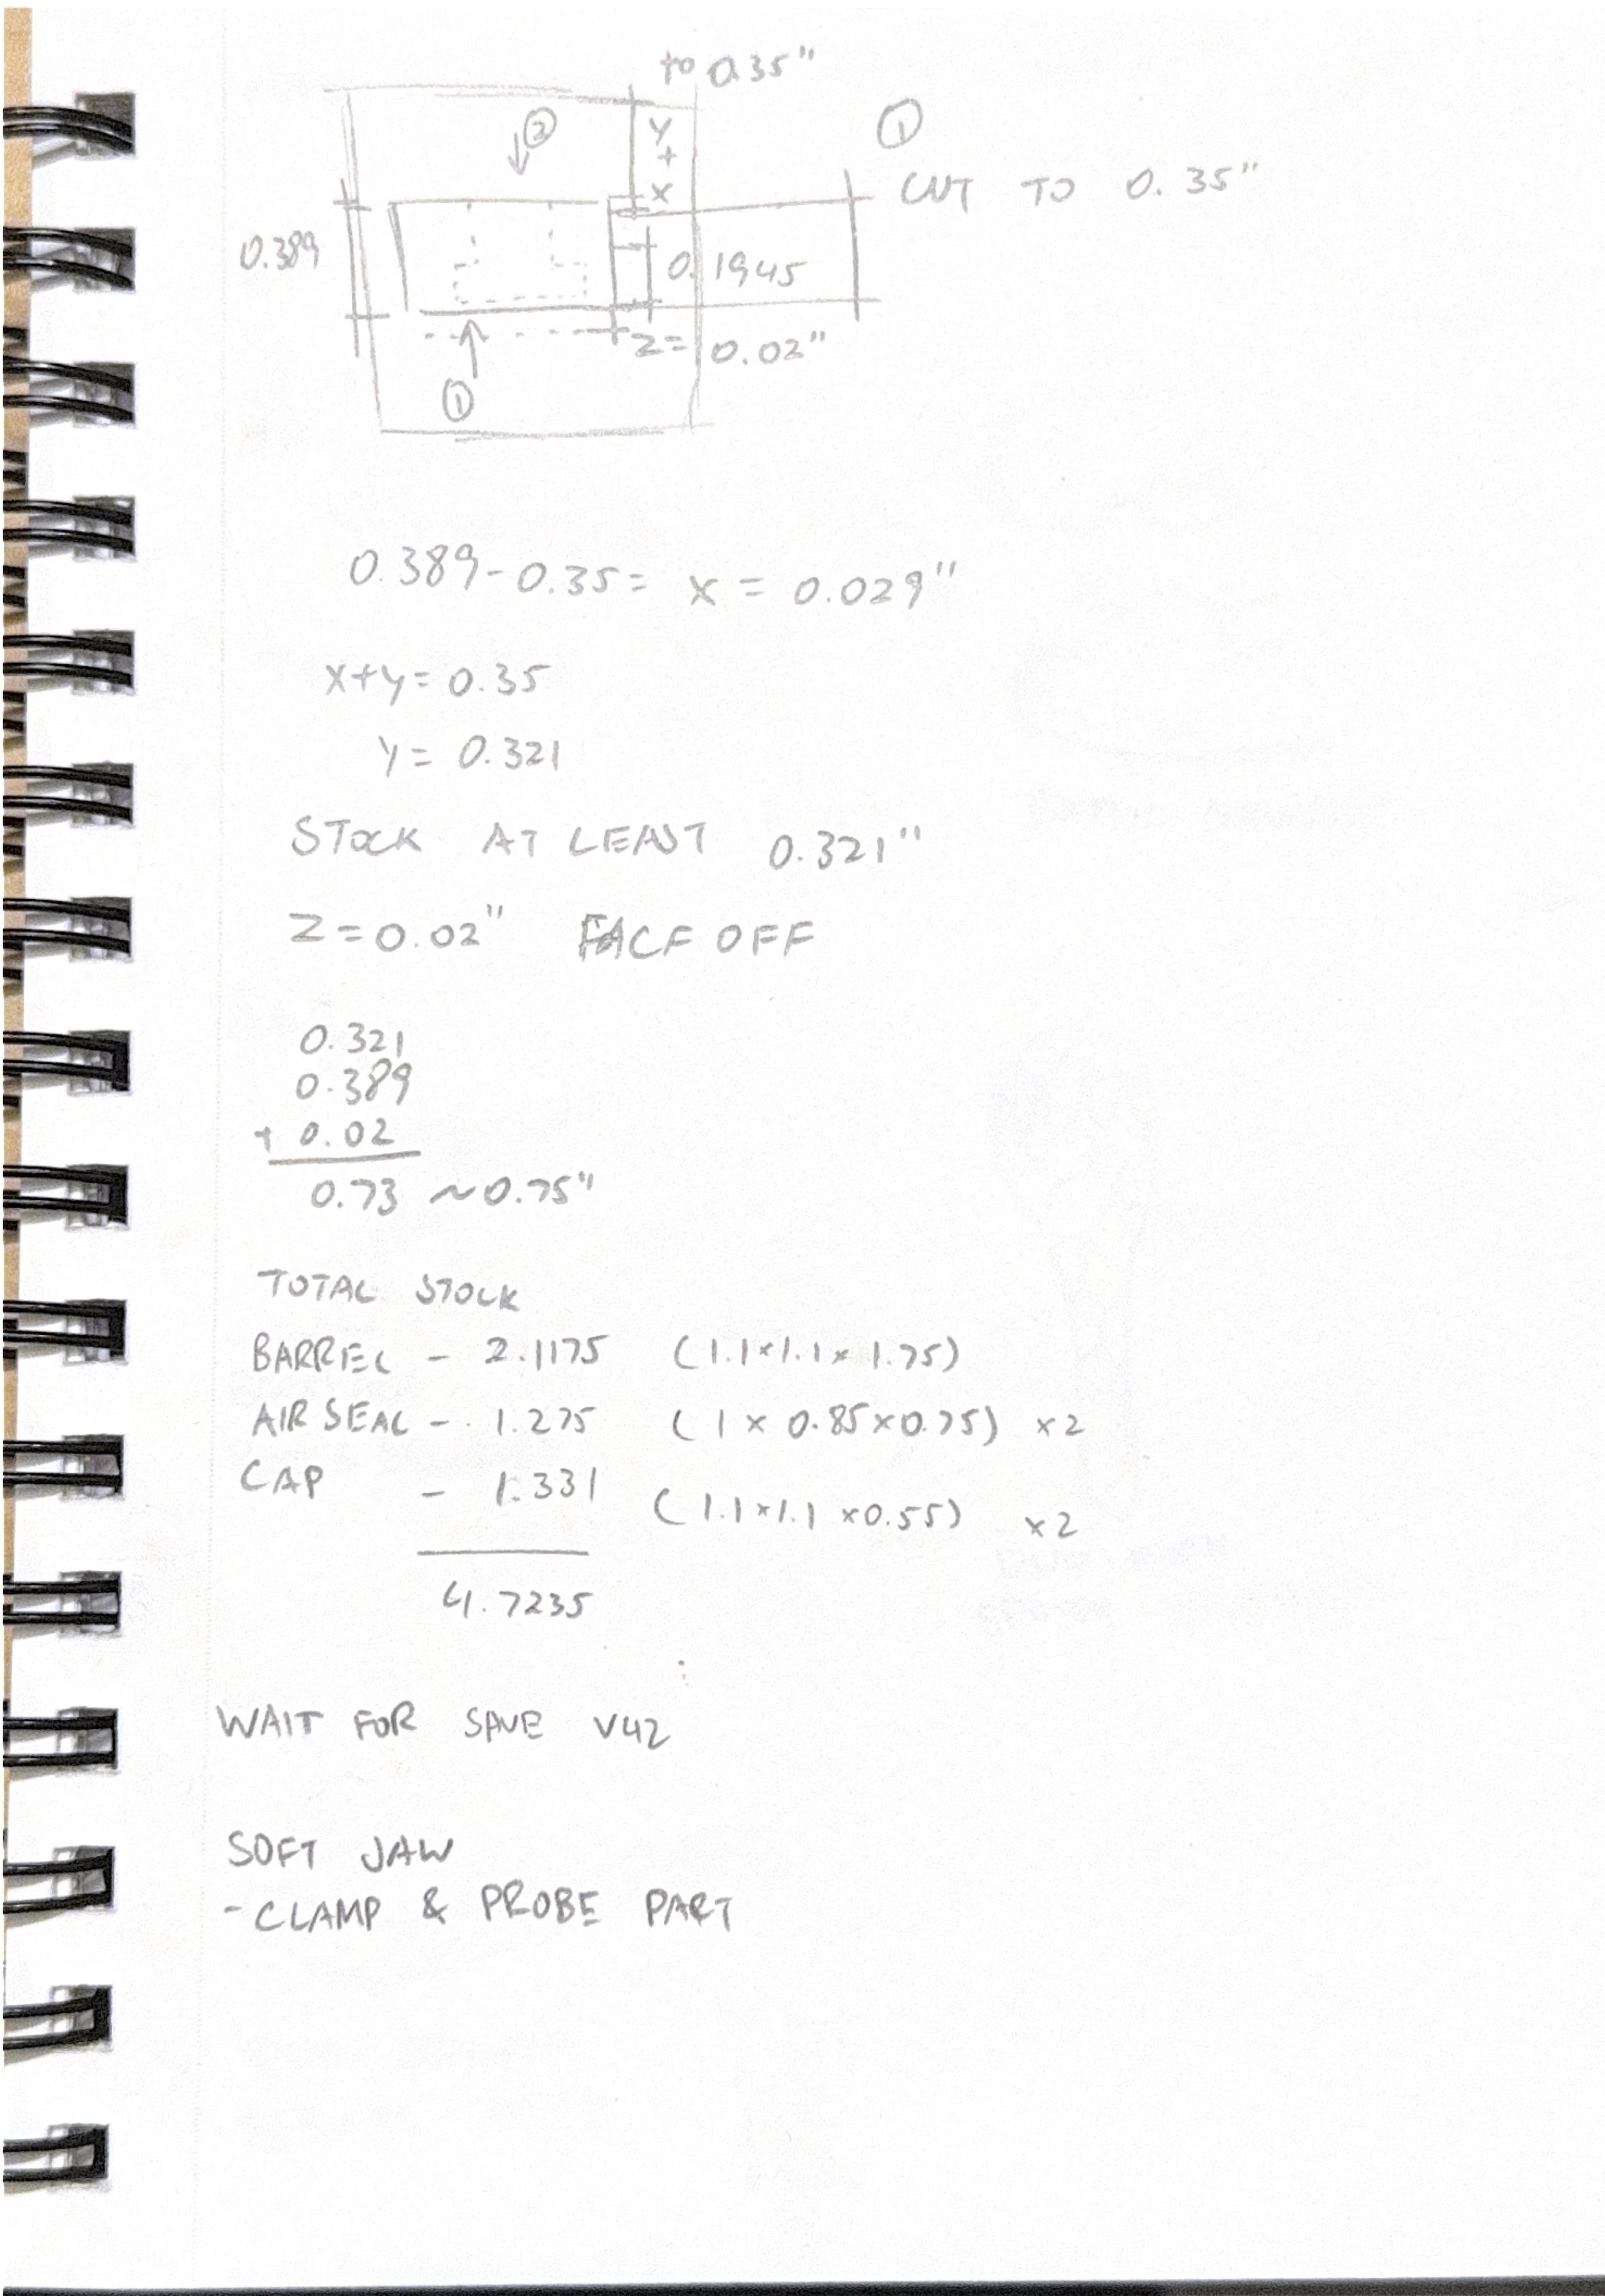
I spent well over 40 hours that week sizing stock pieces and machining. Because stainless steel is much harder than aluminum, it took around 3-4 times longer to machine and I ran the cycles at 70% to stay on the safe side. It was extremely stressful anticipating for next week.
Never give up
During the weekend, I made a lot of optimizations to my parts. For instance, the air seals will have flat sides up to half its depth to allow for a better holding in the vise and still seal on the outside. I also made changes to the operations and was able to cut my overall estimated machining time by 50-60%. This was crucial as I only had one week left to machine all my parts for the whistle.
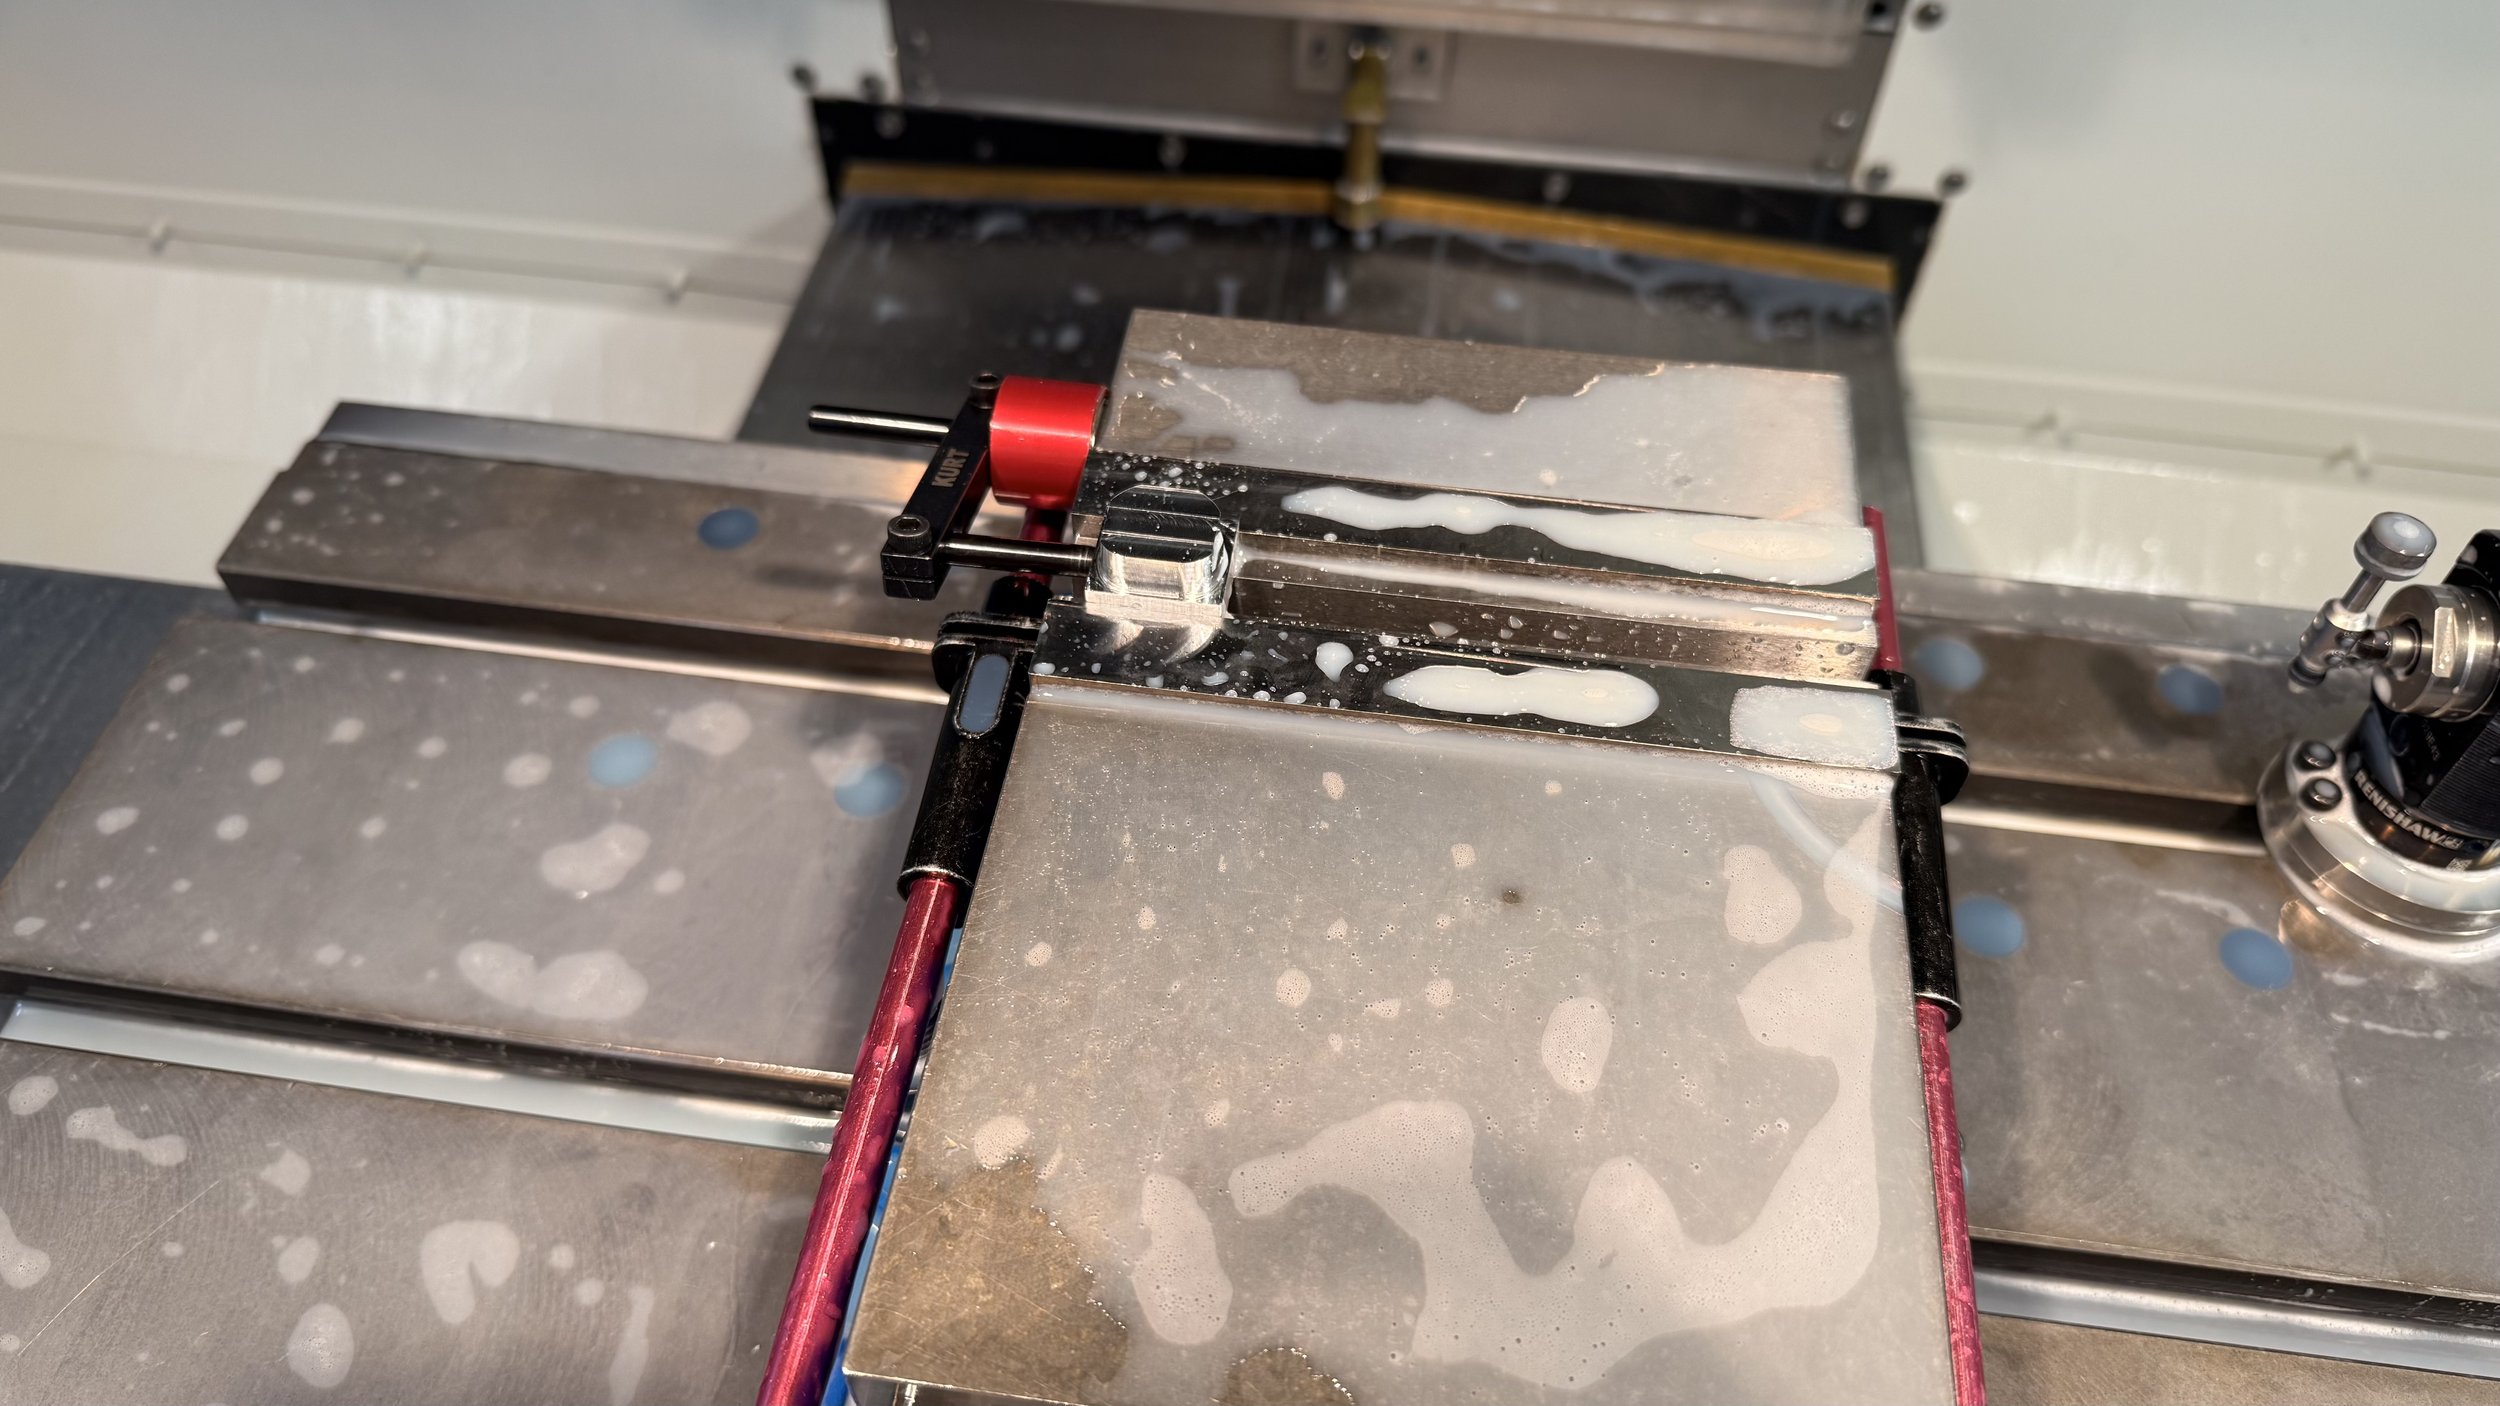
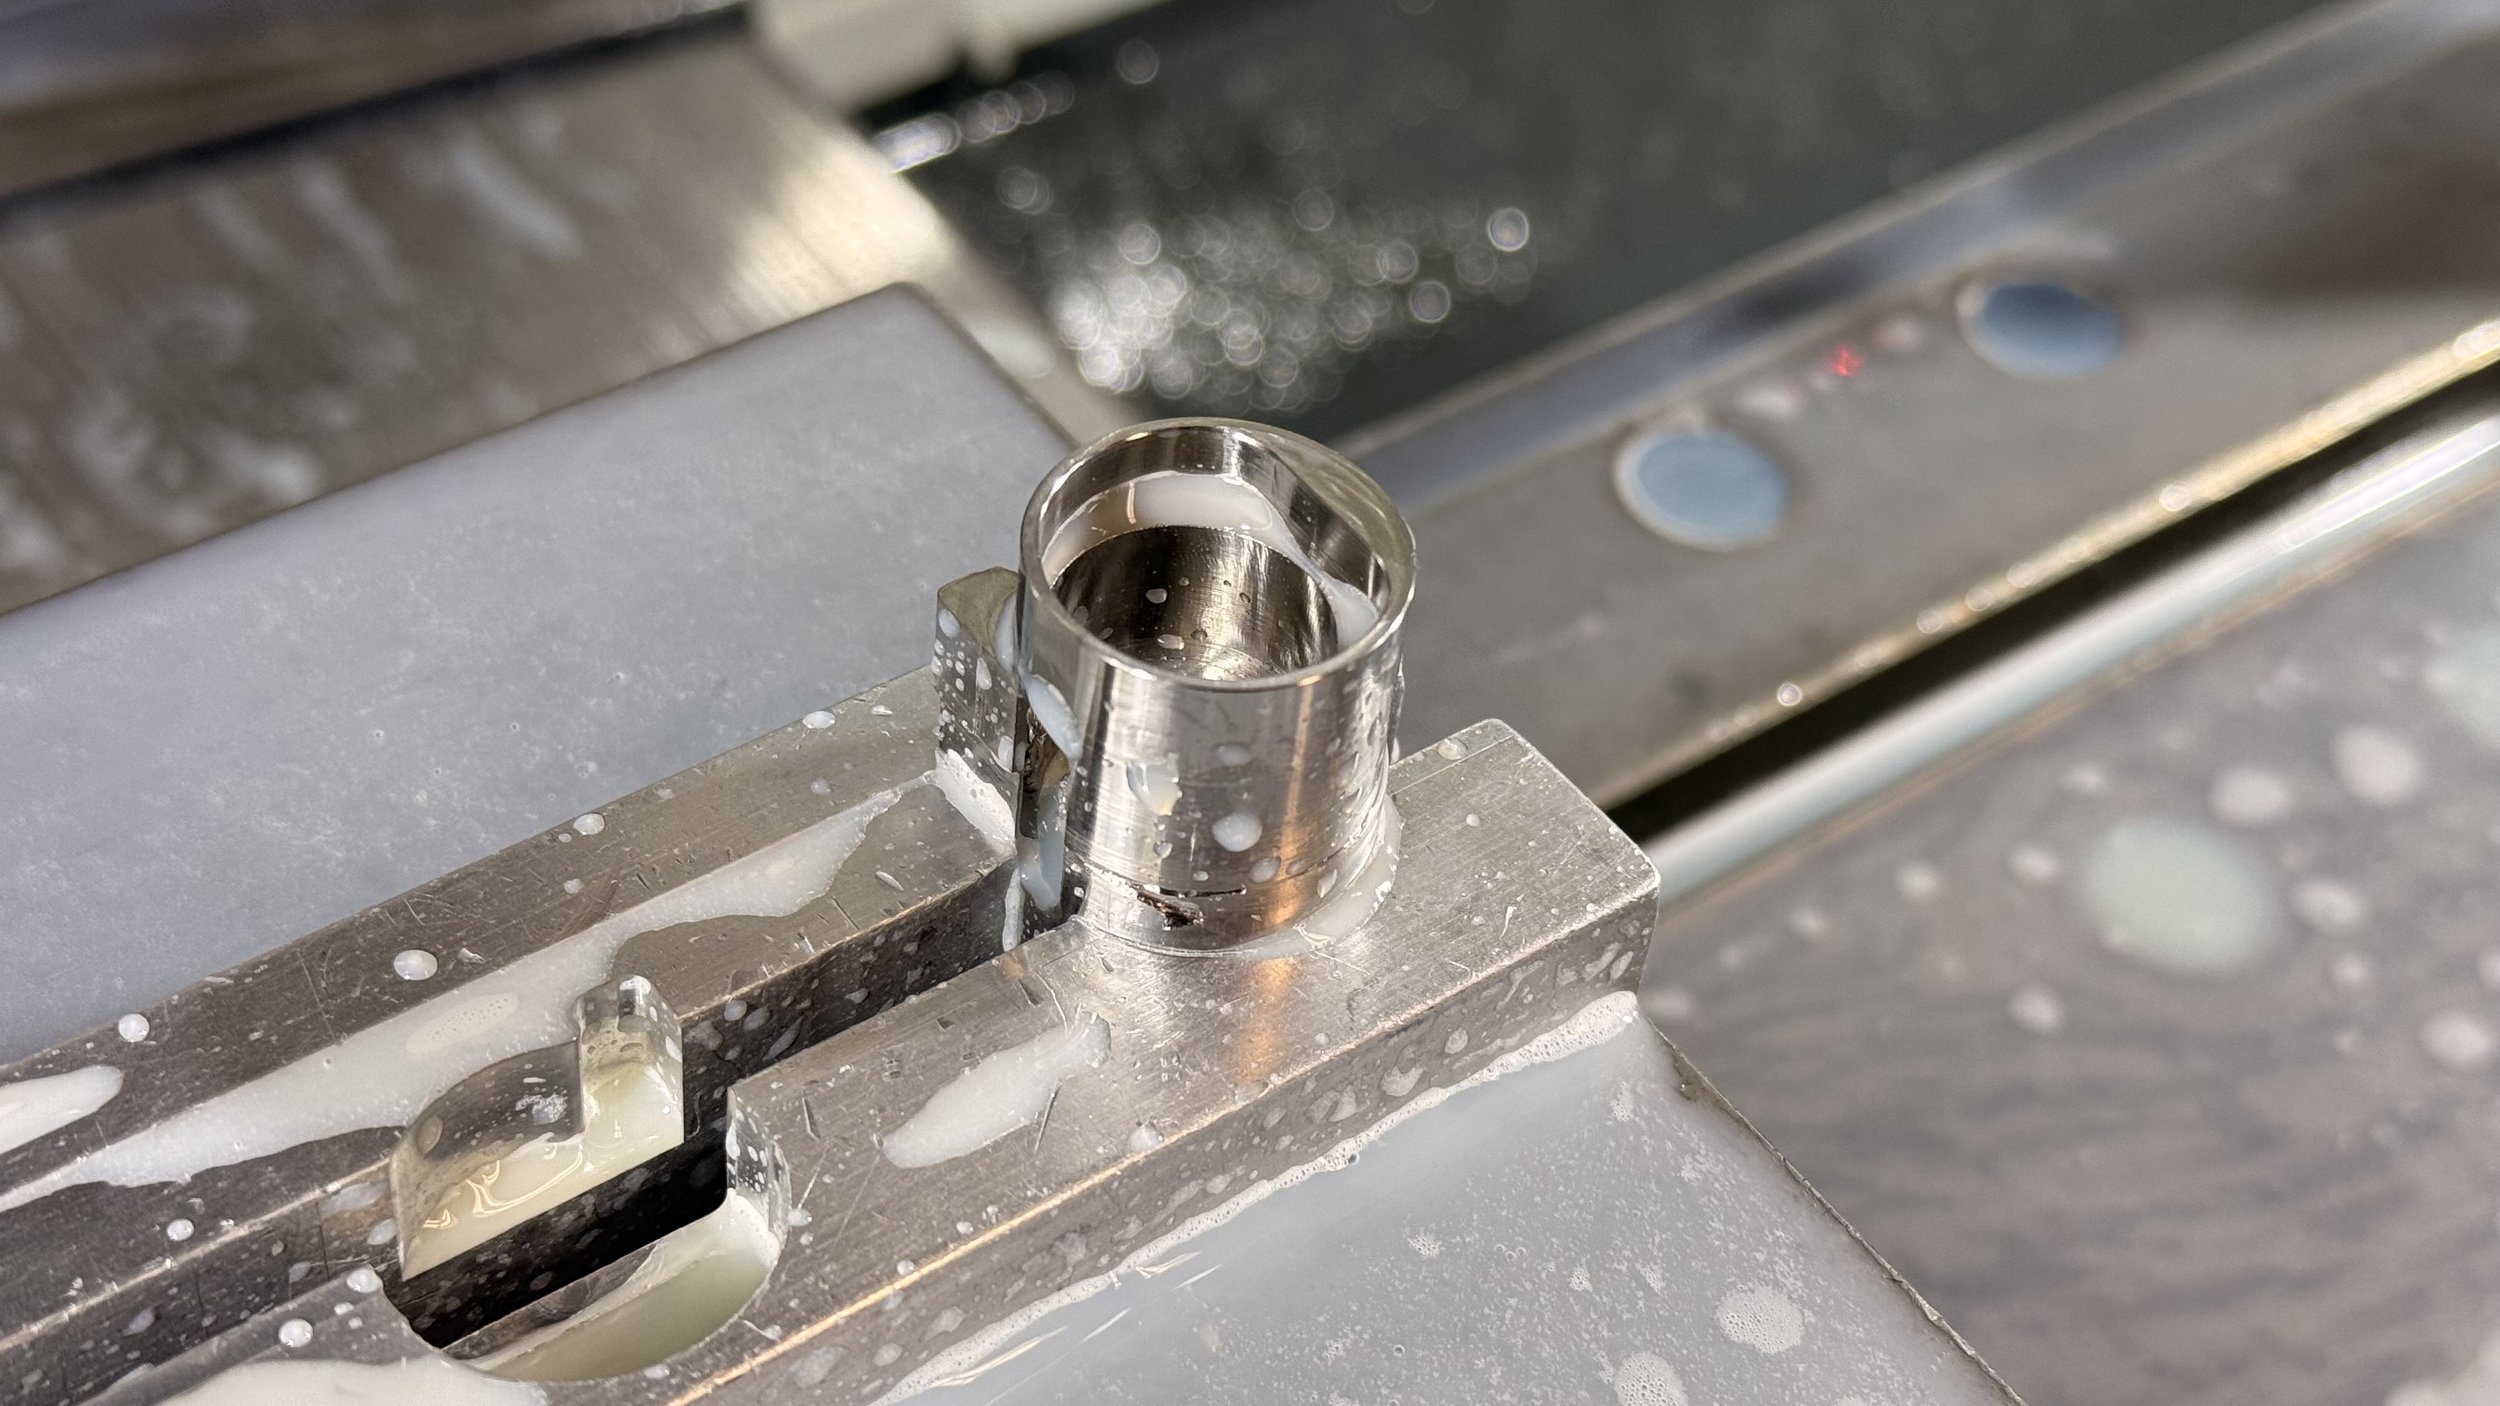
I also decided to down-scope my project. My whistle will not have the bearings or caps on either end. It will just be simply capped off with the air seals. With this down-scope, I was still playing with the idea of using stainless steel 304 rather than aluminum for the body because it was important that the user feels the weight of it when they picked it up. It was still a very risky project. I went to Alan Steel early in the day to get my stock piece and began machining once again.
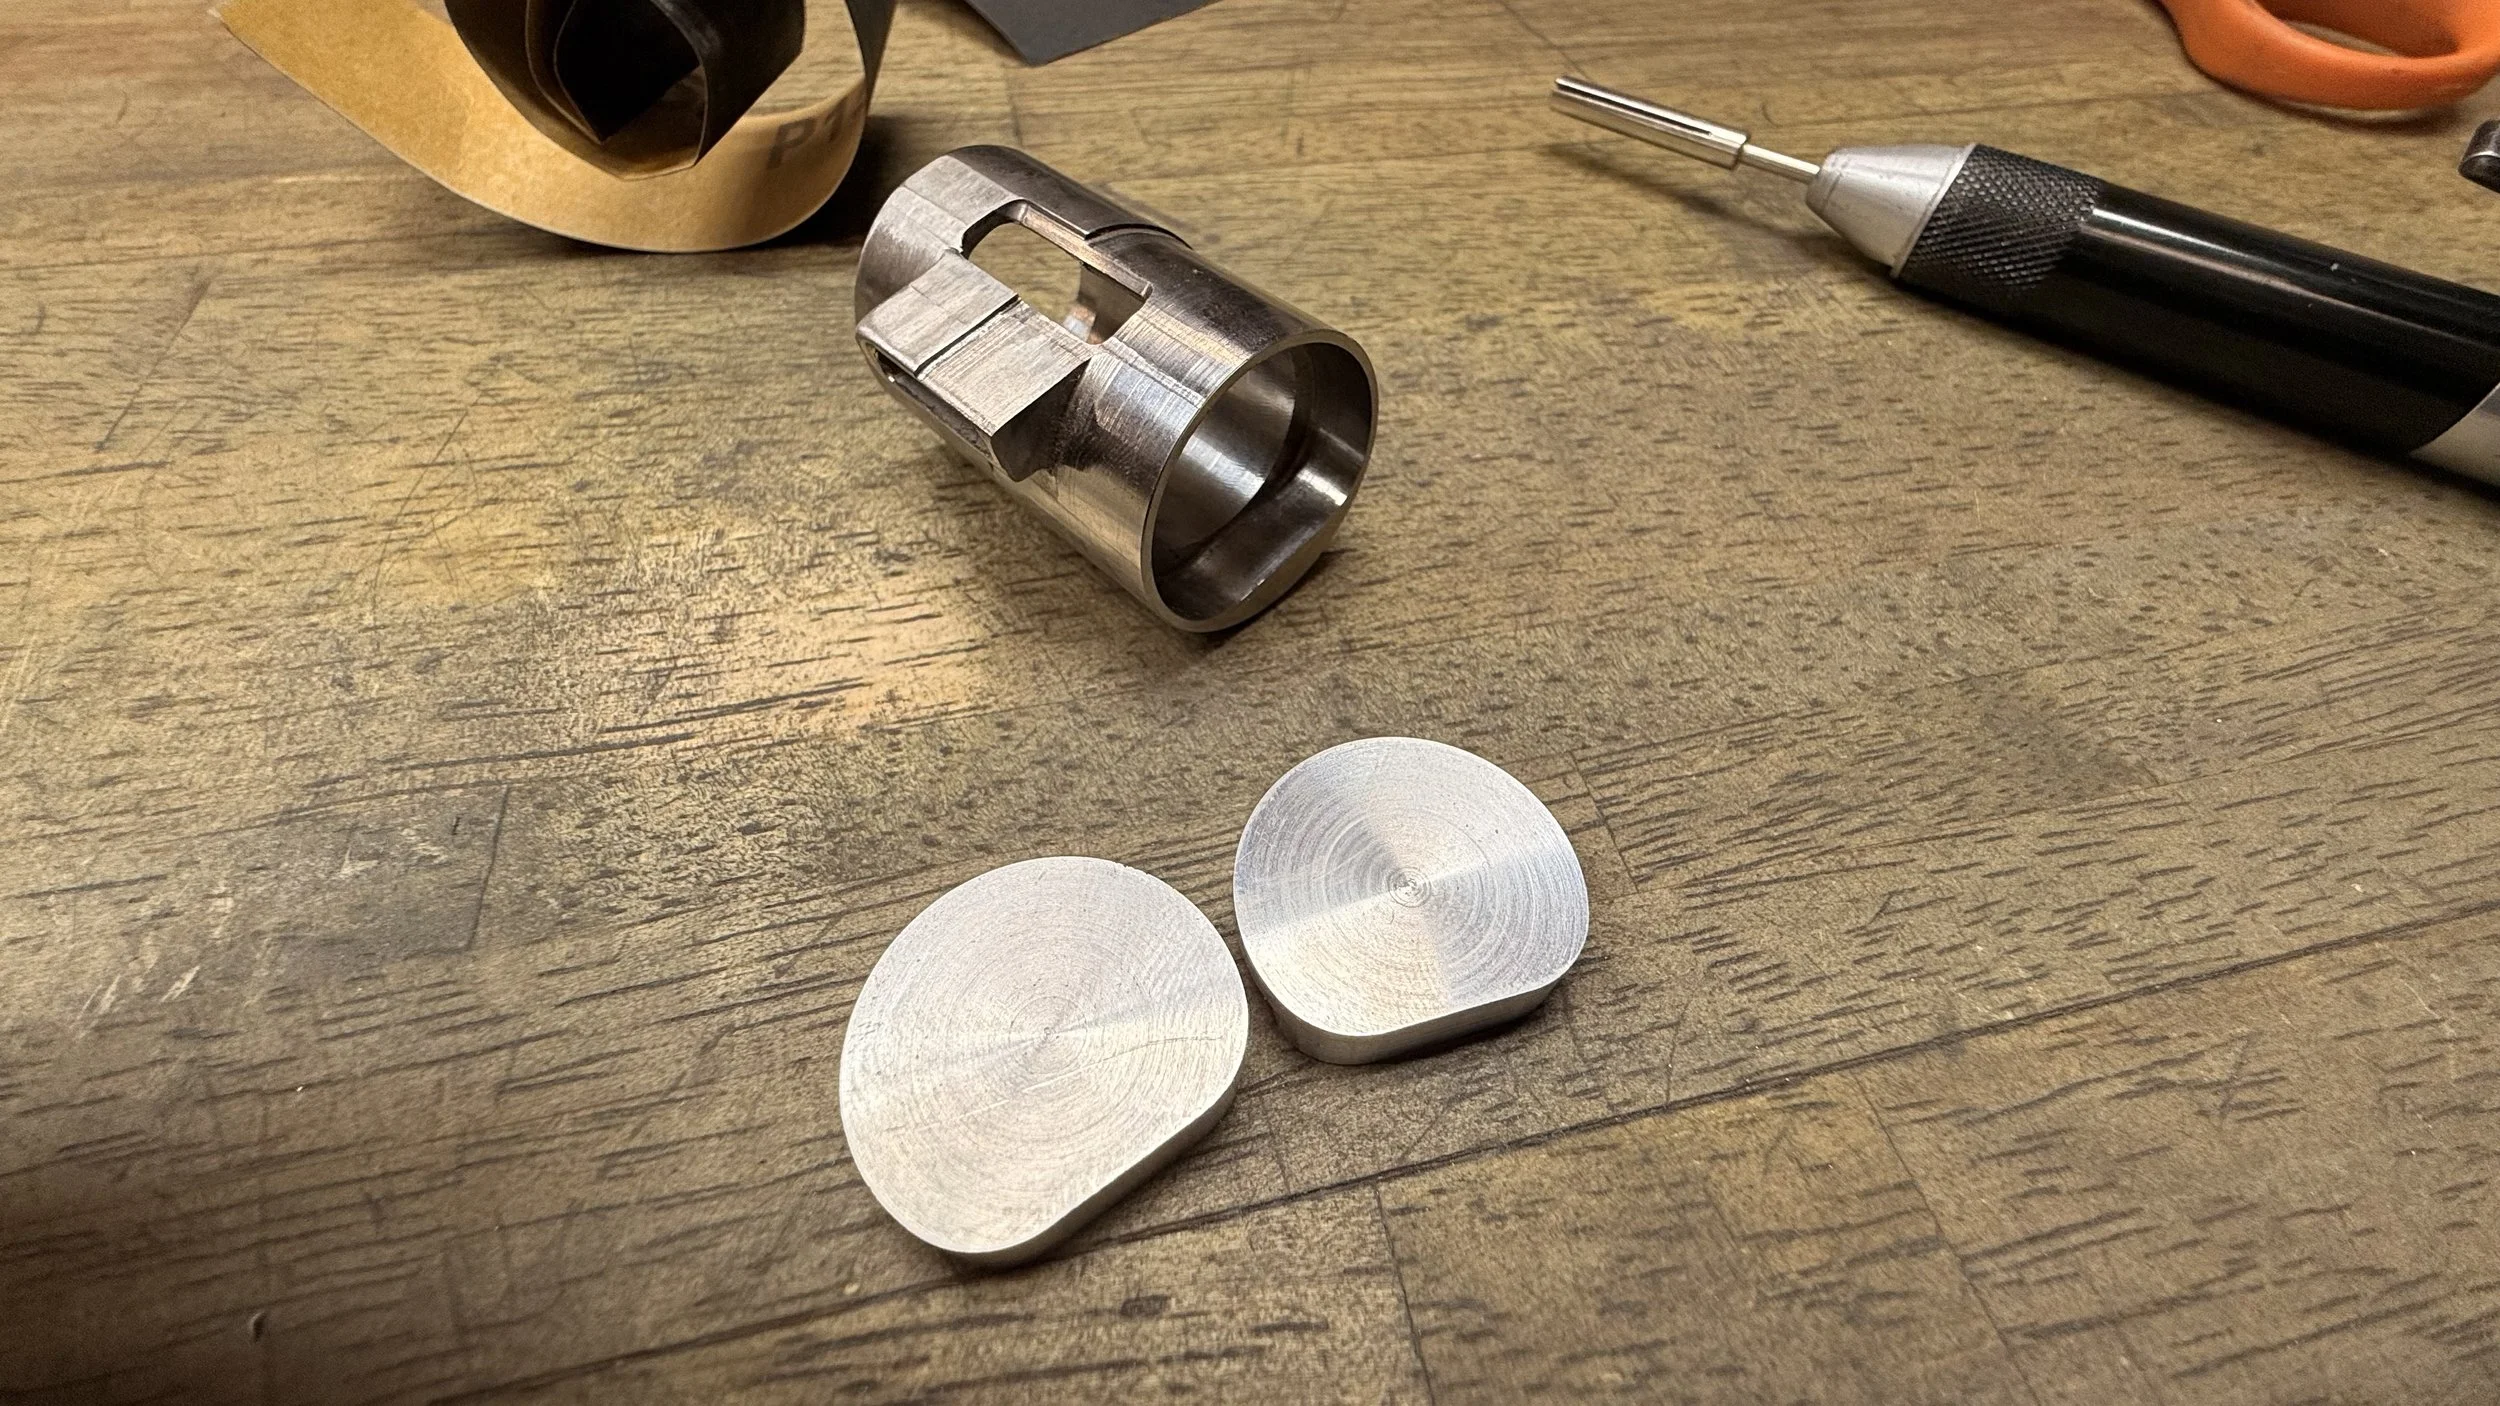
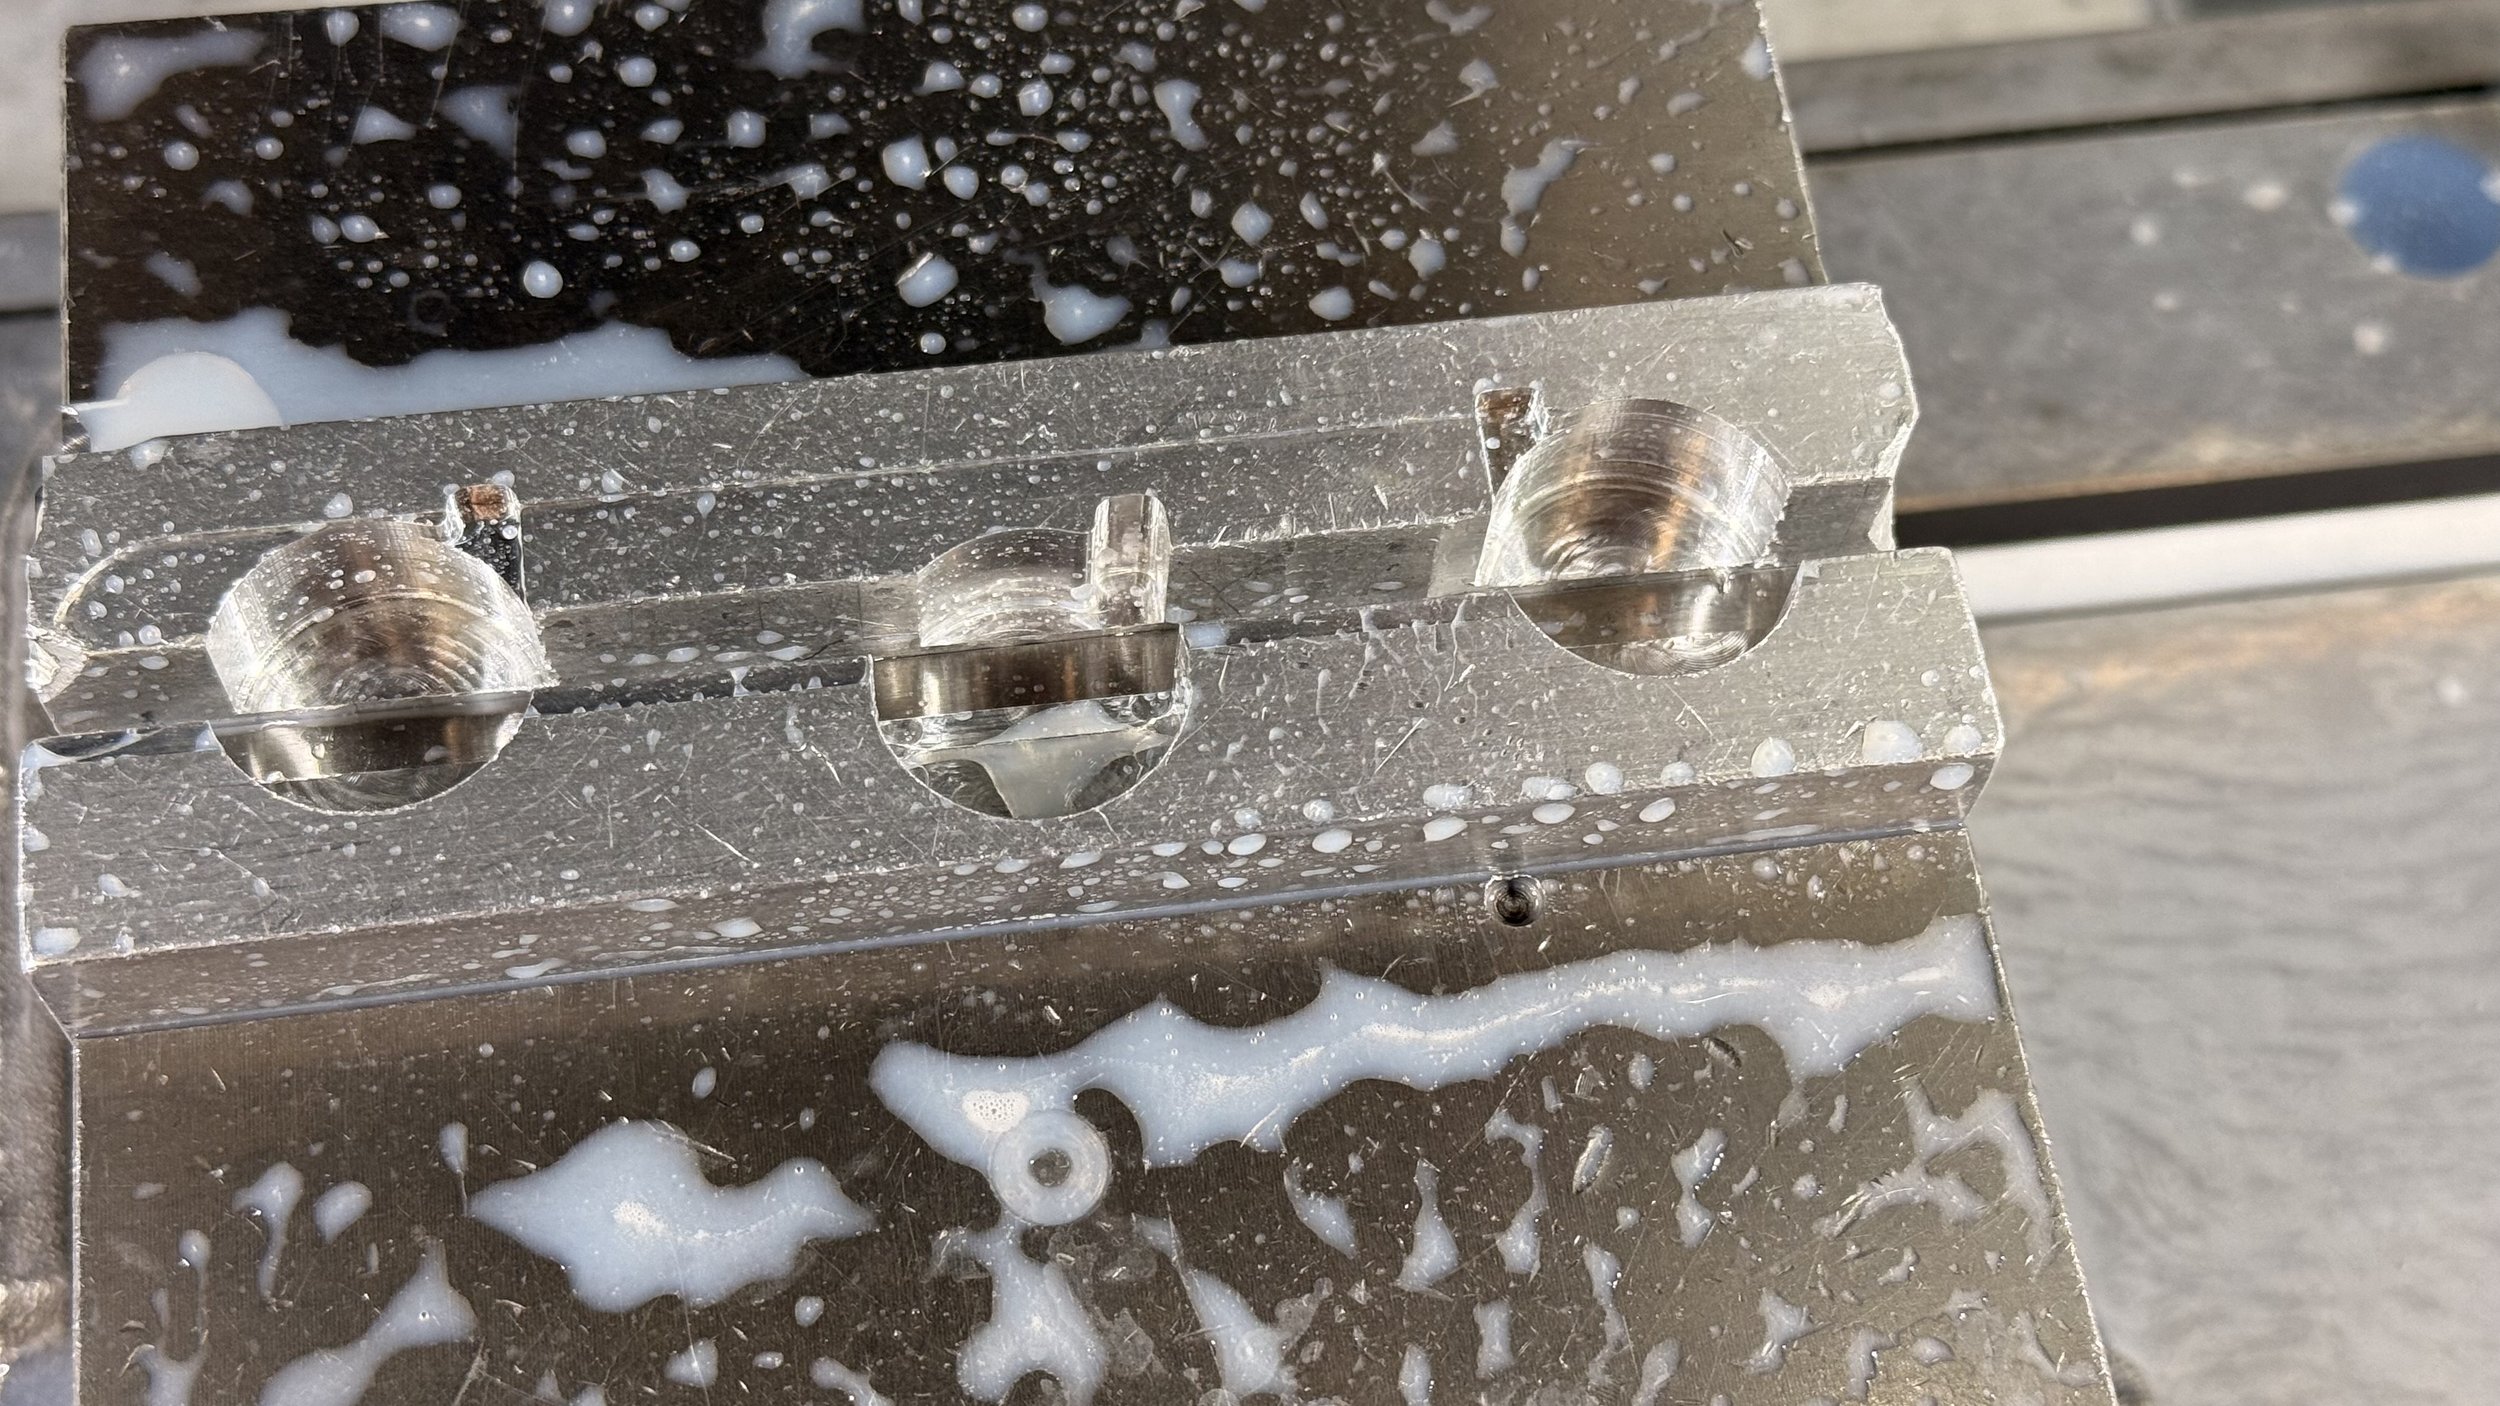
For some reason, I kept getting offset issues on the air seals during the 2nd setup. I had to have the part of the piece be machined on the 2nd setup due to clearance requirements between the part and the vise. I made some quick changes and decided it was safe to just machine off the offset.
Unlike the last time where I machine the soft jaws first, I made the soft jaws after the 3rd setup of the main body, so I can make adjustments depending on the fit (turned out I had to).
I also heavily decreased the stepdown for the outlet on the body, which eliminated the stair-like steps from my first attempt.
Whatever happens happens
Every step of the way, I made sure to at least triple check my measurements, setup orientation, measured tool diameter, etc. but I still ended up with an offset for my 4th setup. I did all I could to make sure I could catch all the mistakes, so I was at peace with what came out.
Air seal do-over
Even though I inputted the measured tool diameter into my CAM, the tolerance for either the air seals or the body was off for one side leaving it too small for a press fit. The only option I had was to make another one and guess how much bigger it needed to be. I prepared multiple stock pieces to not only help with guess & check, but also save time.
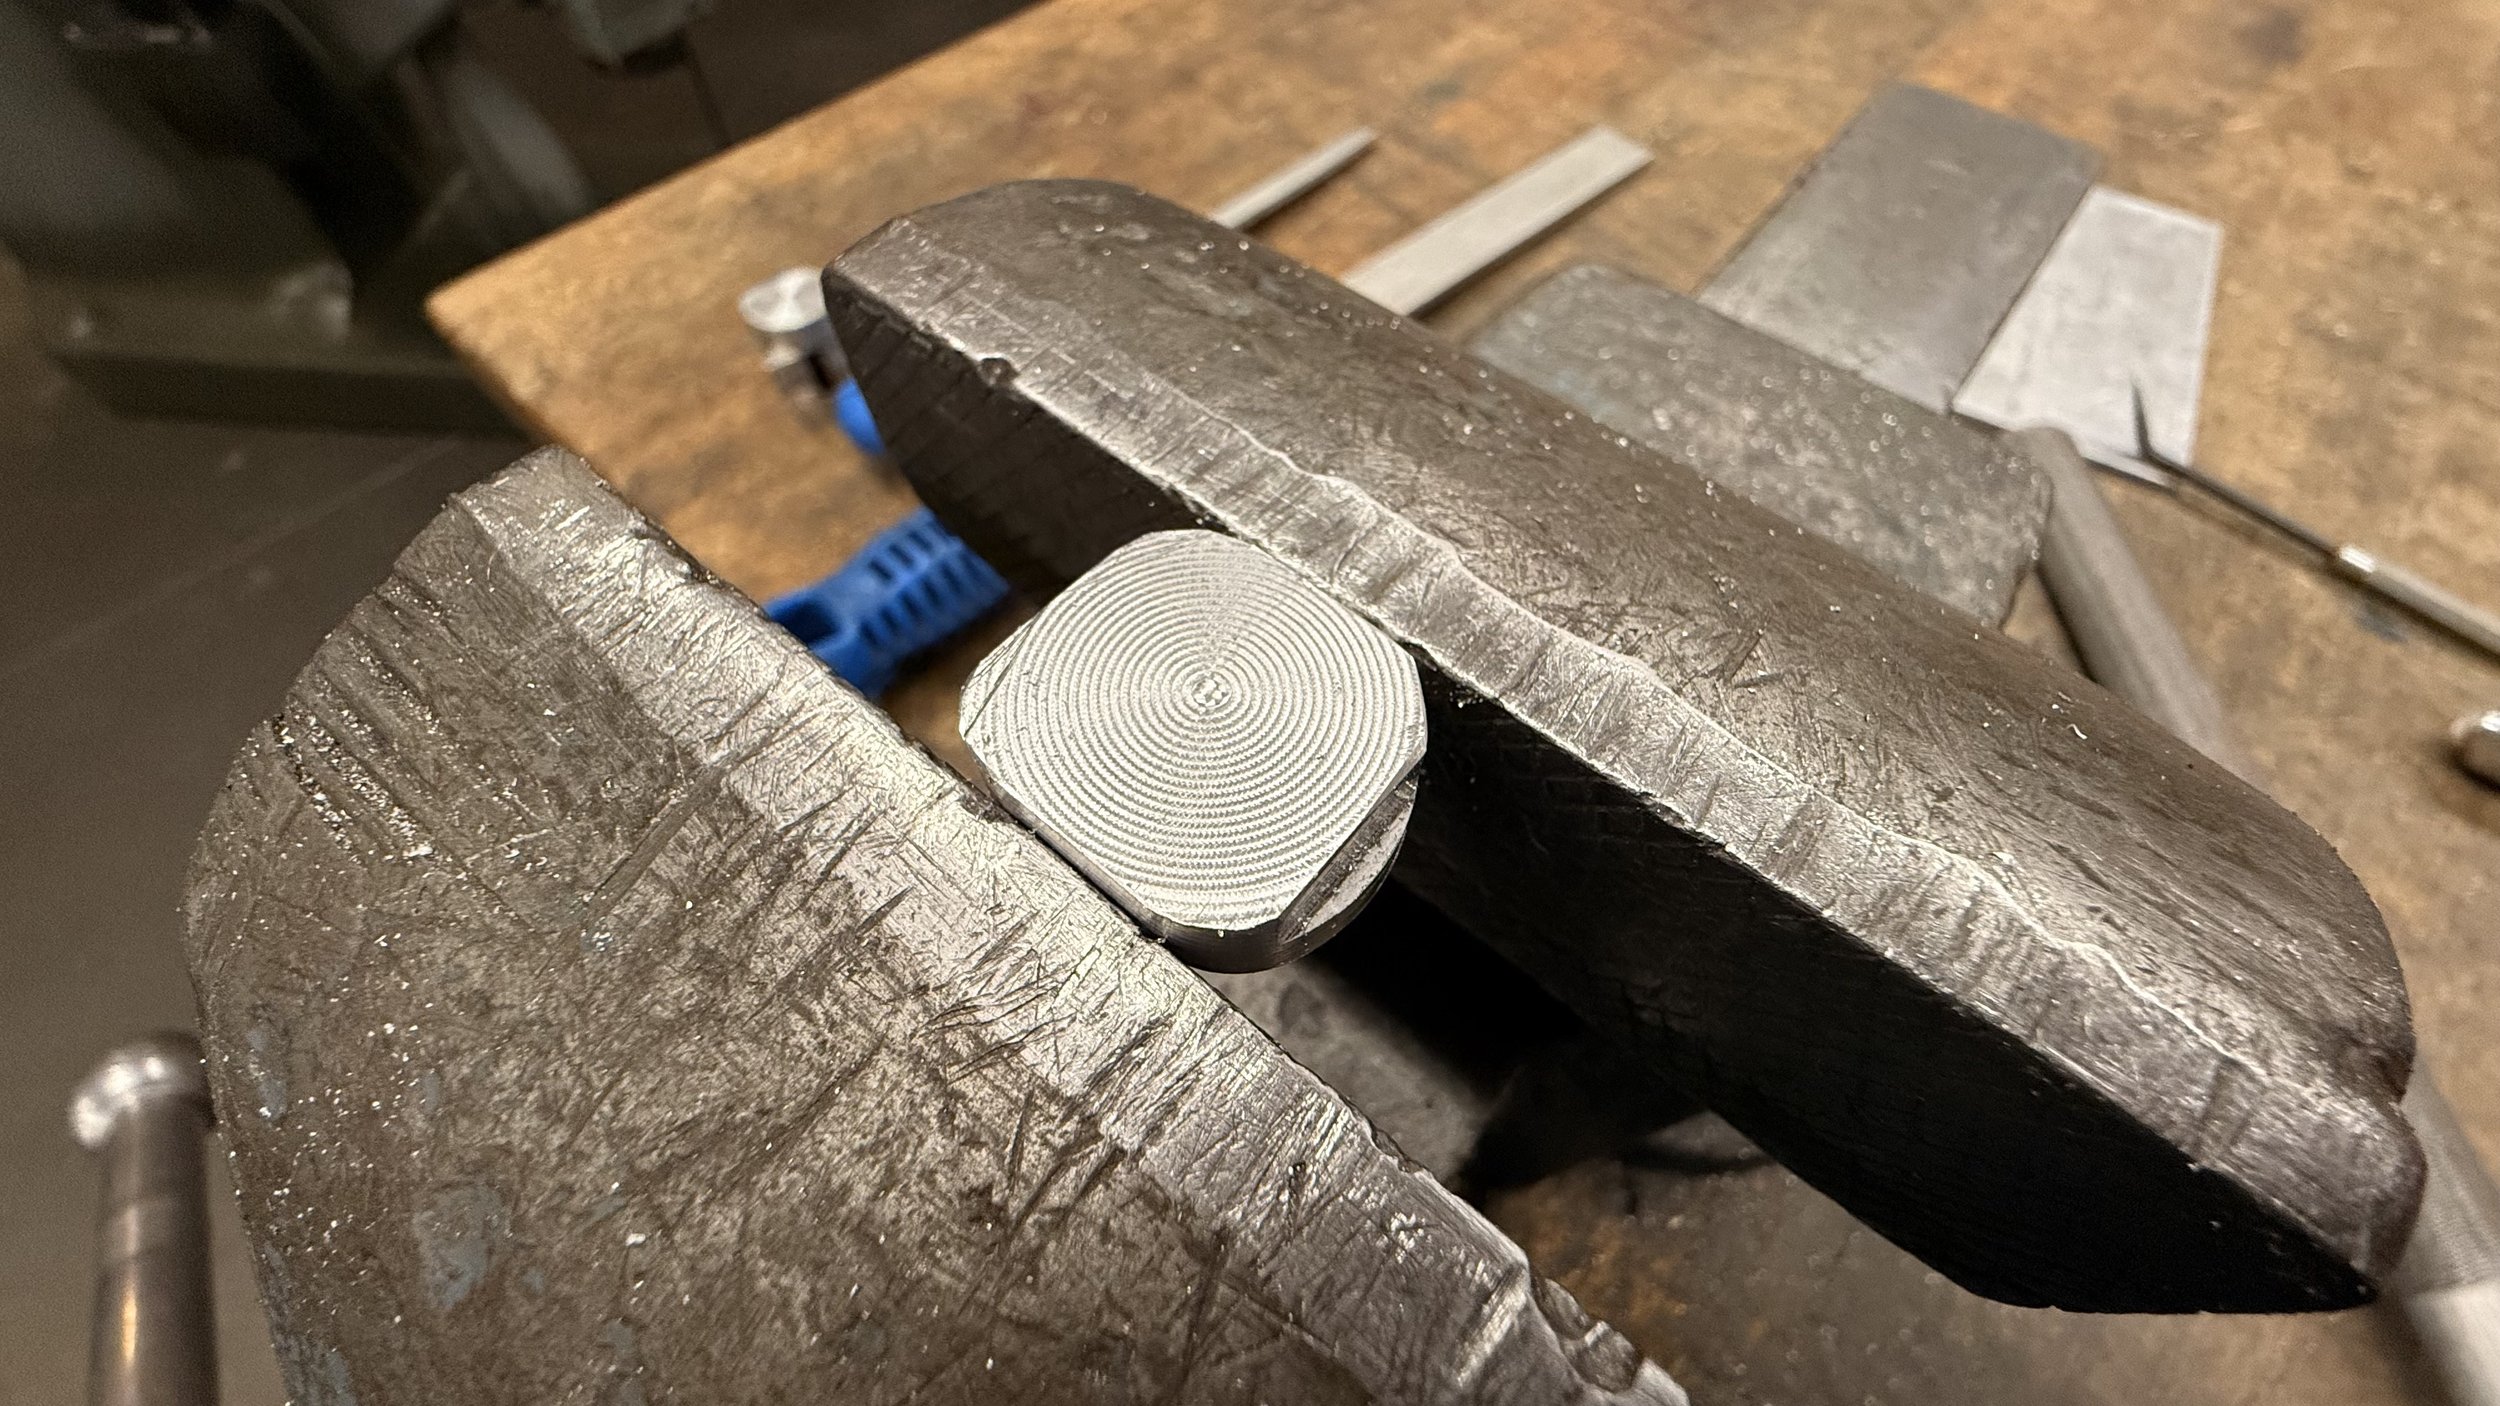
I used the spiral operation to mimic a turned finish but due to the compromise of saving time, it didn’t turn out as expected, so I decided to finish it on the lathe.
Press fitting
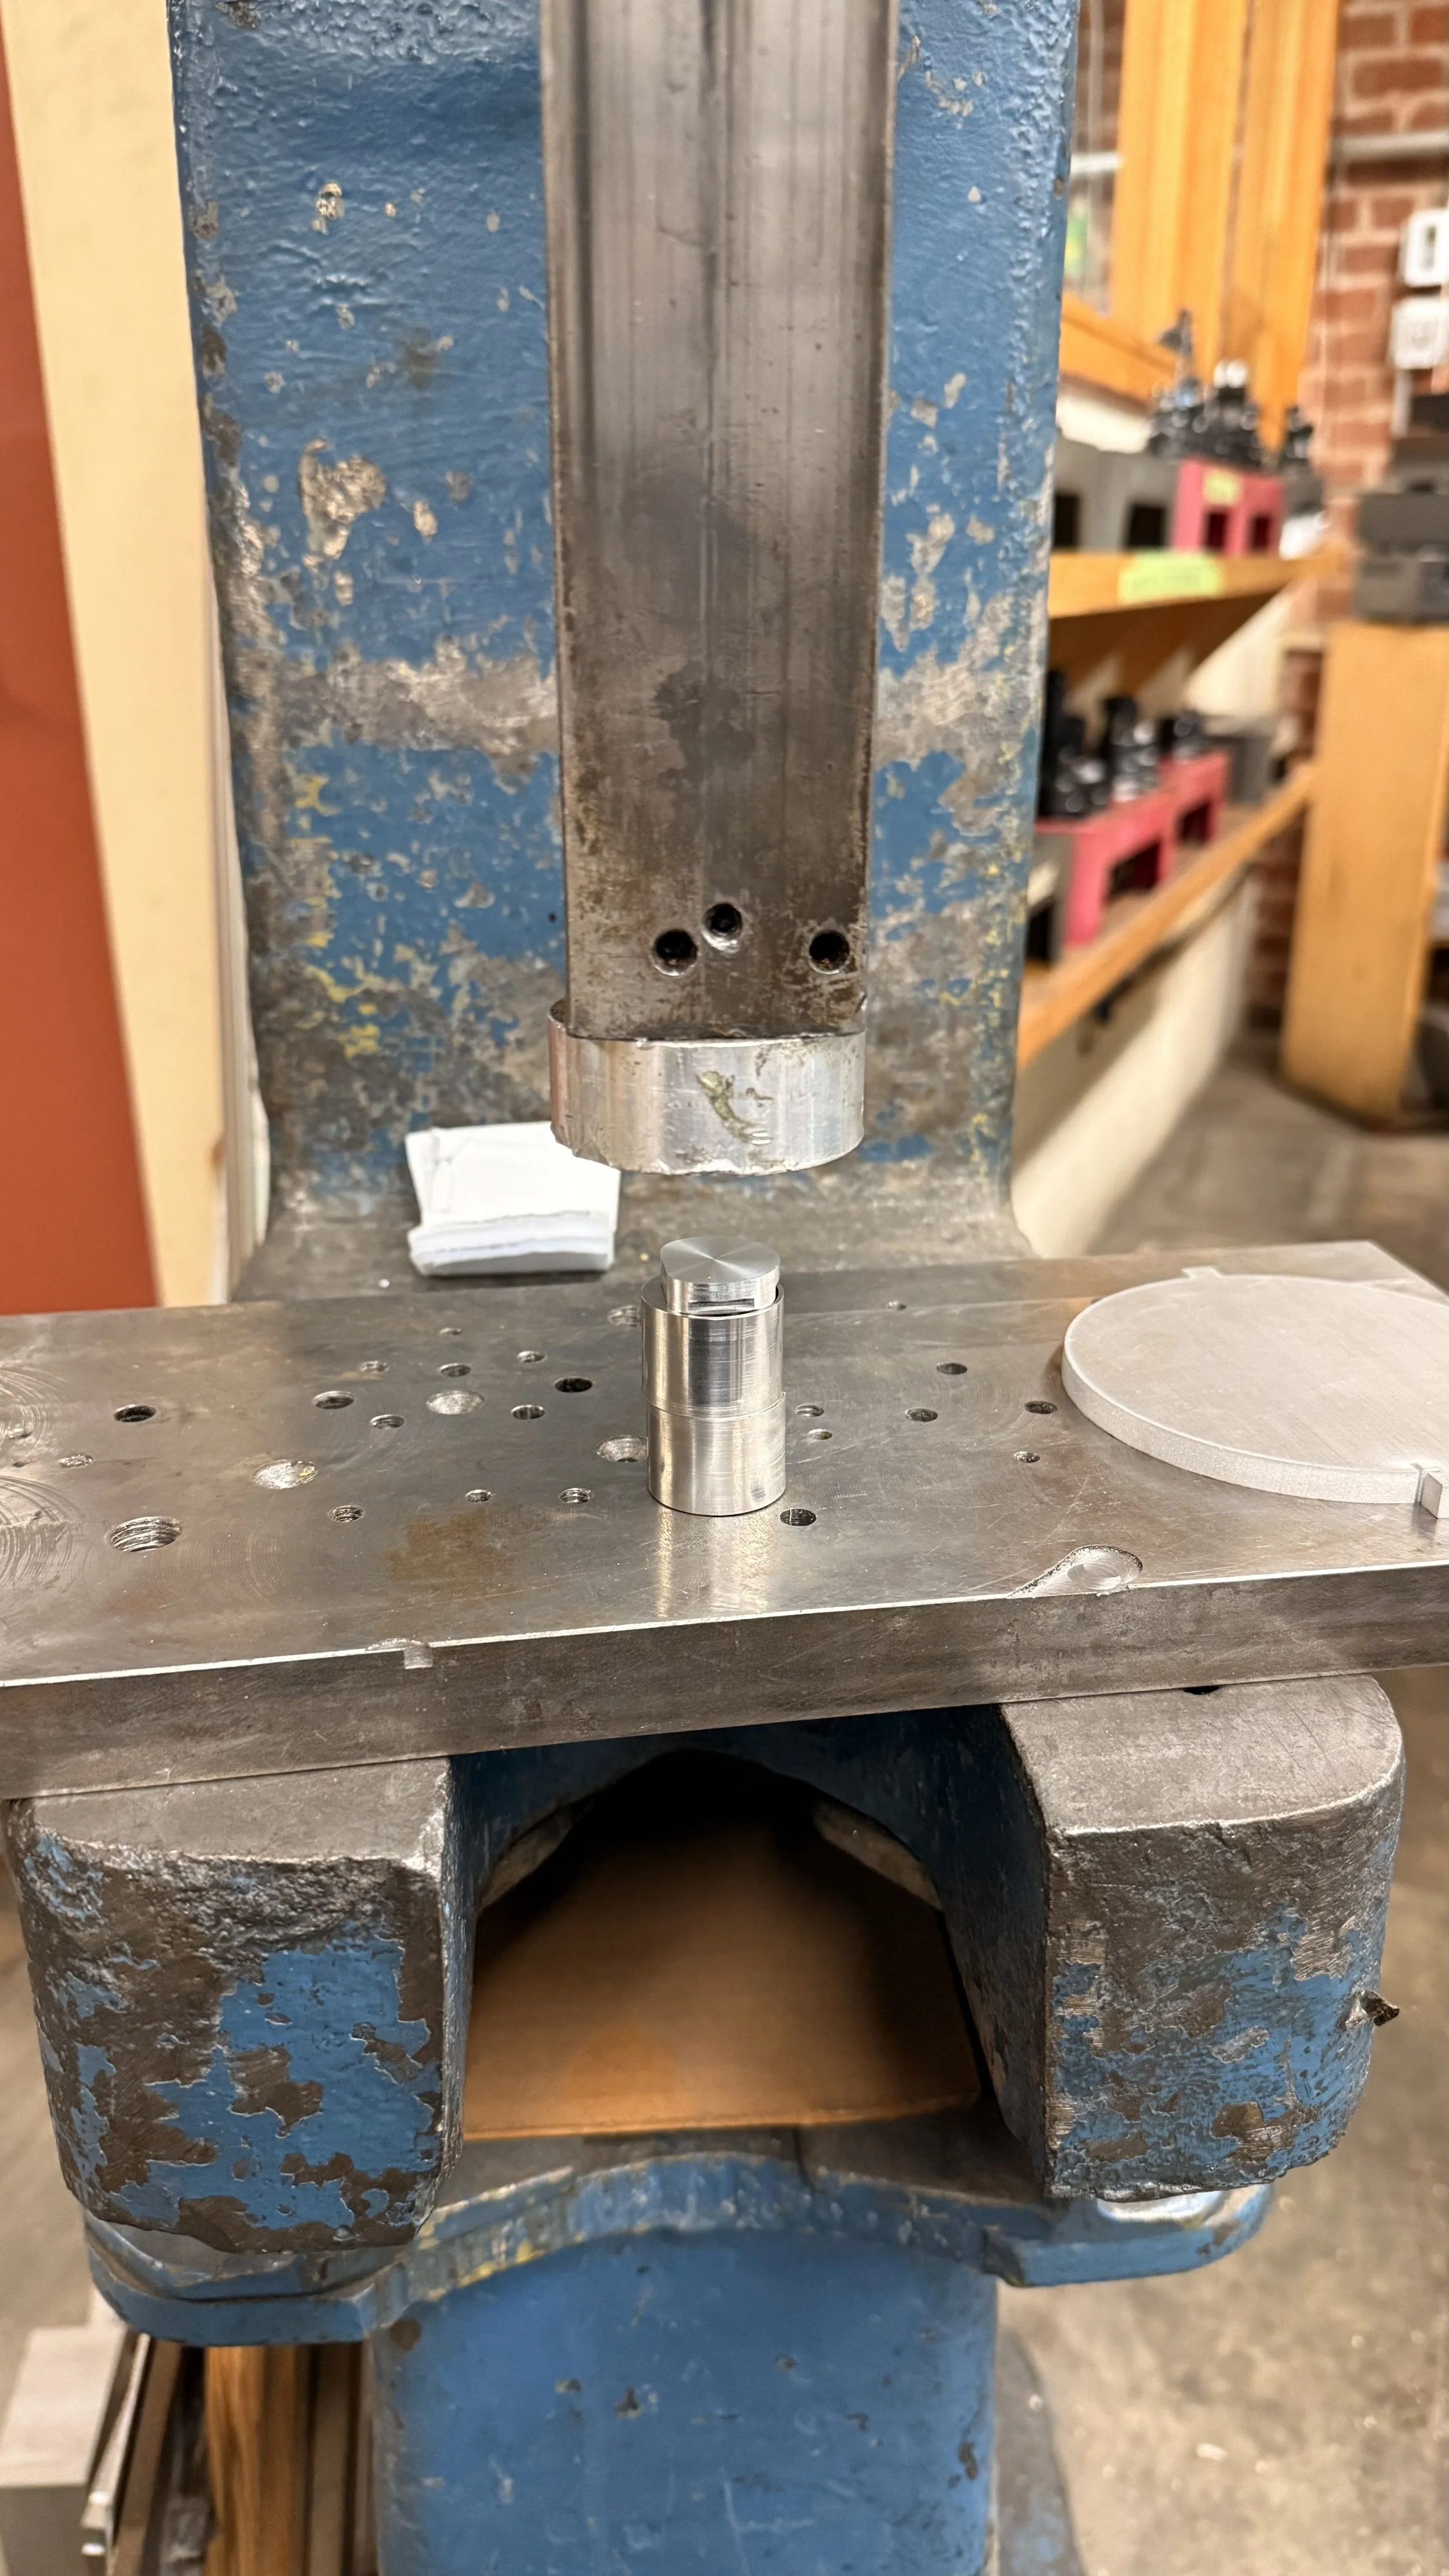
The final step was to press fit the air seals into the body. Initially, it was hard to align the seals flat with the body, so I had to put the seals on the vise and added a bit of a chamfer on the edges with a file.
I then use the arbor press to push it in, but unfortunately, about 1/3 of it still stuck out even when I was hanging my whole body on the wheel like a sloth on a steering wheel.
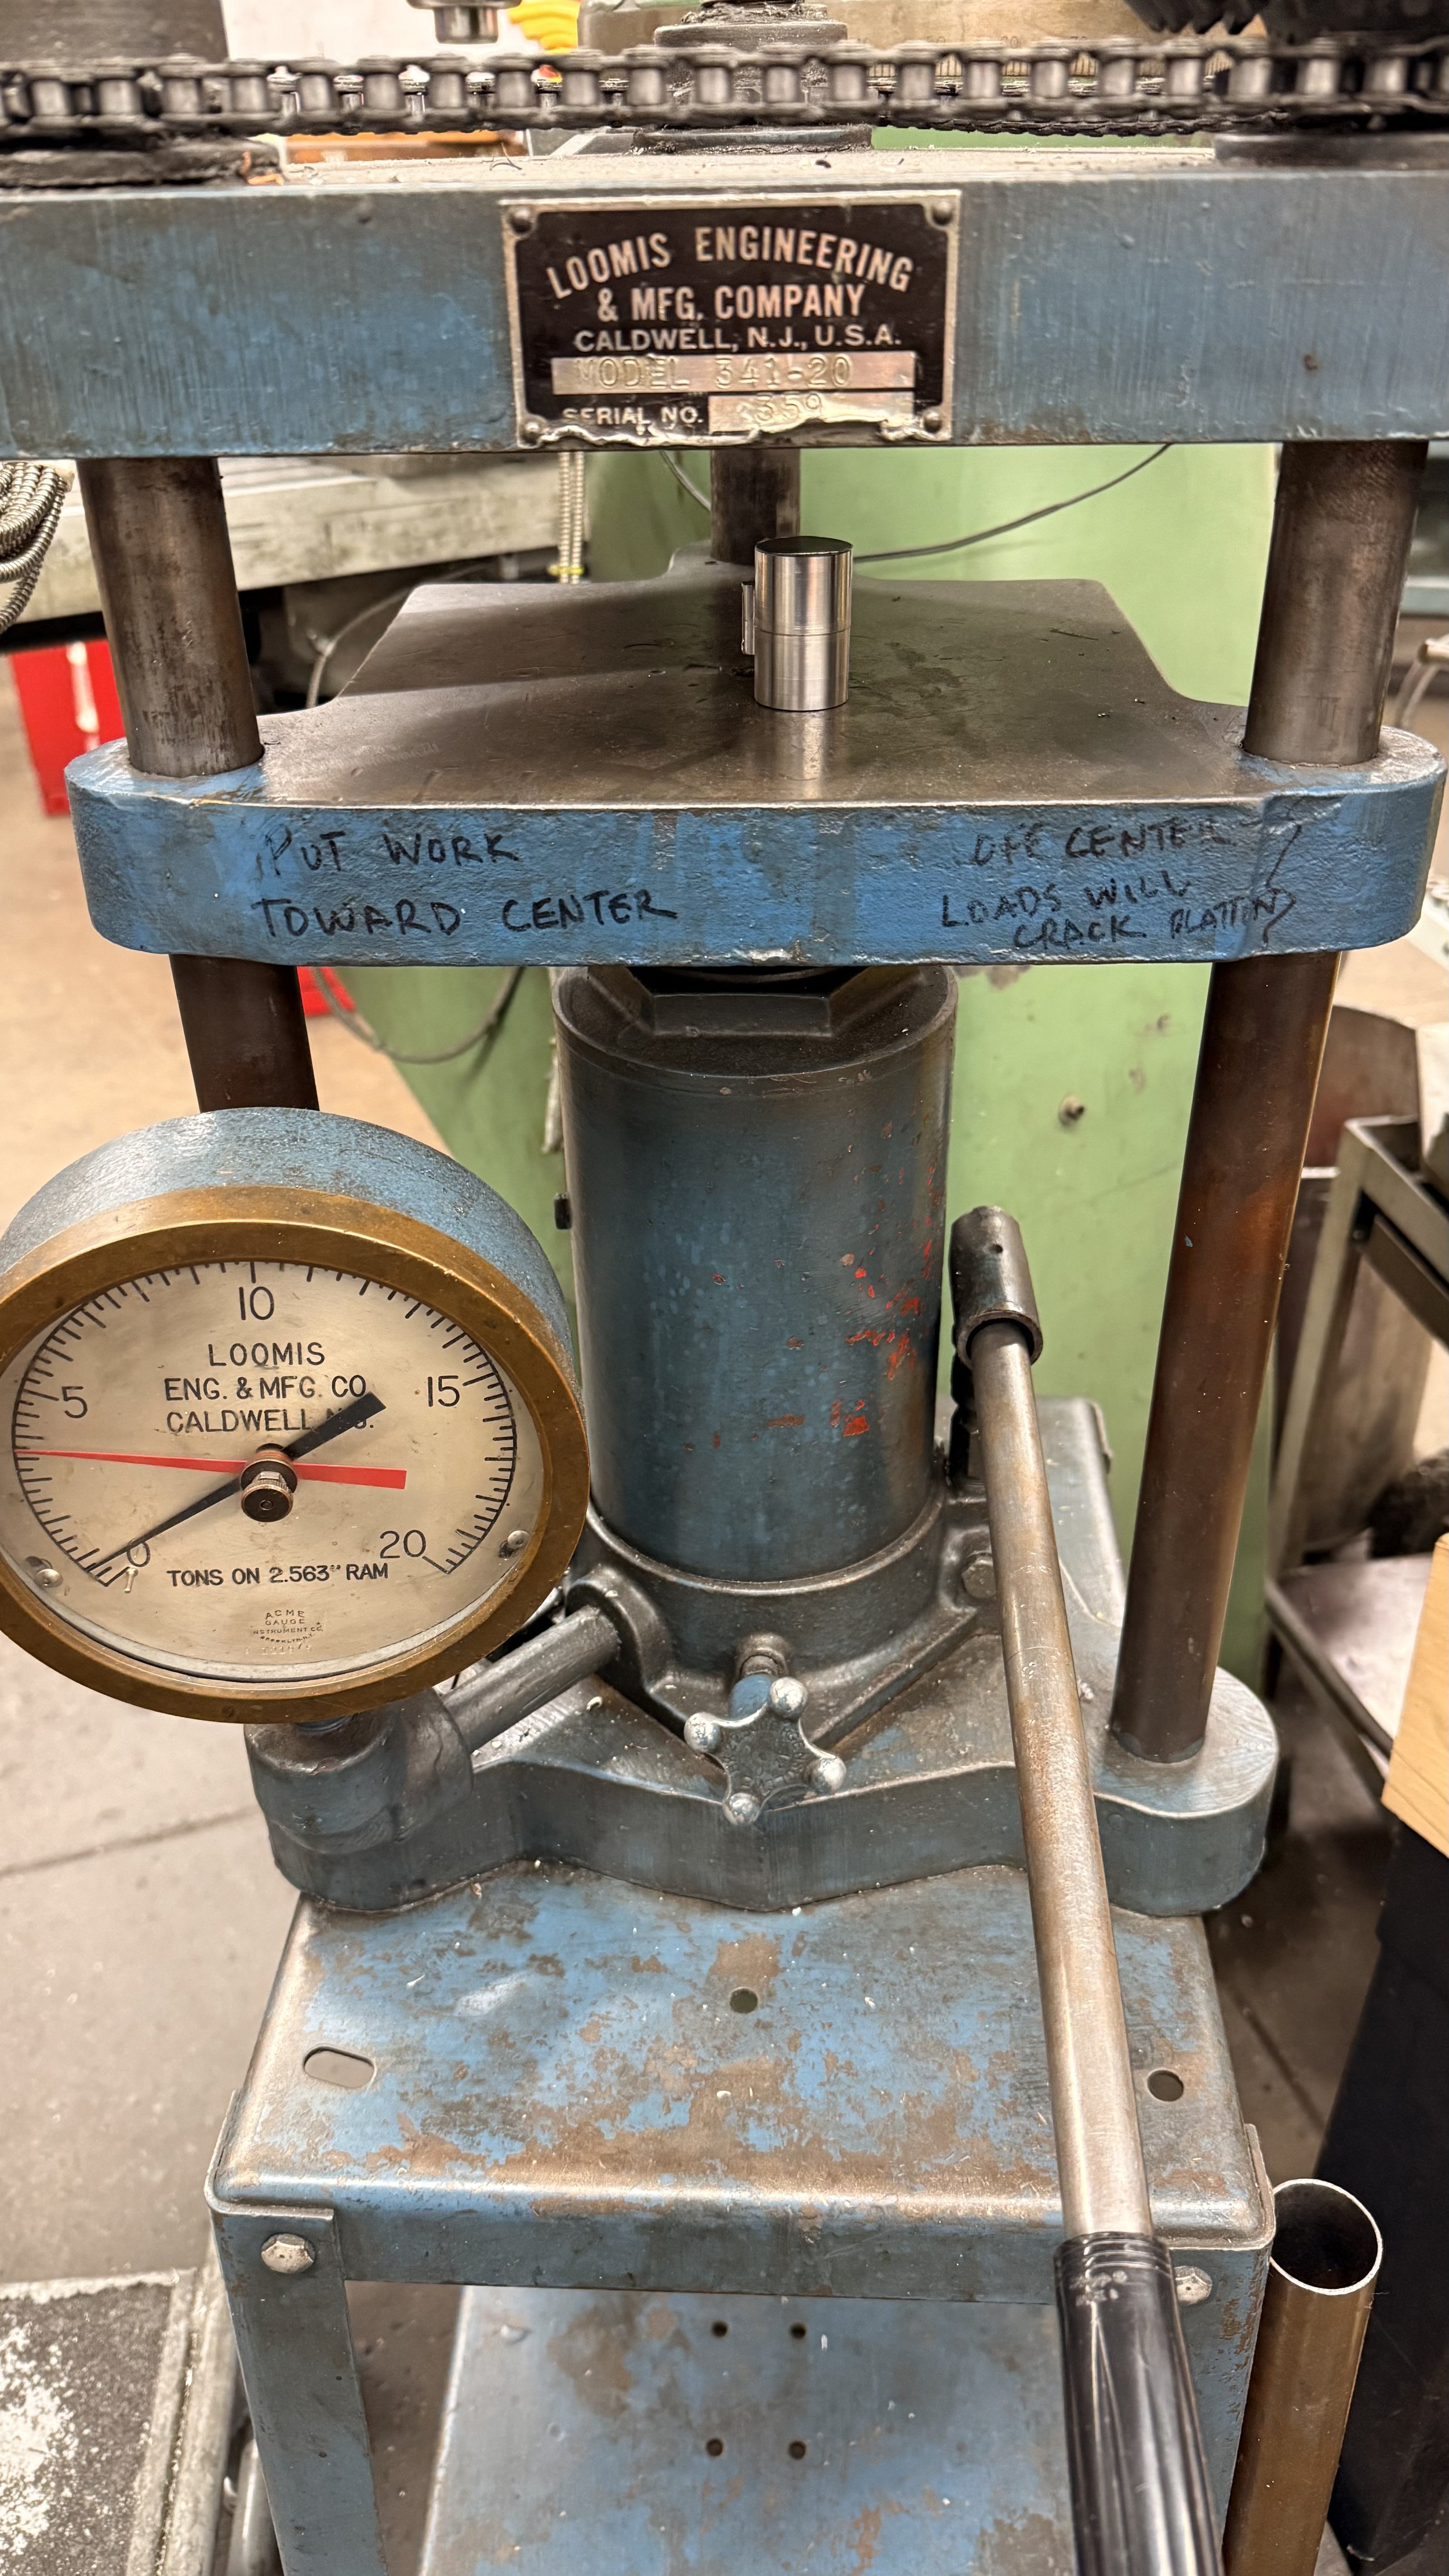
Luckily, there was a 20k lb press in the middle of the PRL and with that the seal sat flush with the body. Sadly, some chips on the press left marks on the turned finish of the air seals. There was nothing that can be done since it was already flushed with the body.
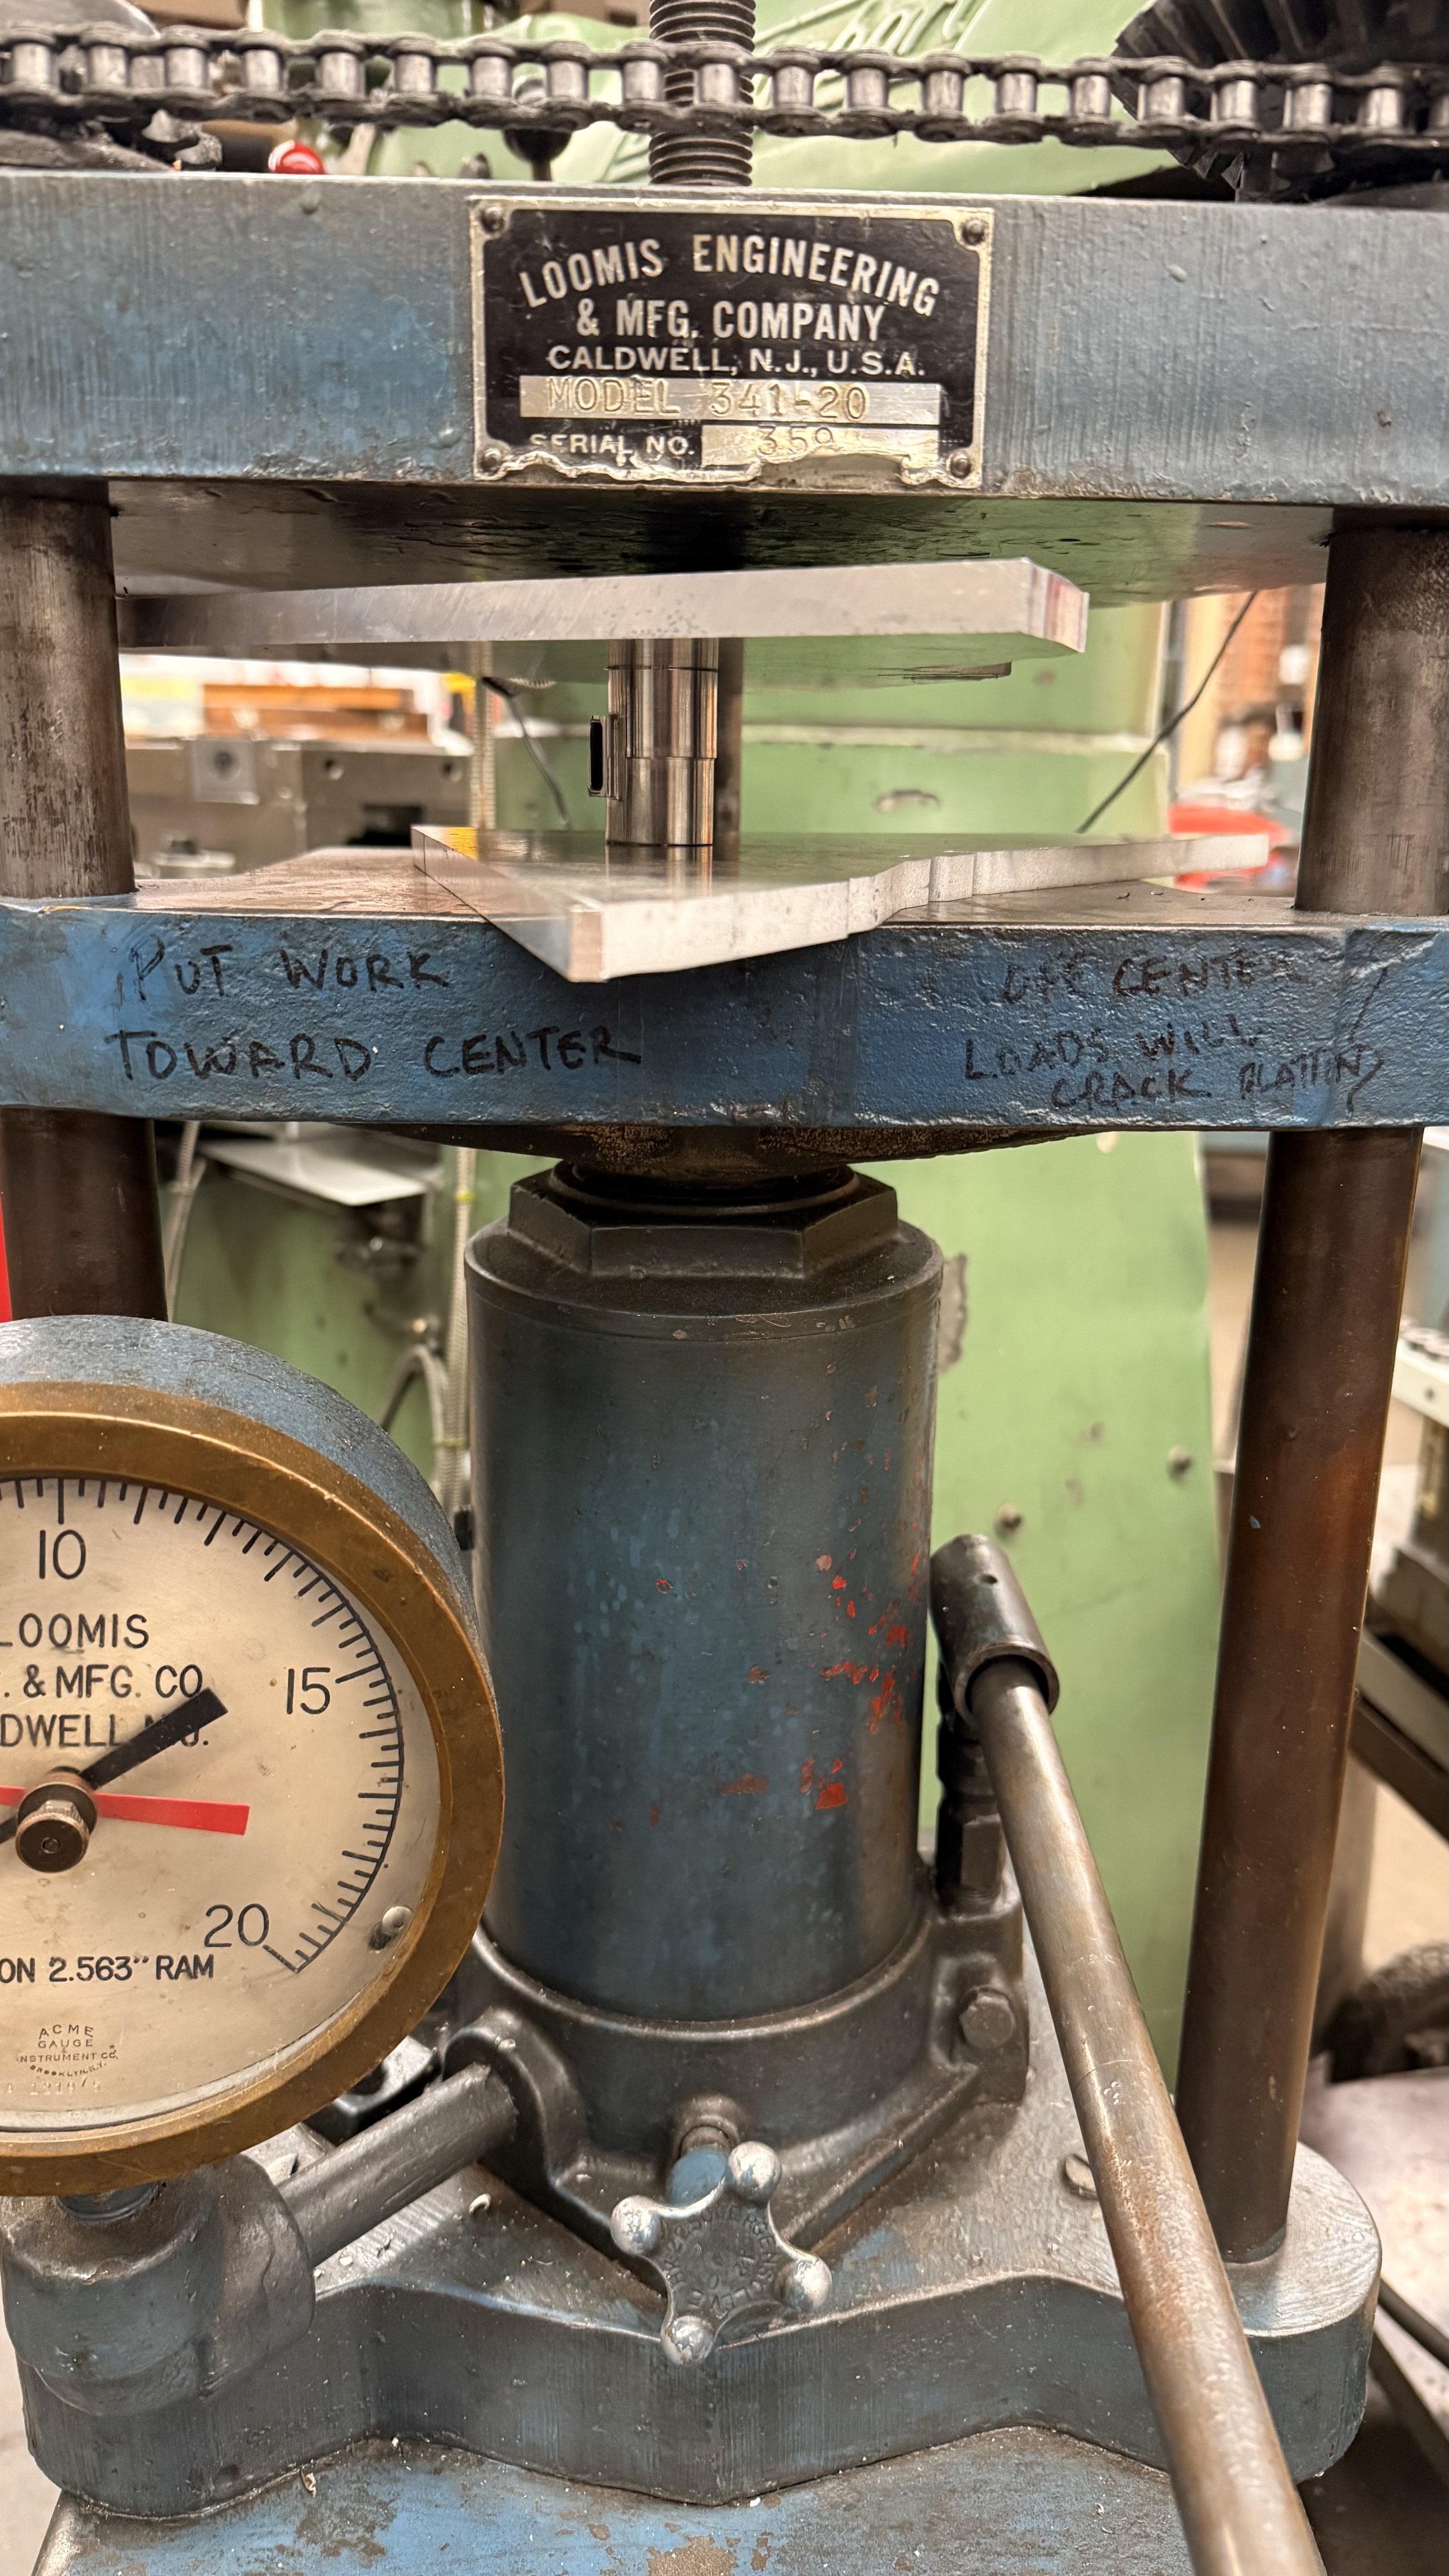
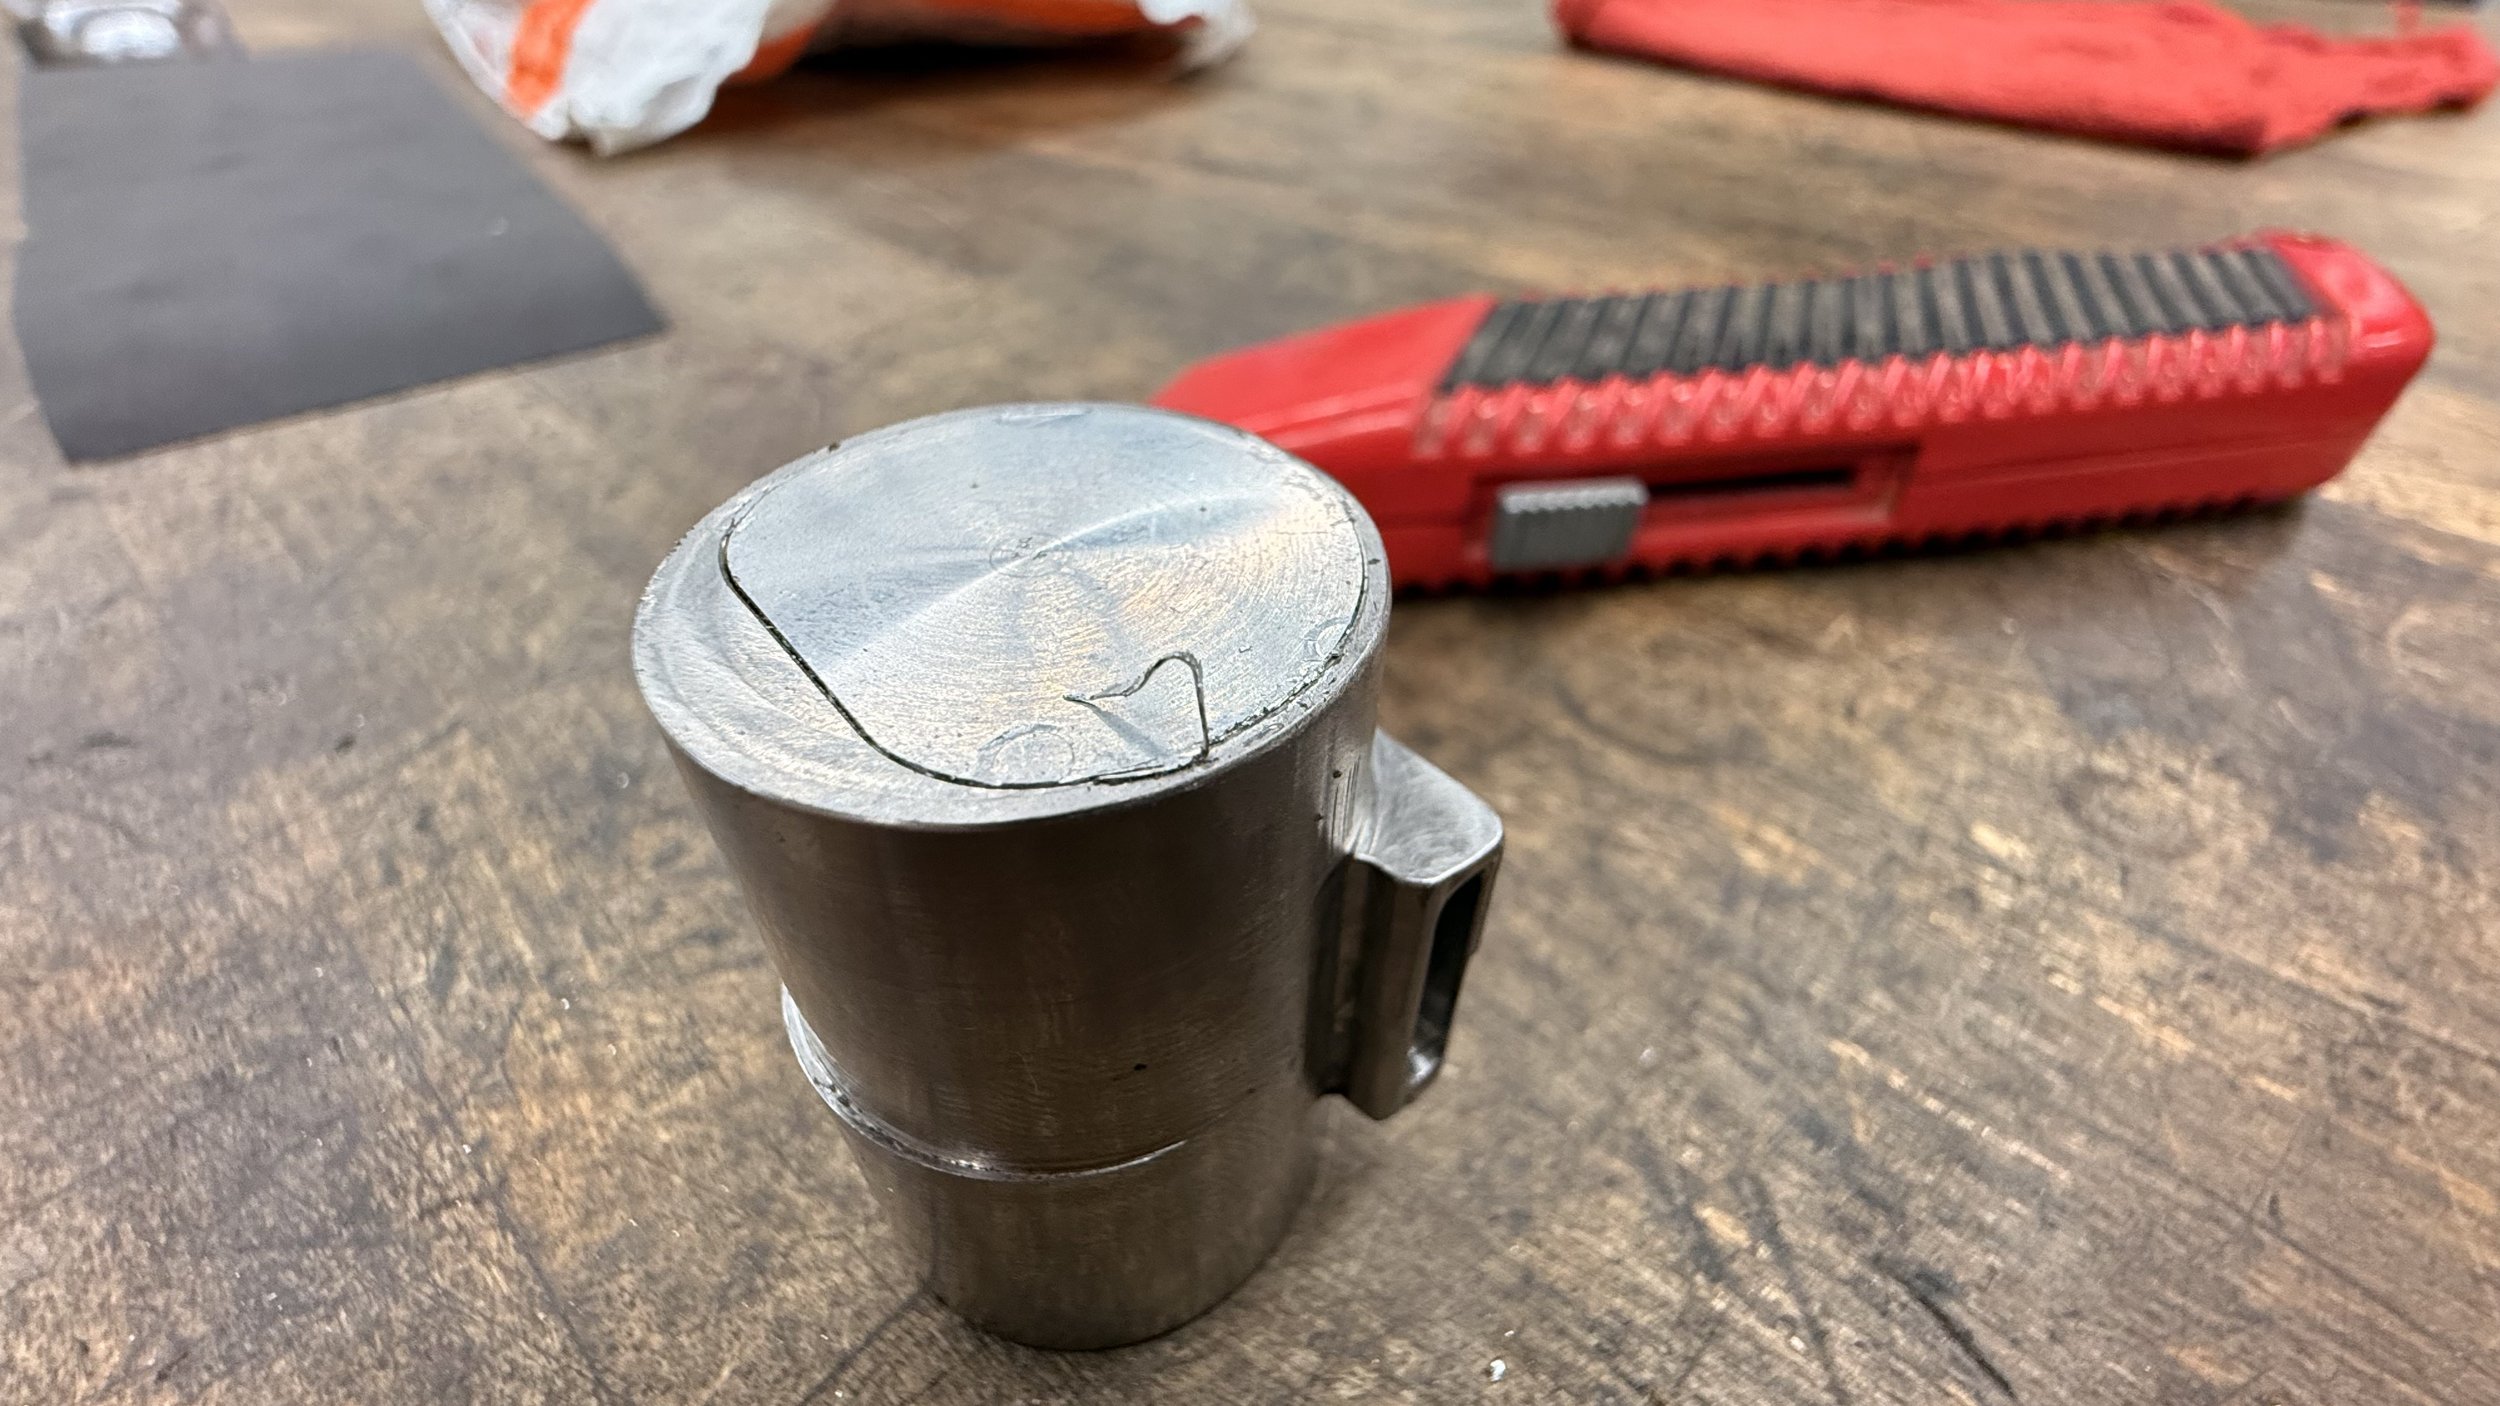
For the 2nd air seal, I decided to add a flat metal plate on top to prevent the press from leaving marks. Once they were pressed in, the residual flattened metal squeezed out from the seam and were removed using a box cutter knife.

Humbled
I definitely dug myself into a hole with this project. I tend to over-scope my projects and was able to finesse my way through them every time, but this one stared me down dead in the eye.
I learned a lot about the process, especially designing with tool lengths and diameter in mind. I also learned how much time it takes to setup and approximate tool measurements, which made me reconsider the dimensions to use to reduce the number of tools for my next project.
Steel is incredibly time consuming to machine, and I found a new appreciation for those who do it. I’ve spent well over 80 hours in those 2 weeks refining my parts in CAM and machining them.
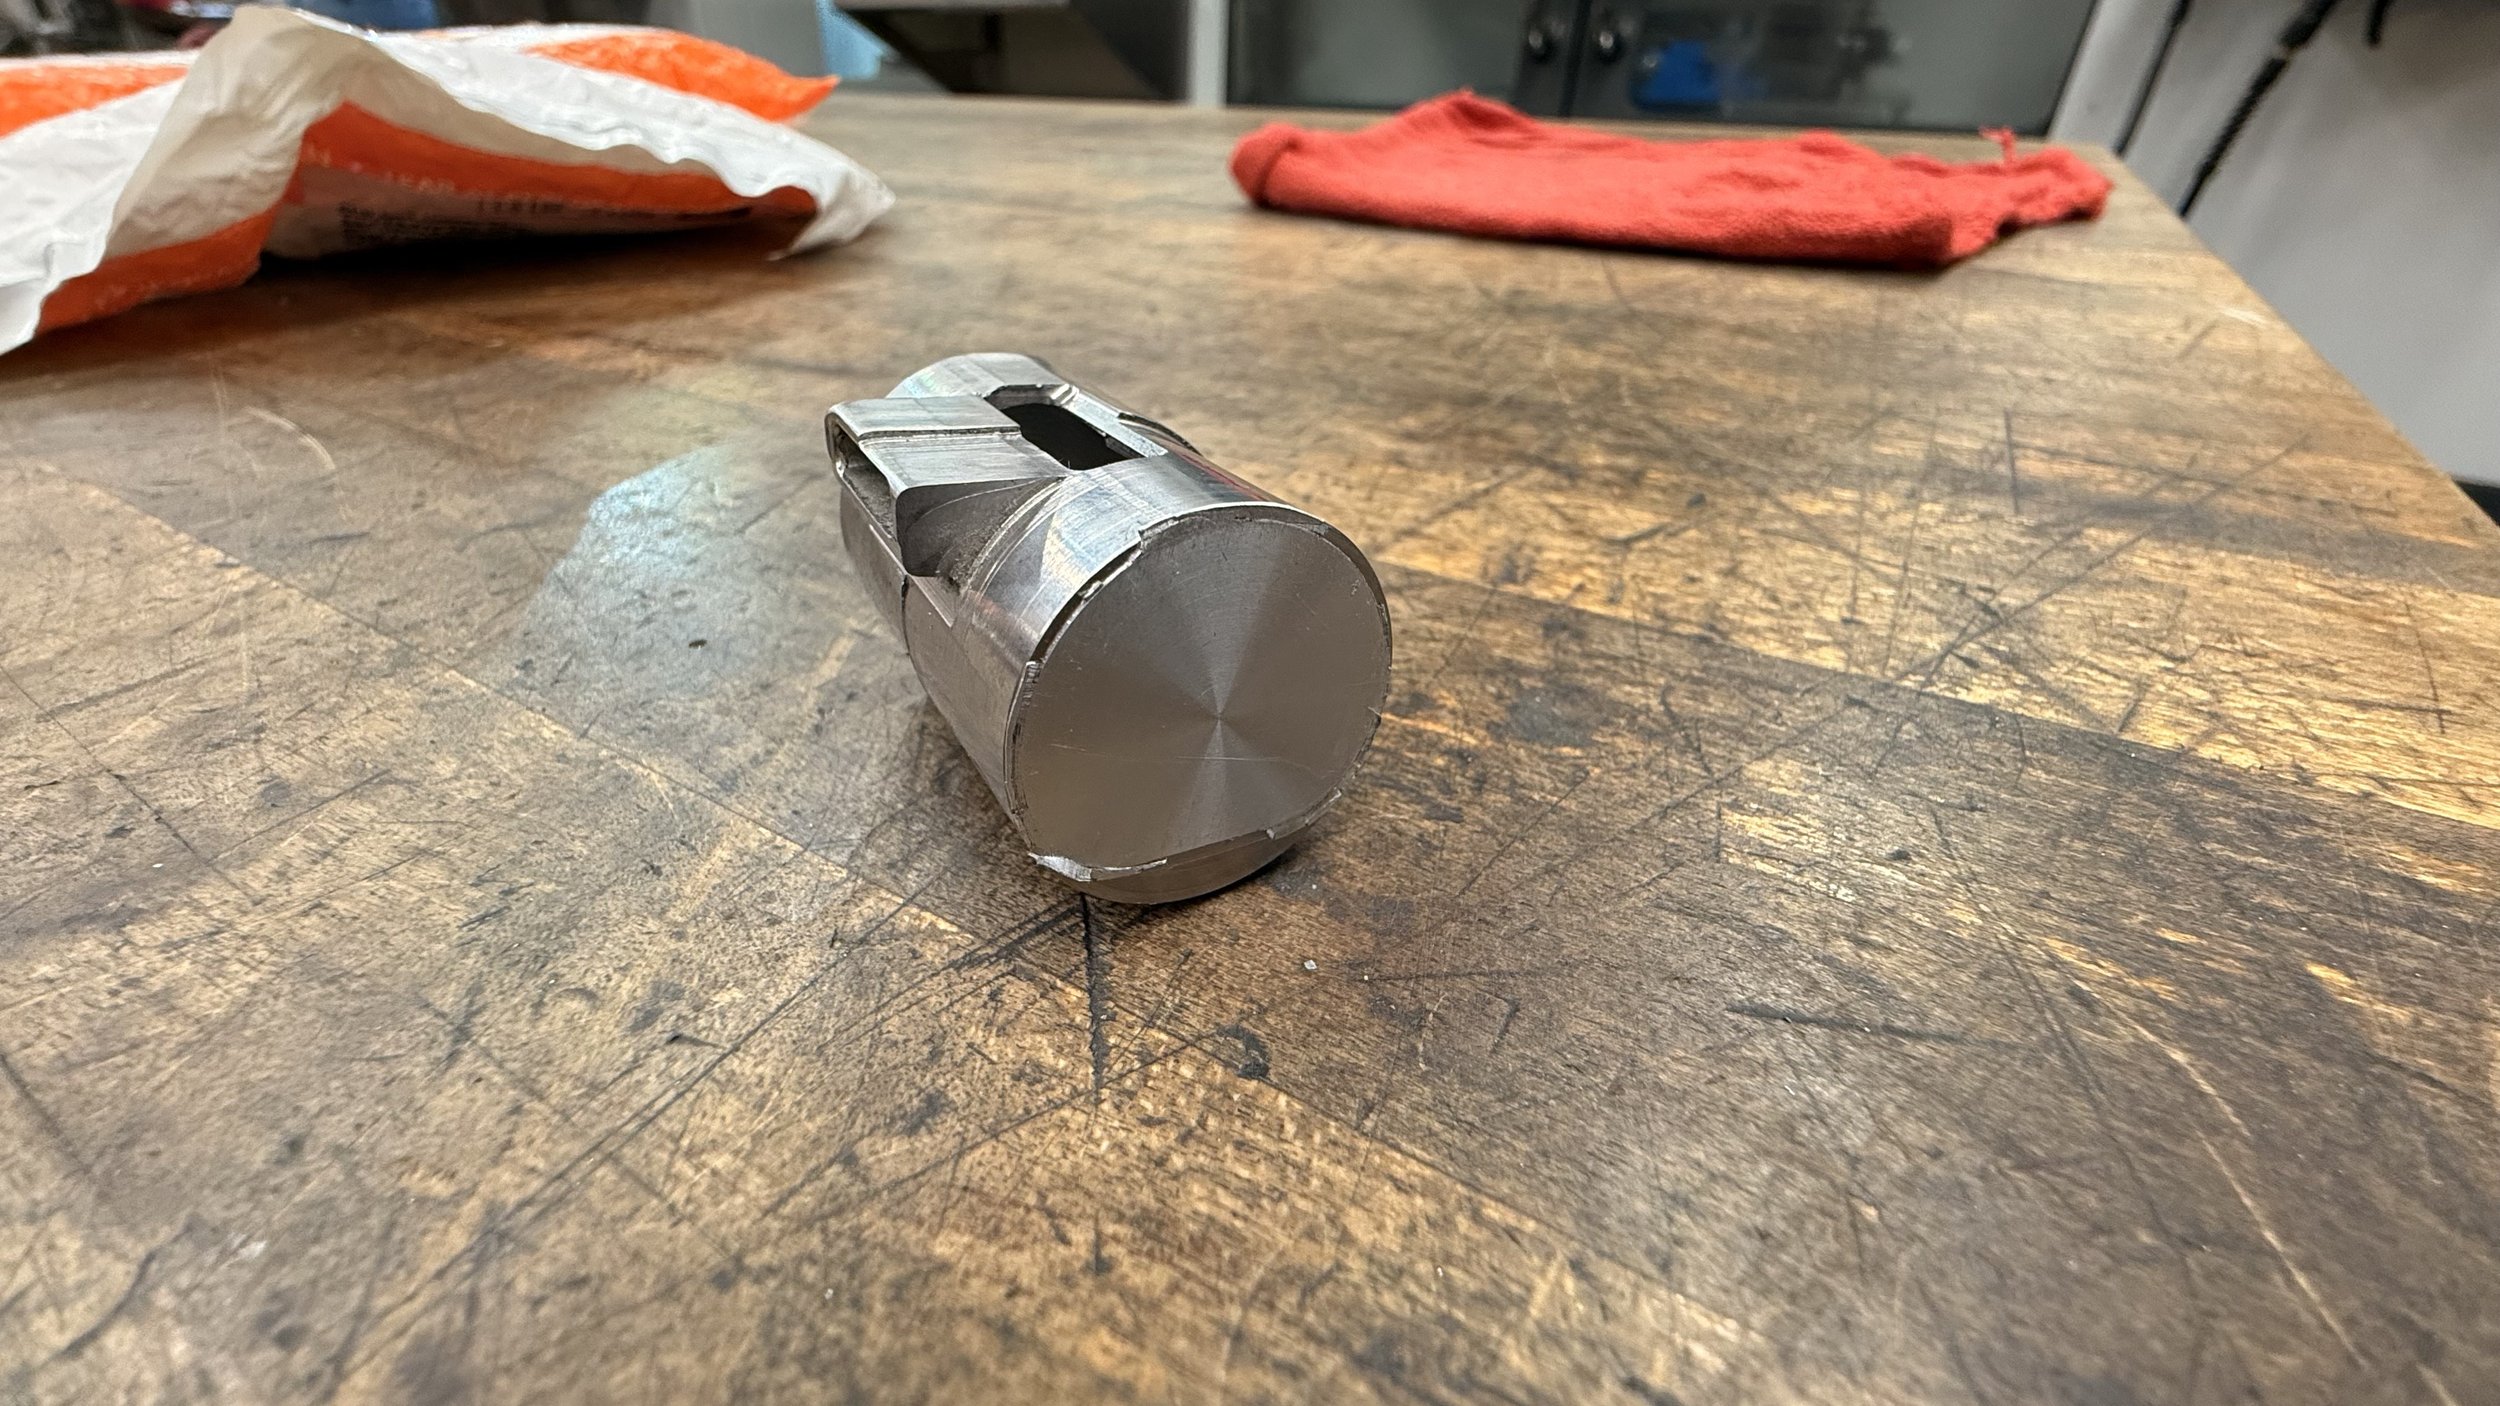
I was put in my place by this whistle and am grateful that it did. The lopsidedness of my whistle serves as a reminder of that.
Gratitude
Anna — for offering this class, teaching me so much about CNC, and offering me compassion during my dark week of machining failure.
Brian — the knowledgable TA who offered a lot of tips and tricks throughout the entire process from design to manufacturing.
Mason — offered an almost 1 on 1 with me to re-machine my air seals and diagnose my offset issues.
PRL CAs — would be a giant list but everyone was incredibly friendly and helpful in troubleshooting and addressing my concerns.
Cherrysse — my incredible and beautiful girlfriend who supported me through thick & thin and never once stopped believing in me.


